> ## Documentation Index
> Fetch the complete documentation index at: https://sitespeak.ai/docs/llms.txt
> Use this file to discover all available pages before exploring further.
# How to add a ChatGPT chatbot to ZOHO
> How to add your custom ChatGPT trained chatbot to your ZOHO website.
You want to embed your custom trained chatbot in your ZOHO website. Here's how to add ChatGPT to ZOHO with SiteSpeakAI.
## Add your chatbot to your Squarespace website
### In SiteSpeakAI
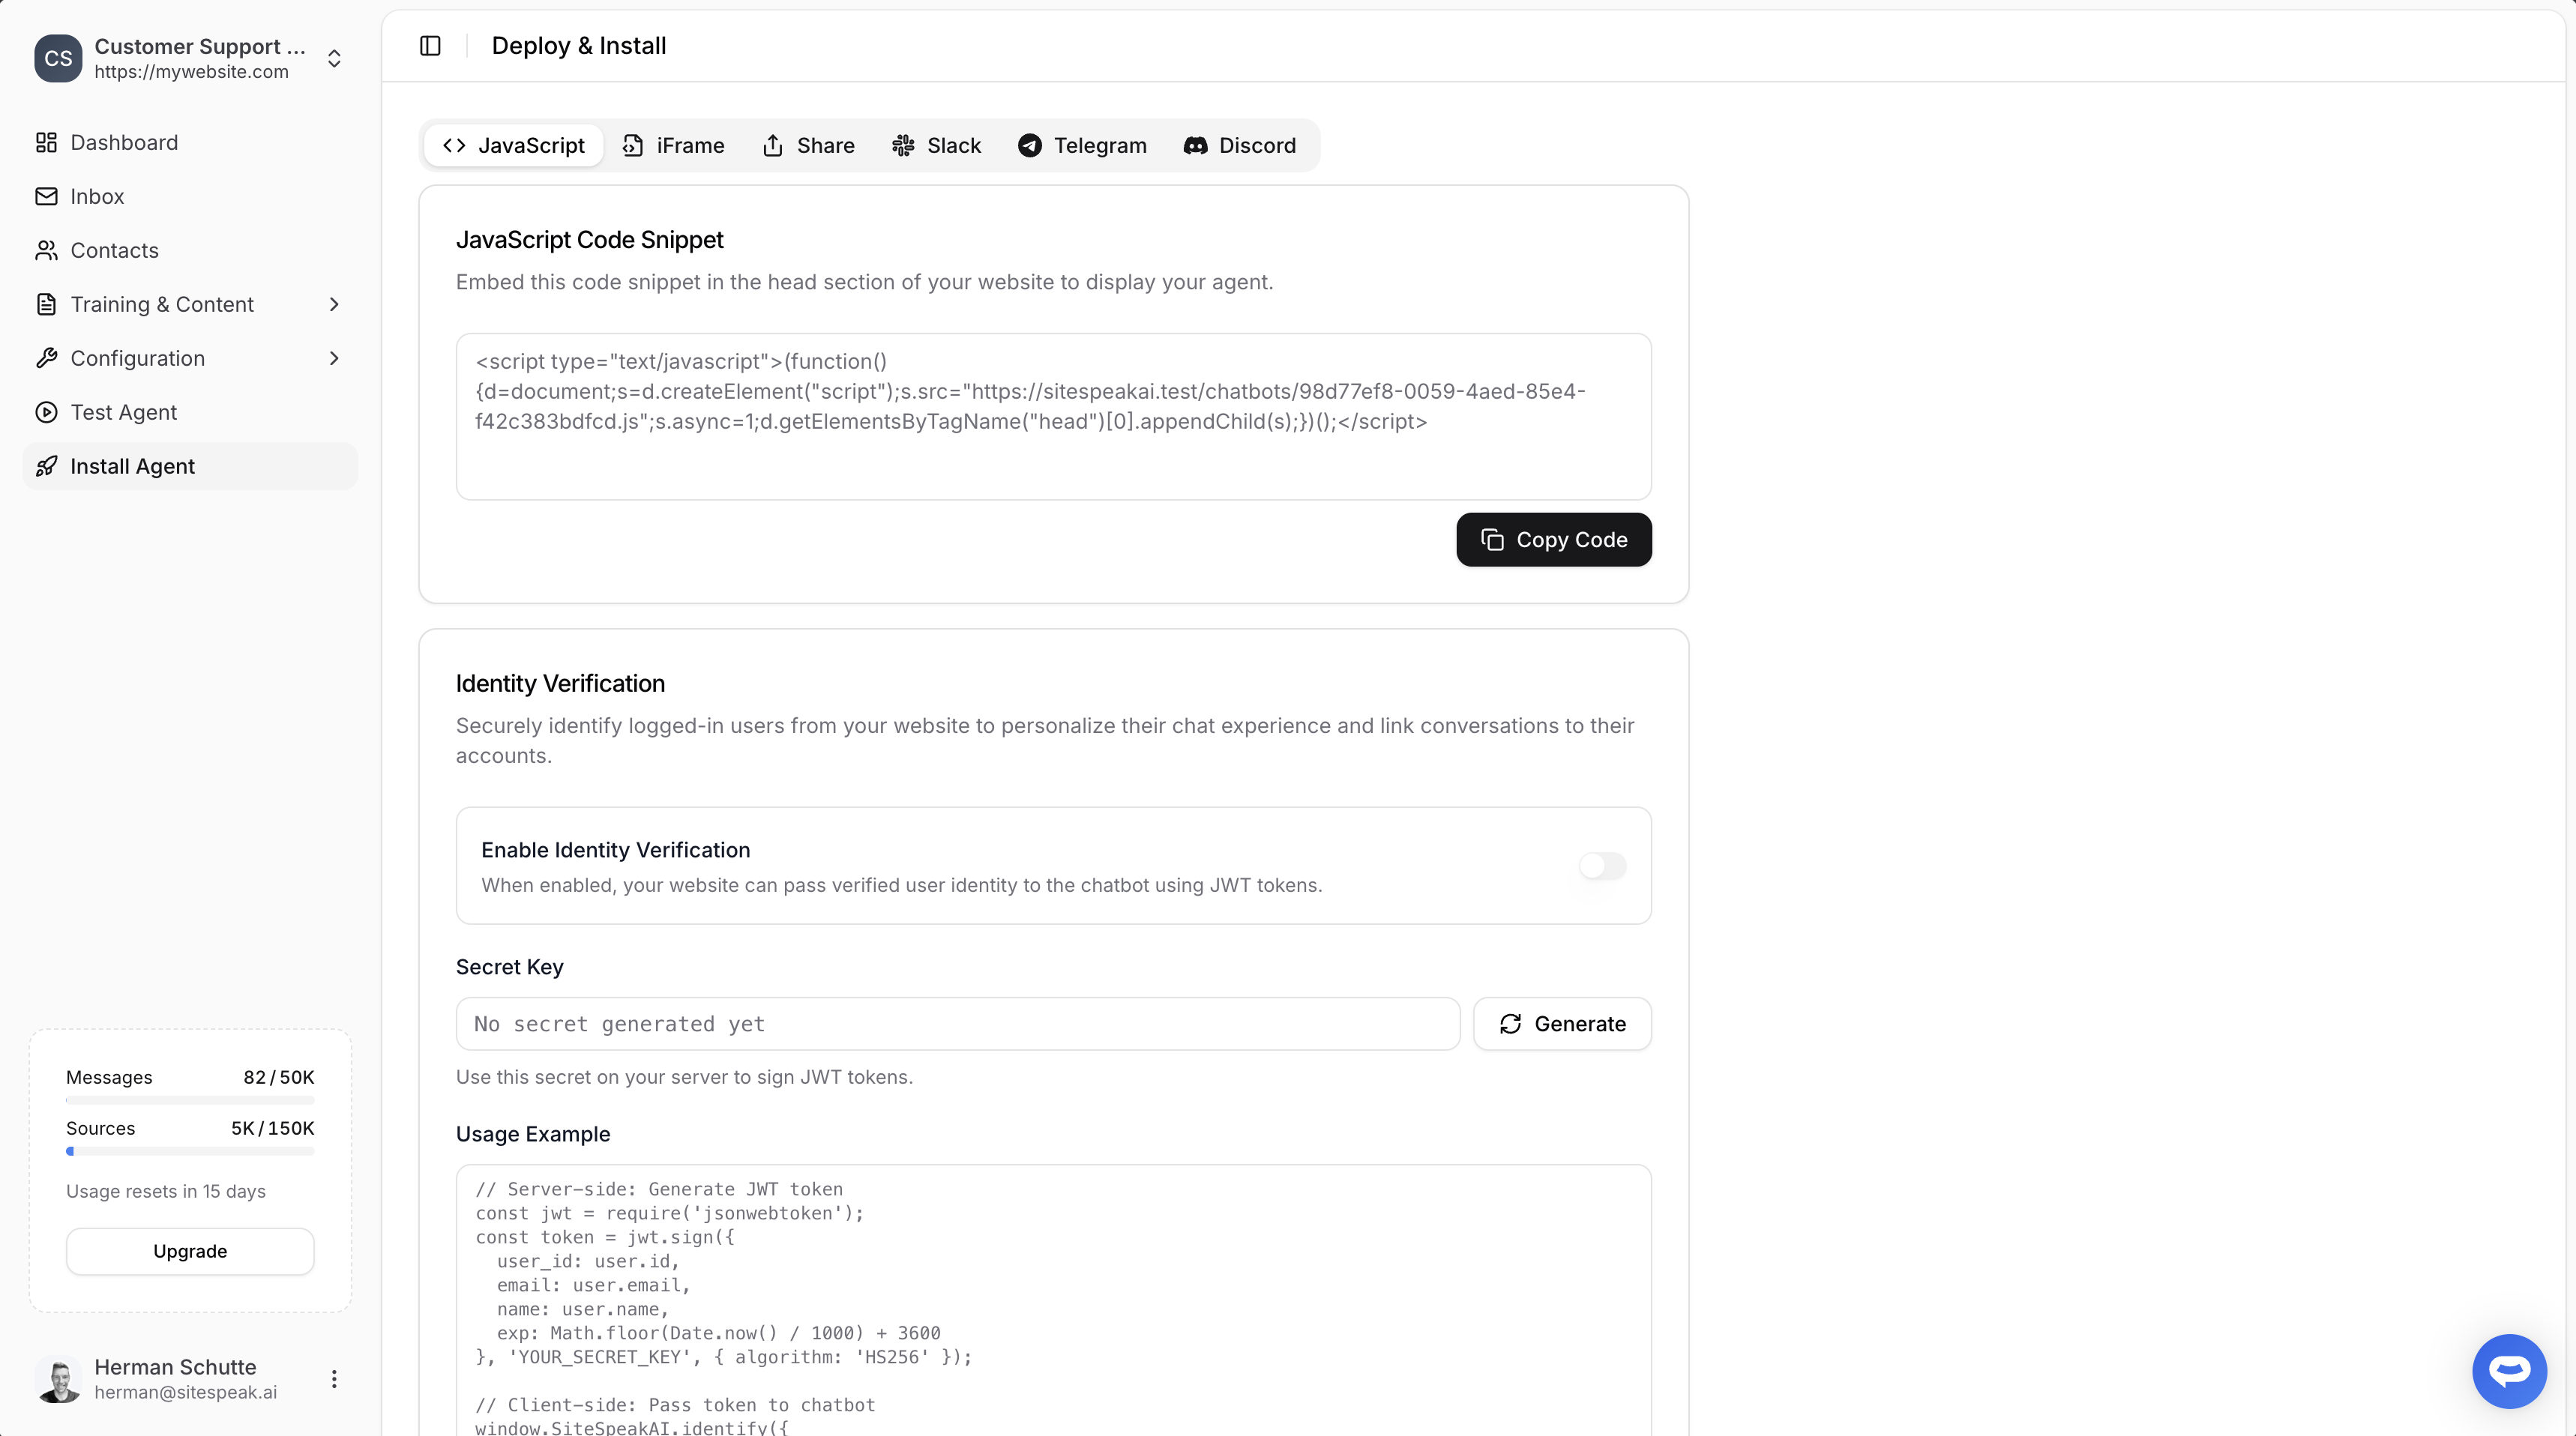
Select your chatbot from the dropdown menu at the top, click on the **Install Agent** section in the sidebar, then click on the **Copy Code** button to copy your code snippet.
 ### In ZOHO
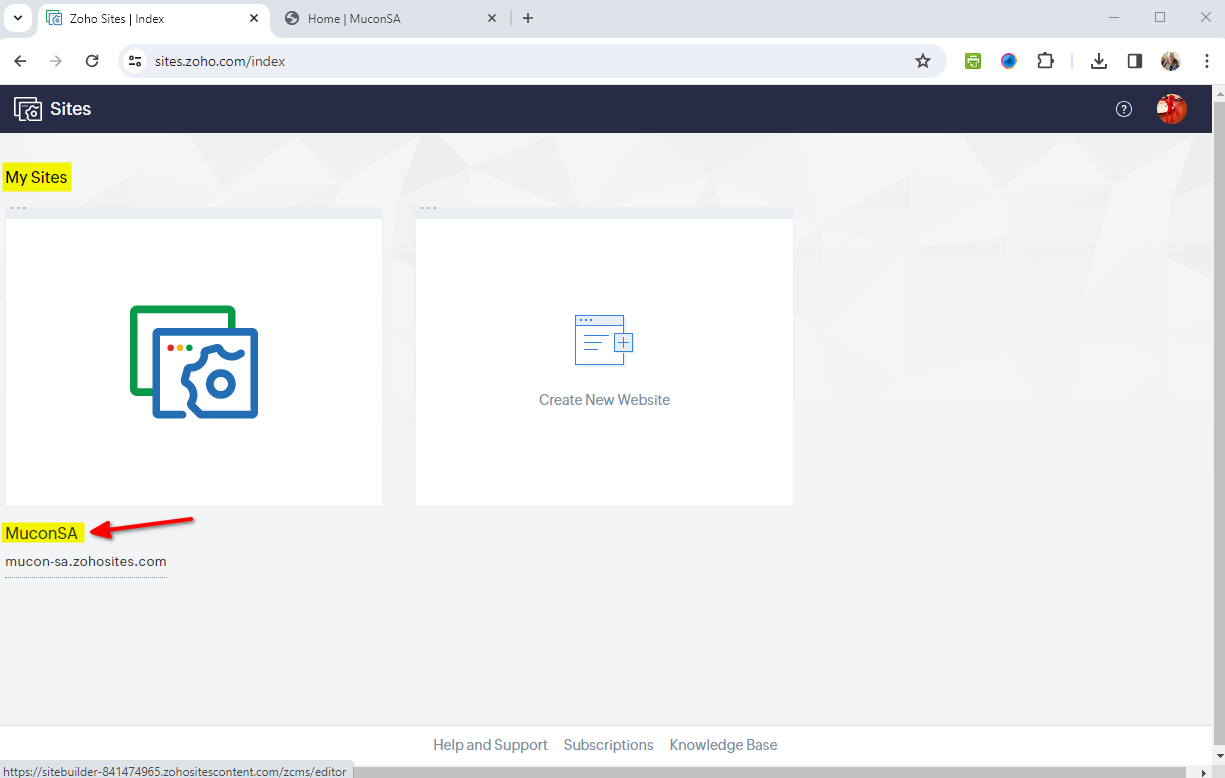
On your dashboard select the website to edit under **My Sites**
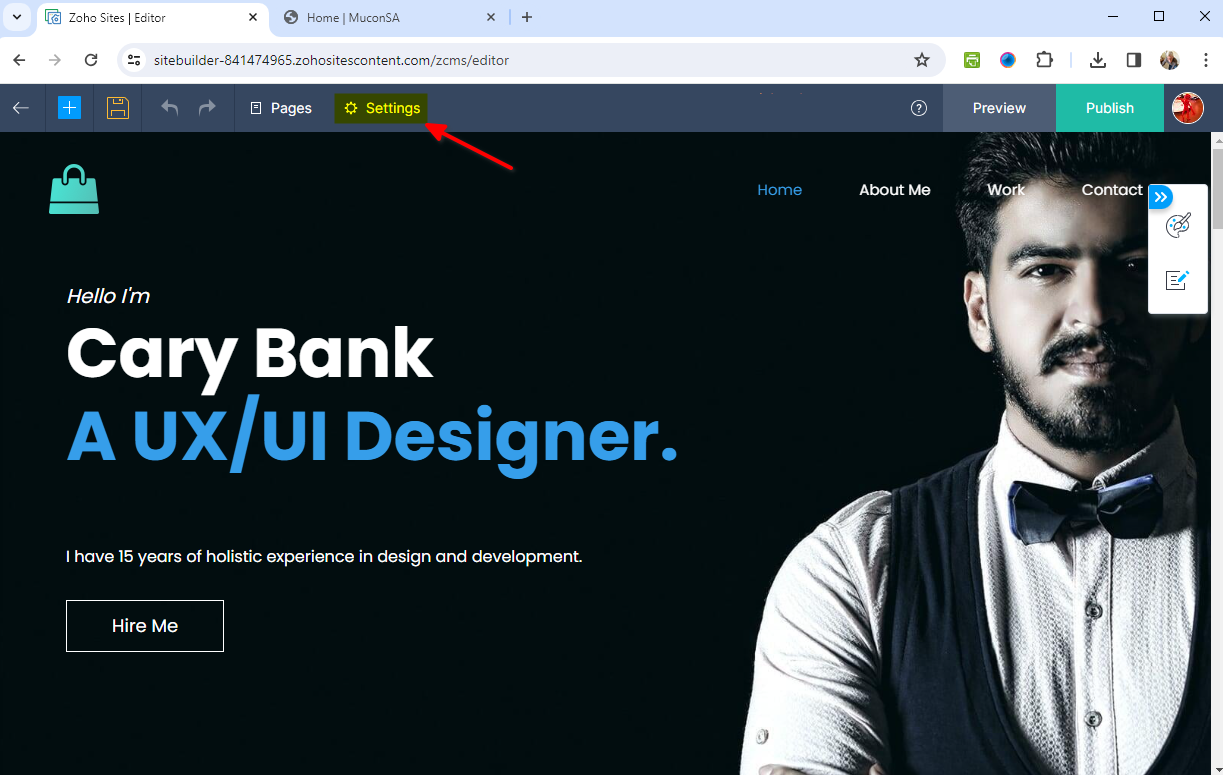
1. Select **Settings** in the website editor
2. Under **GENERAL** select **Header and Footer Code**
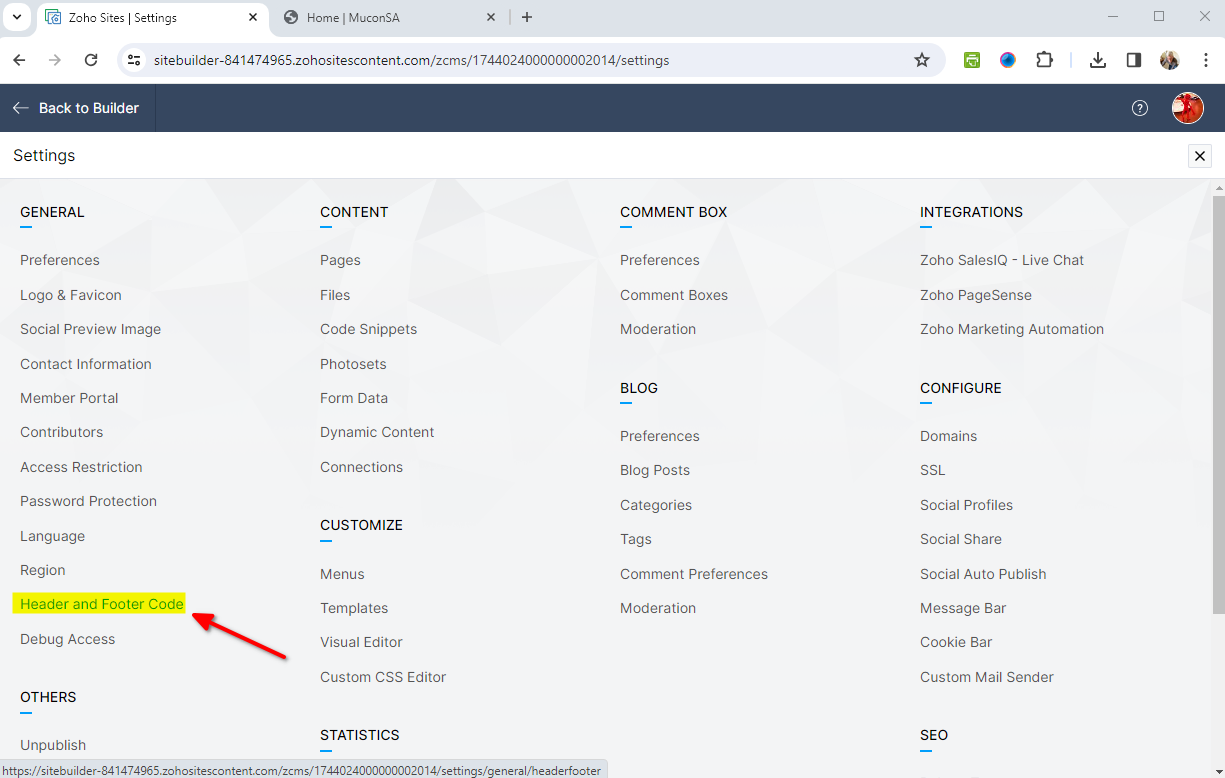
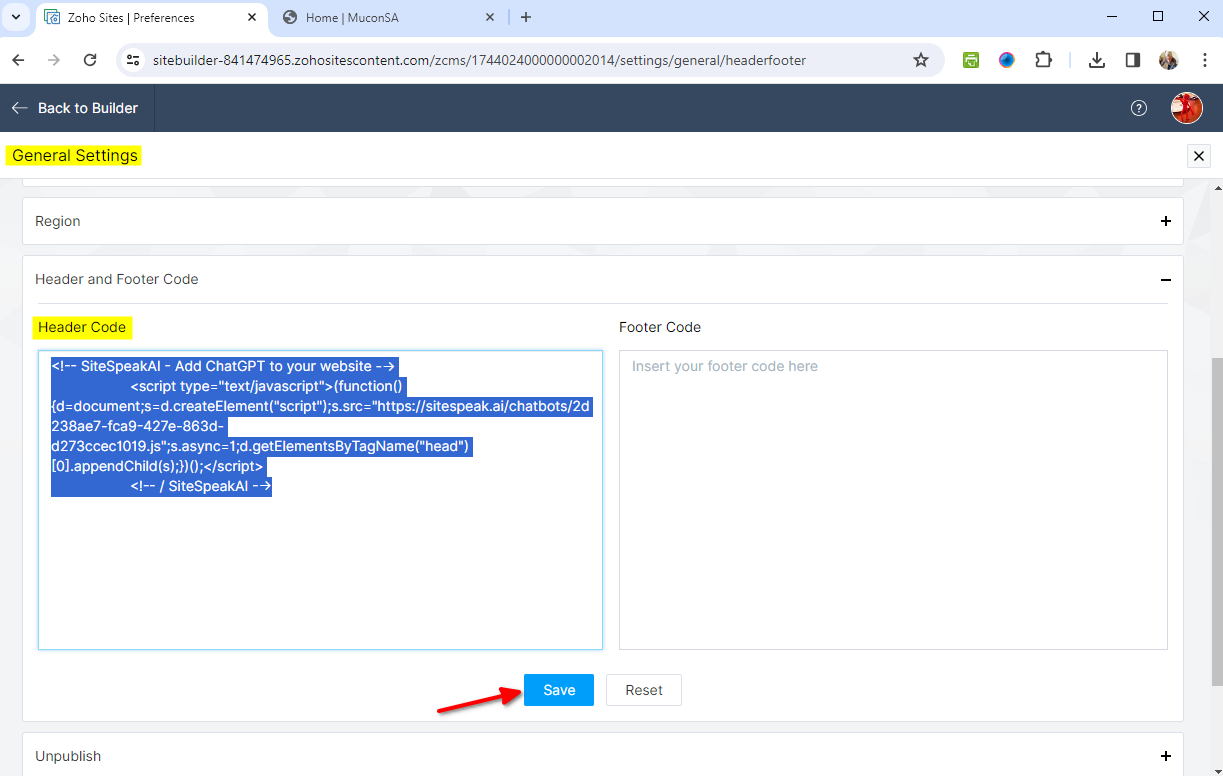
3. Insert your snippet in the **Header Code** part under **General Settings** and click on **Save** to save your code
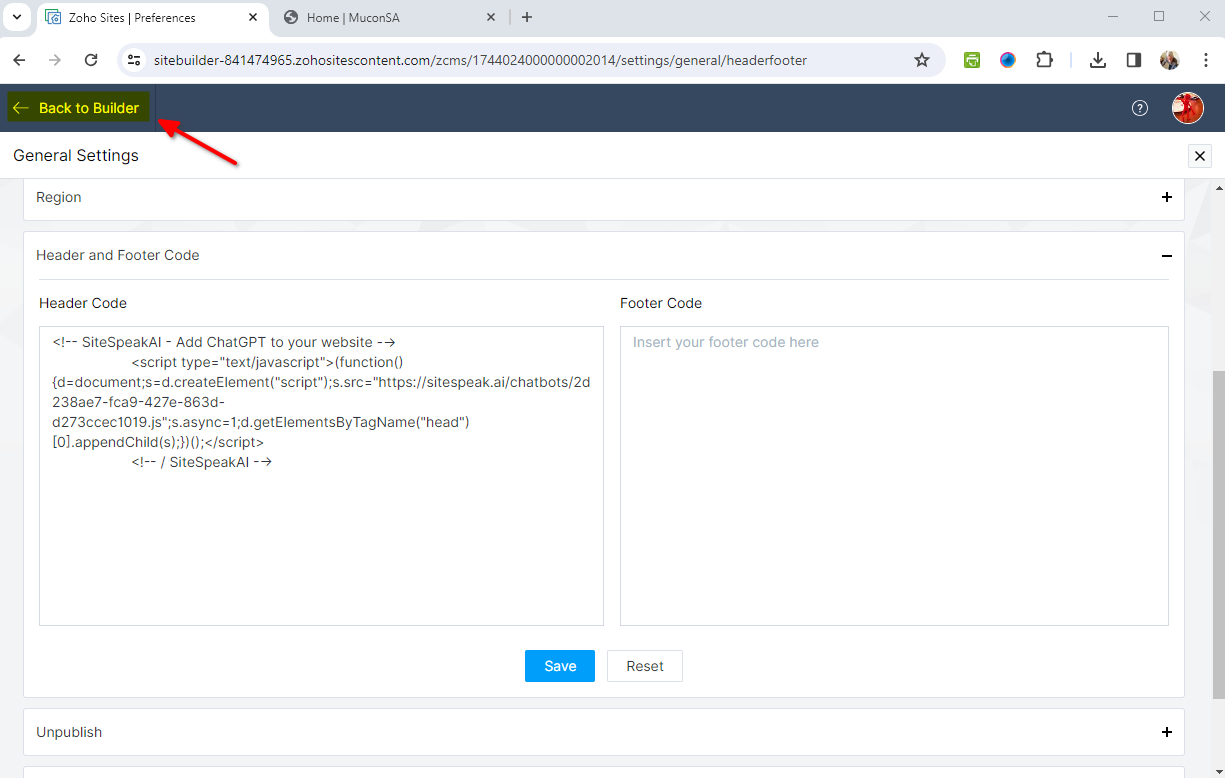
4. Click on **Back to Builder** to return to the website editor
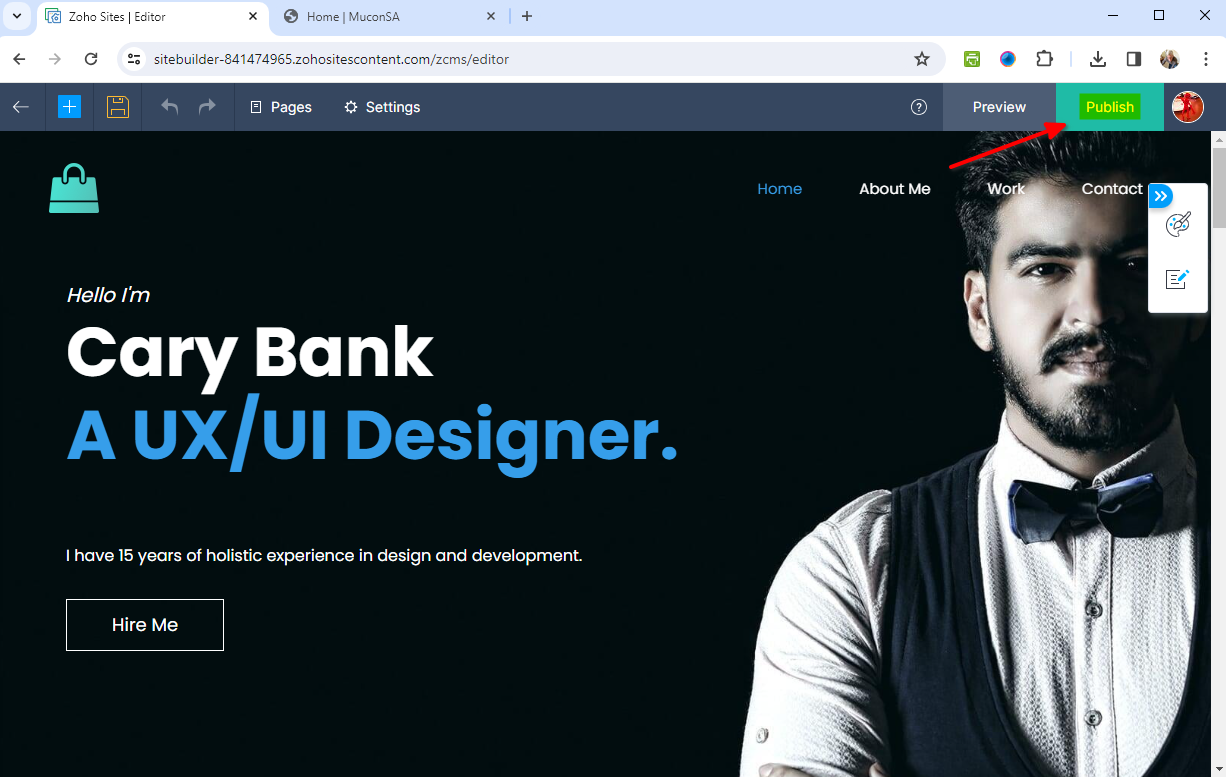
5. Select **Publish** to publish your website to view your chatbot. ***Note!*** **Preview** does not display your chatbot.
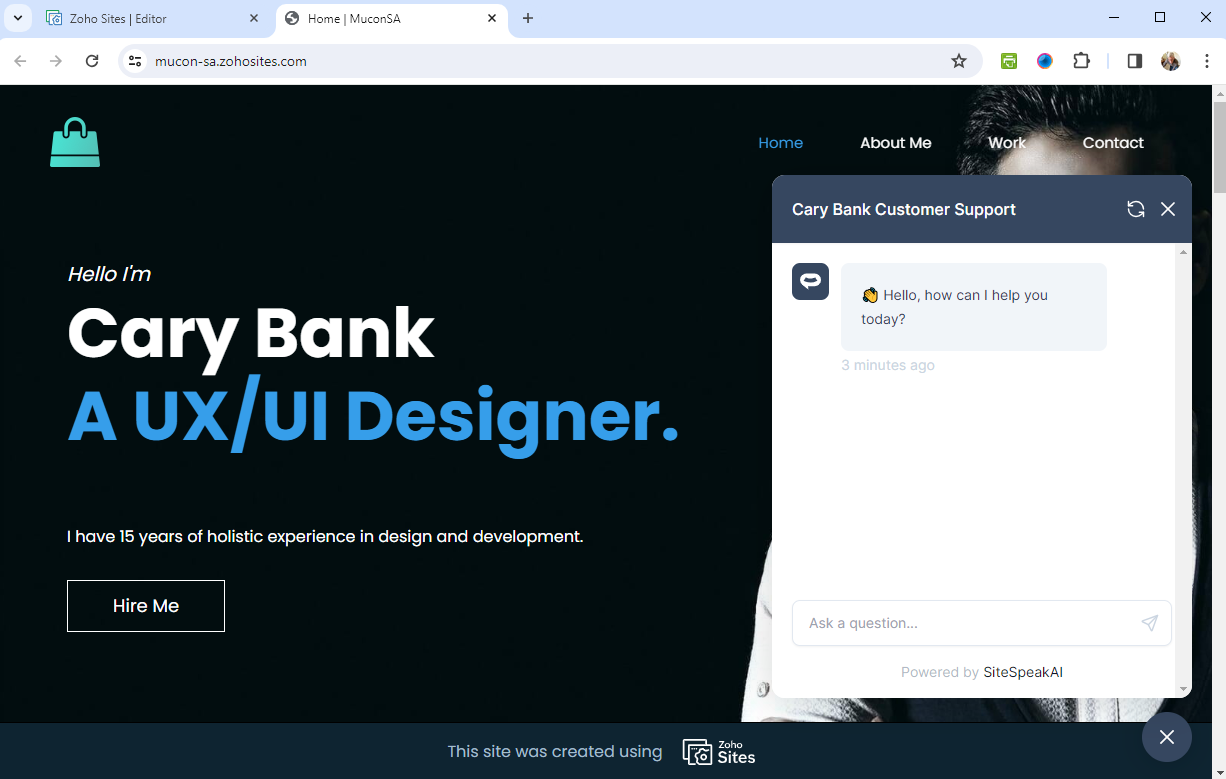
6. Your chatbot button will now be displayed on your website page
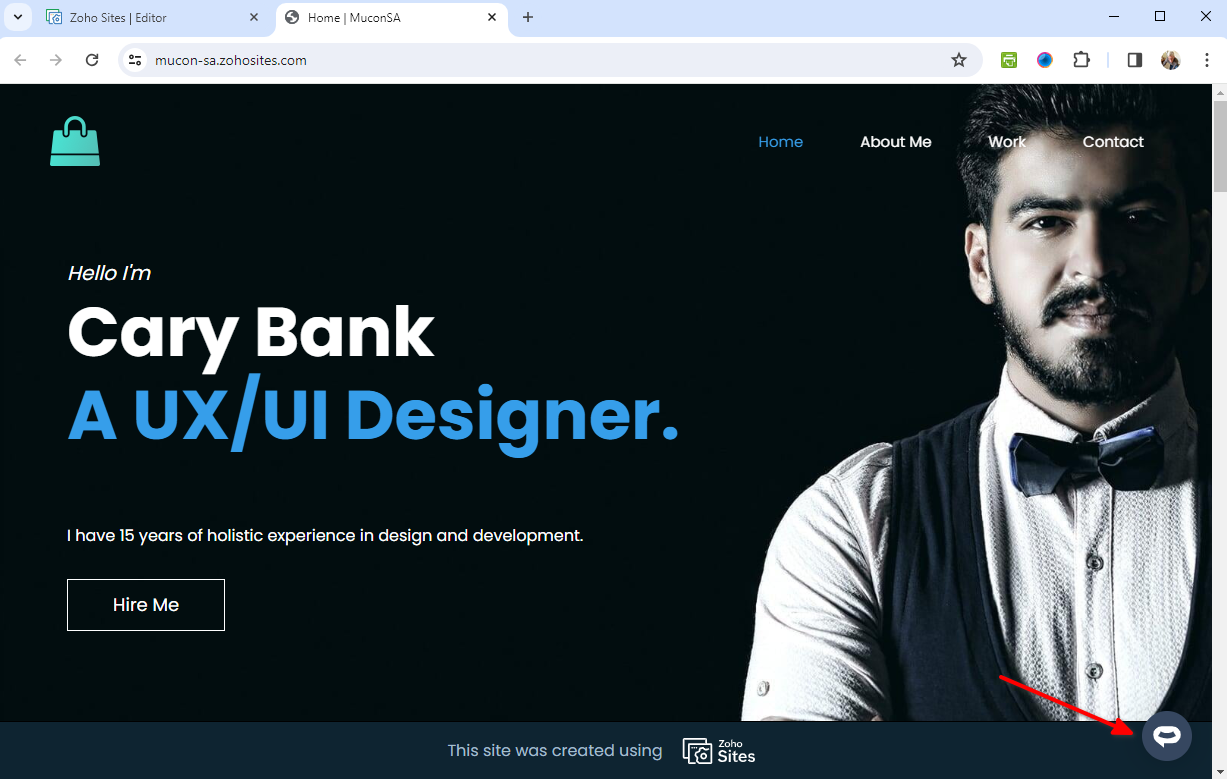
7. If you click on the button it will display the chatbot dialogue
Your chatbot is now added to your ZOHO website and your customers can start interacting with it.
***
Join over 1000+ businesses, websites and startups automating their customer service and other tasks with a custom trained AI agent.
### In ZOHO
On your dashboard select the website to edit under **My Sites**

1. Select **Settings** in the website editor

2. Under **GENERAL** select **Header and Footer Code**

3. Insert your snippet in the **Header Code** part under **General Settings** and click on **Save** to save your code

4. Click on **Back to Builder** to return to the website editor

5. Select **Publish** to publish your website to view your chatbot. ***Note!*** **Preview** does not display your chatbot.

6. Your chatbot button will now be displayed on your website page

7. If you click on the button it will display the chatbot dialogue

Your chatbot is now added to your ZOHO website and your customers can start interacting with it.
***
Join over 1000+ businesses, websites and startups automating their customer service and other tasks with a custom trained AI agent.