> ## Documentation Index
> Fetch the complete documentation index at: https://sitespeak.ai/docs/llms.txt
> Use this file to discover all available pages before exploring further.
# Connect App Integrations
> Connect Notion, OneNote, Google Drive, SharePoint, OneDrive, Confluence, Discord, and other services to train your chatbot.
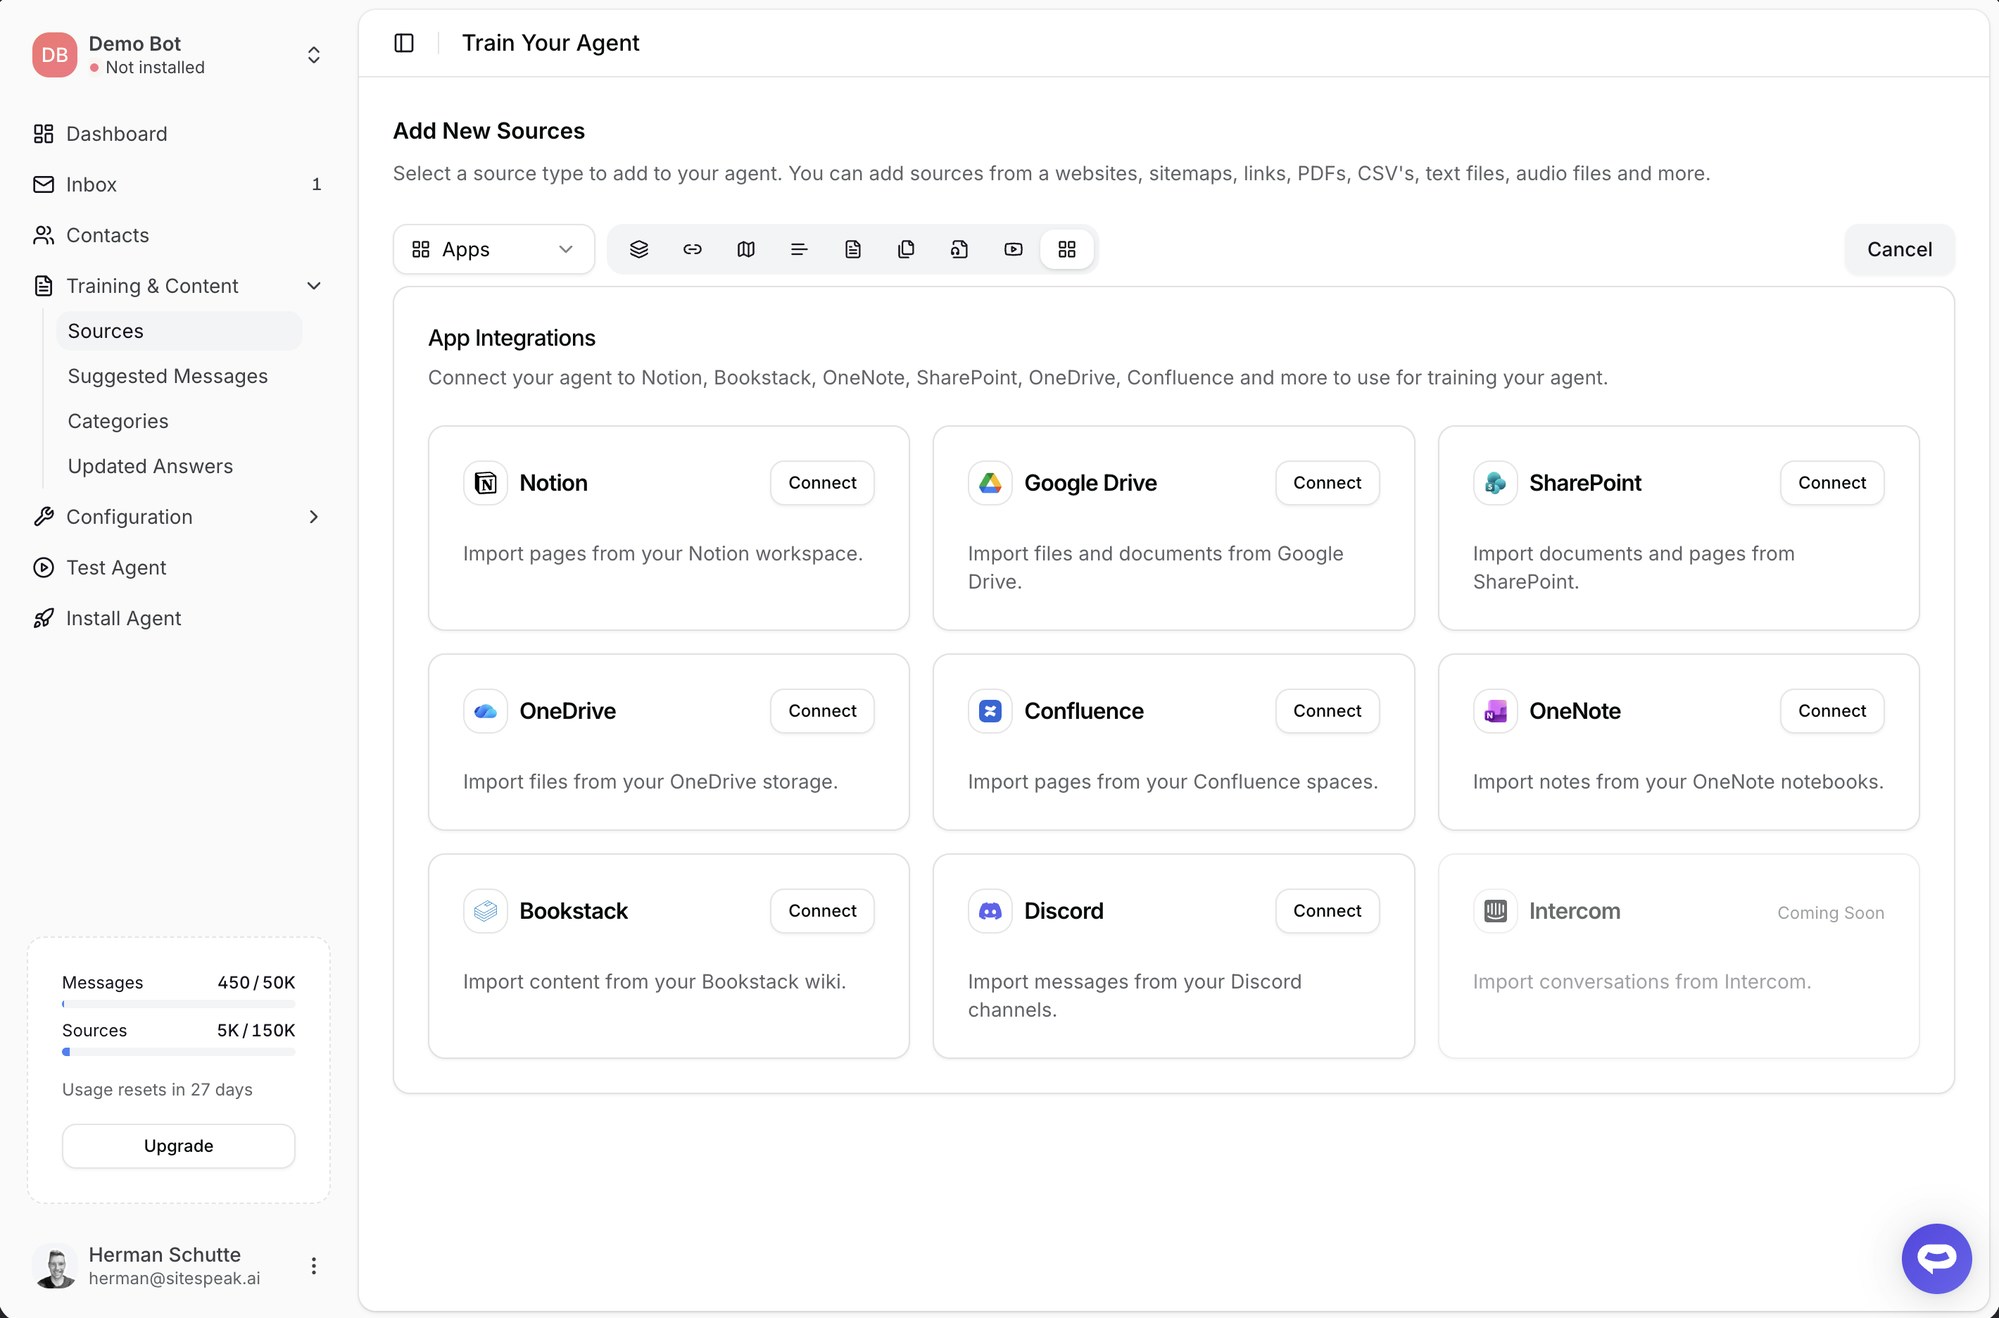
Connect your chatbot to third-party services like Notion, OneNote, Google Drive, SharePoint, OneDrive, Confluence, and Discord to use their content for training. This allows your chatbot to answer questions based on your existing documentation and knowledge bases.
## Available Integrations
From the **Apps** source type, you can connect:
* **Notion** - Connect your Notion workspace
* **Bookstack** - Connect your BookStack wiki ([detailed guide](/training-your-chatbot/bookstack))
* **OneNote** - Connect your Microsoft OneNote notebooks
* **Google Drive** - Connect your Google Drive documents
* **SharePoint** - Connect your SharePoint document libraries and site pages
* **OneDrive** - Connect your OneDrive files and documents
* **Confluence** - Connect your Confluence spaces and pages
* **Discord** - Select Discord channels to train on
Intercom integration is coming soon.
 ***
## Connecting an App Integration
In your chatbot dashboard, click **Training & Content** in the sidebar.
Click on **Sources**.
Click the **+ Add Sources** button.
Select **Apps** from the source type dropdown.
Click on the integration you want to connect (e.g., Connect Notion, Connect OneNote).
Follow the OAuth prompts to authorize SiteSpeakAI to access your content.
***
## Notion
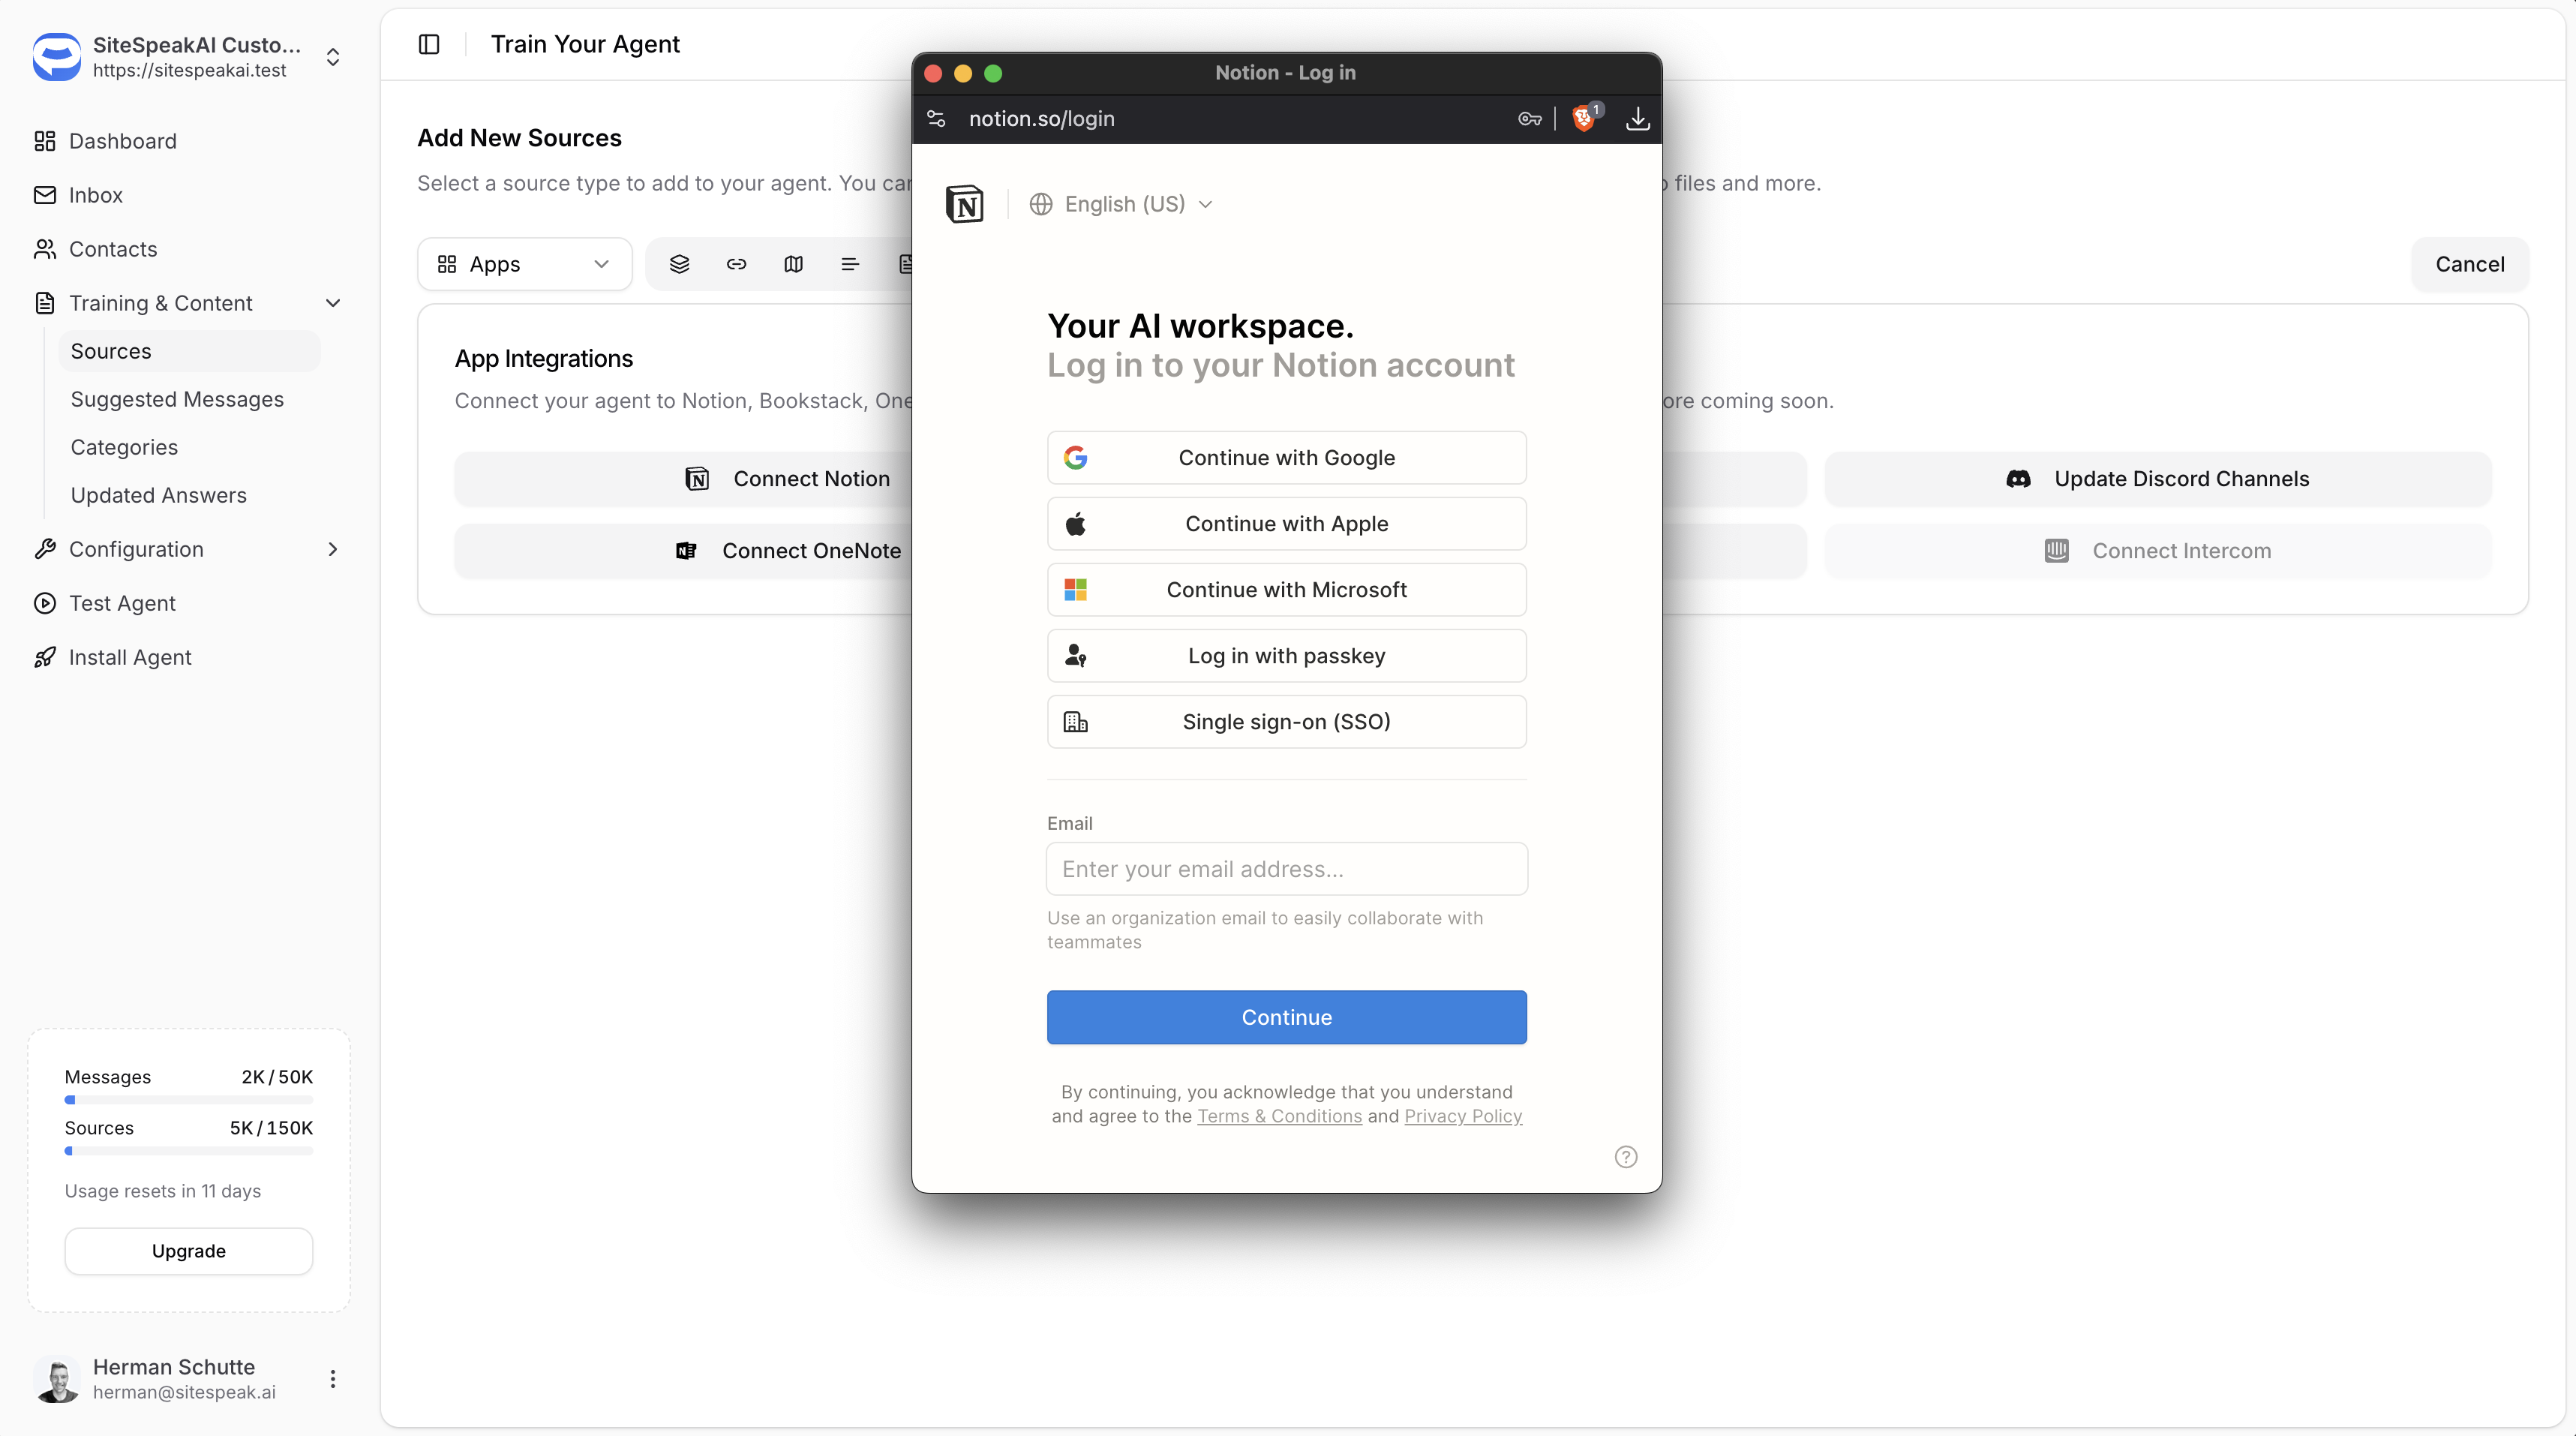
Click **Connect Notion** to link your Notion workspace. You'll be redirected to Notion to log in and authorize access. Once connected, SiteSpeakAI can access your Notion pages to use for training.
***
## Connecting an App Integration
In your chatbot dashboard, click **Training & Content** in the sidebar.
Click on **Sources**.
Click the **+ Add Sources** button.
Select **Apps** from the source type dropdown.
Click on the integration you want to connect (e.g., Connect Notion, Connect OneNote).
Follow the OAuth prompts to authorize SiteSpeakAI to access your content.
***
## Notion
Click **Connect Notion** to link your Notion workspace. You'll be redirected to Notion to log in and authorize access. Once connected, SiteSpeakAI can access your Notion pages to use for training.
 ***
## OneNote
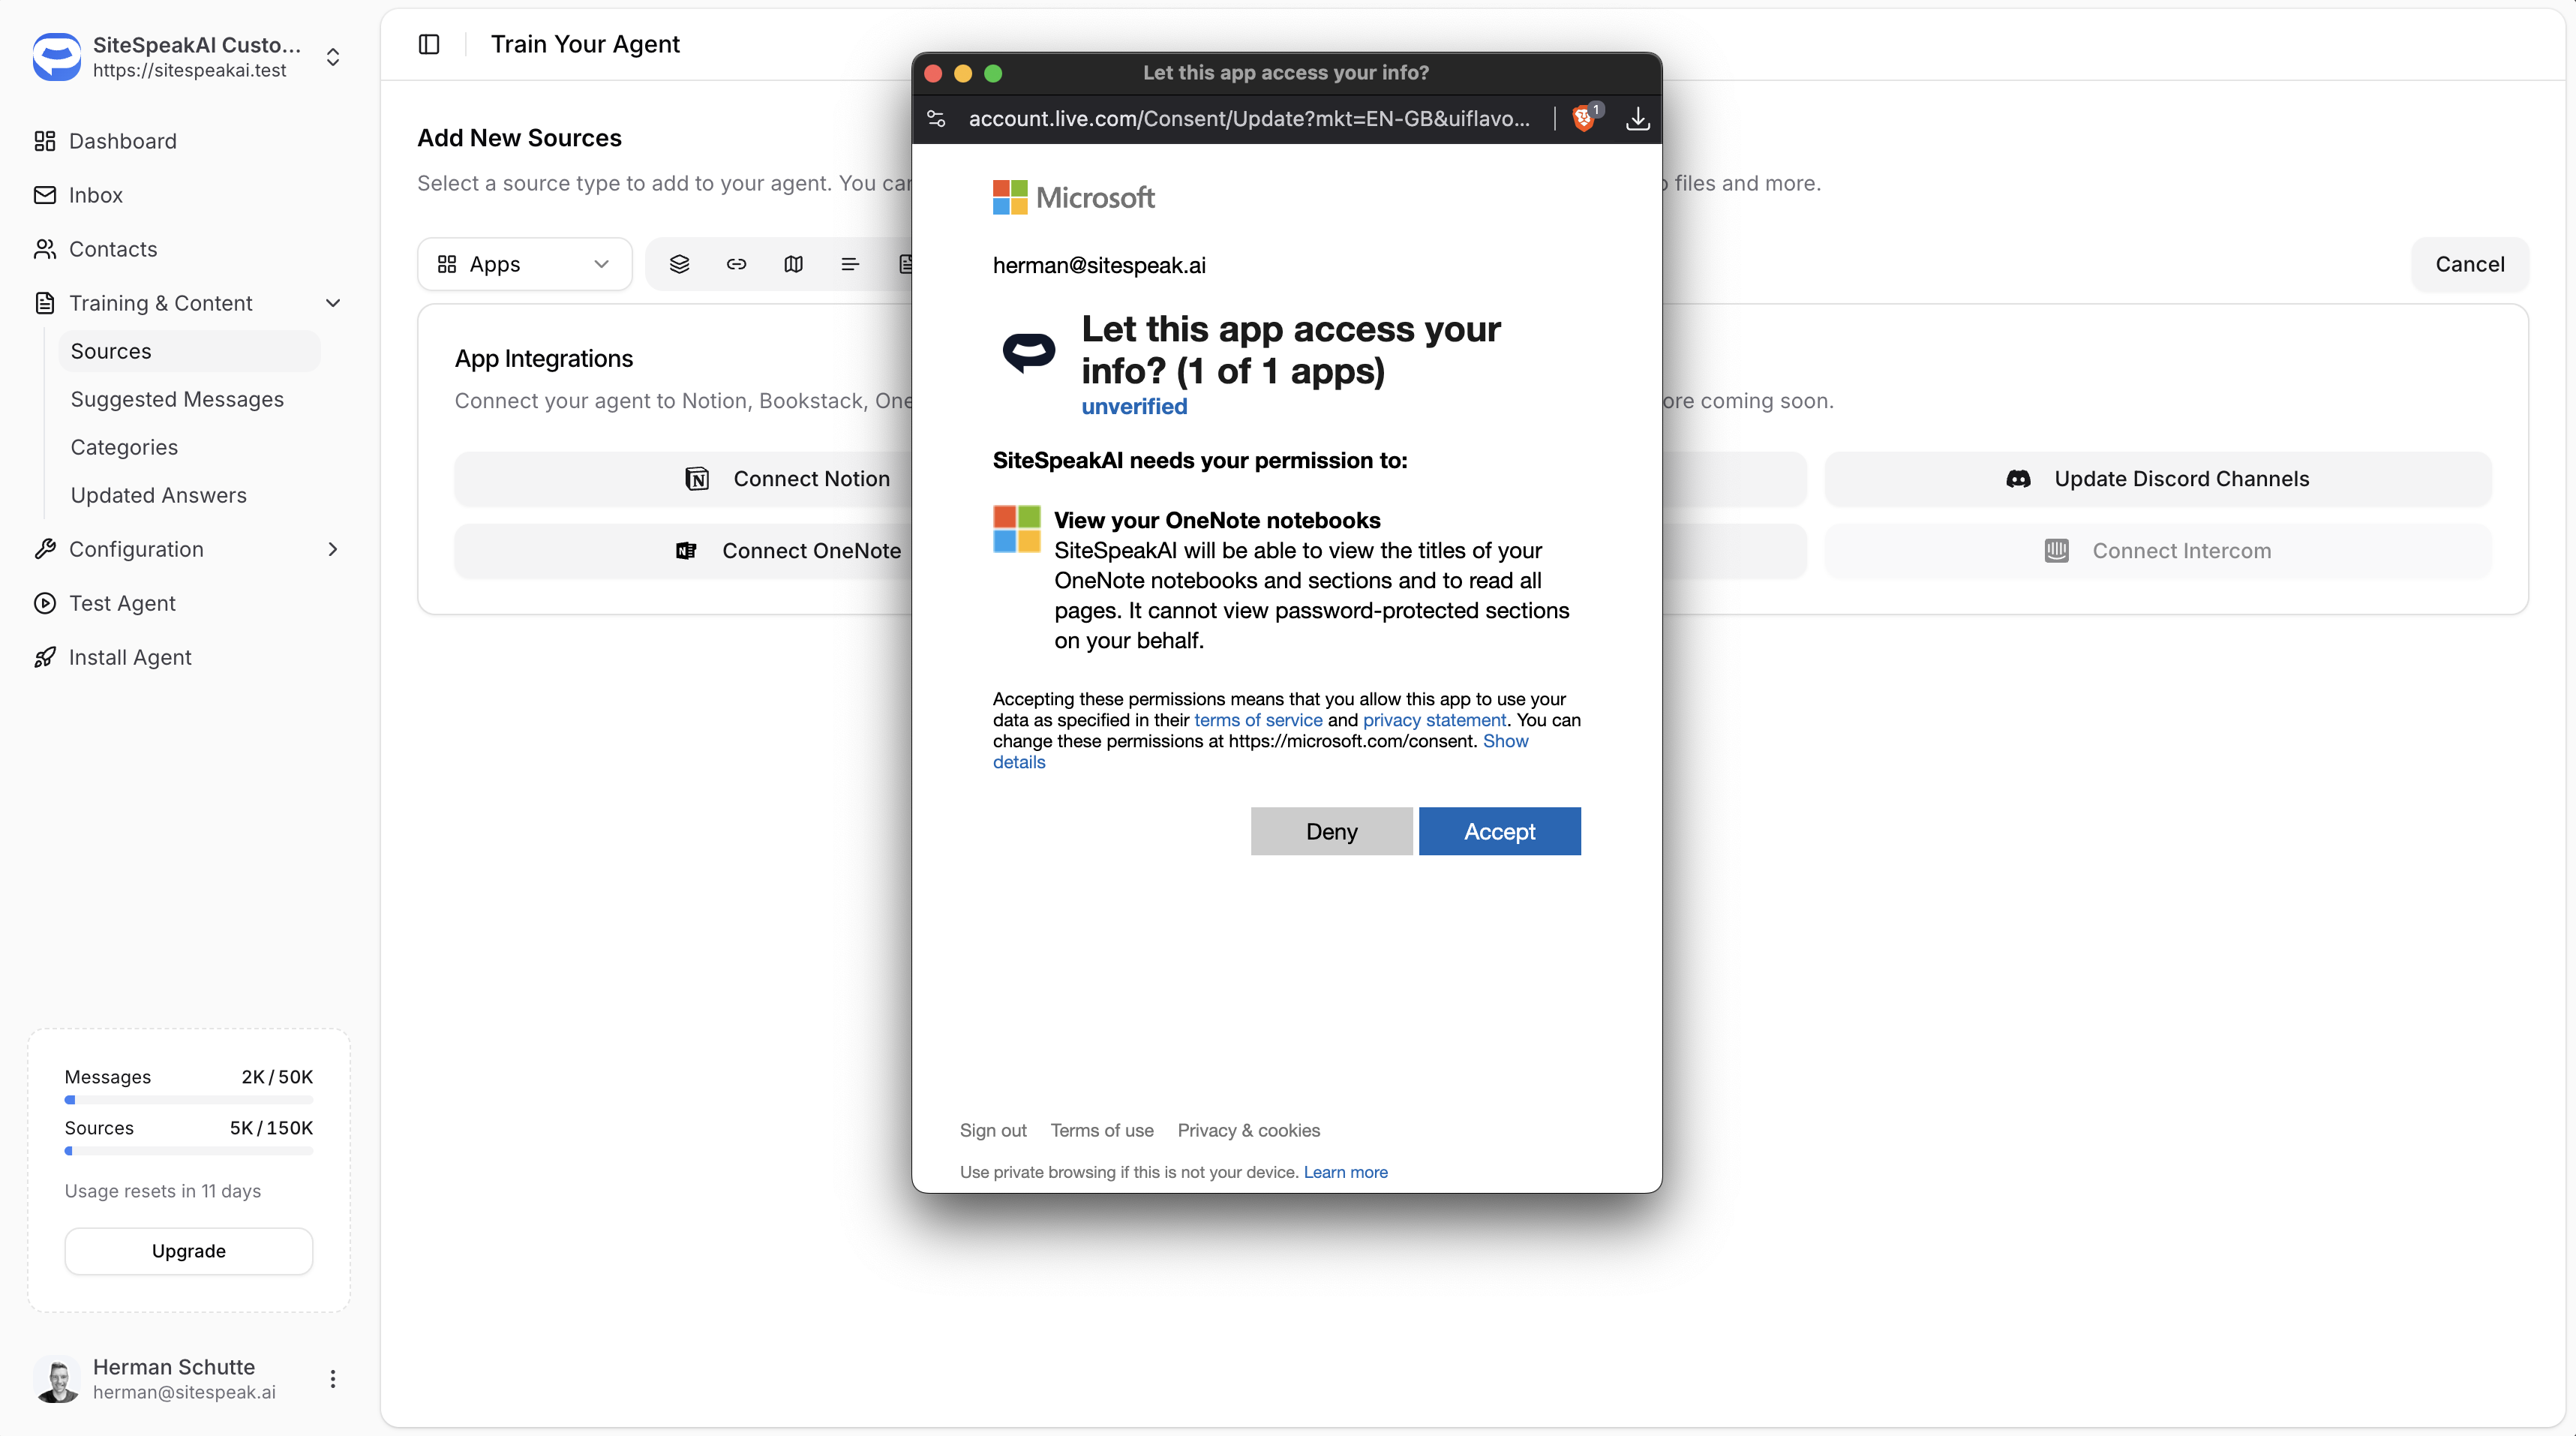
Click **Connect OneNote** to link your Microsoft OneNote notebooks. You'll be prompted to sign in with your Microsoft account and grant permission.
SiteSpeakAI will be able to:
* View the titles of your OneNote notebooks and sections
* Read all pages in your notebooks
Password-protected sections cannot be accessed.
***
## OneNote
Click **Connect OneNote** to link your Microsoft OneNote notebooks. You'll be prompted to sign in with your Microsoft account and grant permission.
SiteSpeakAI will be able to:
* View the titles of your OneNote notebooks and sections
* Read all pages in your notebooks
Password-protected sections cannot be accessed.
 ***
## Google Drive
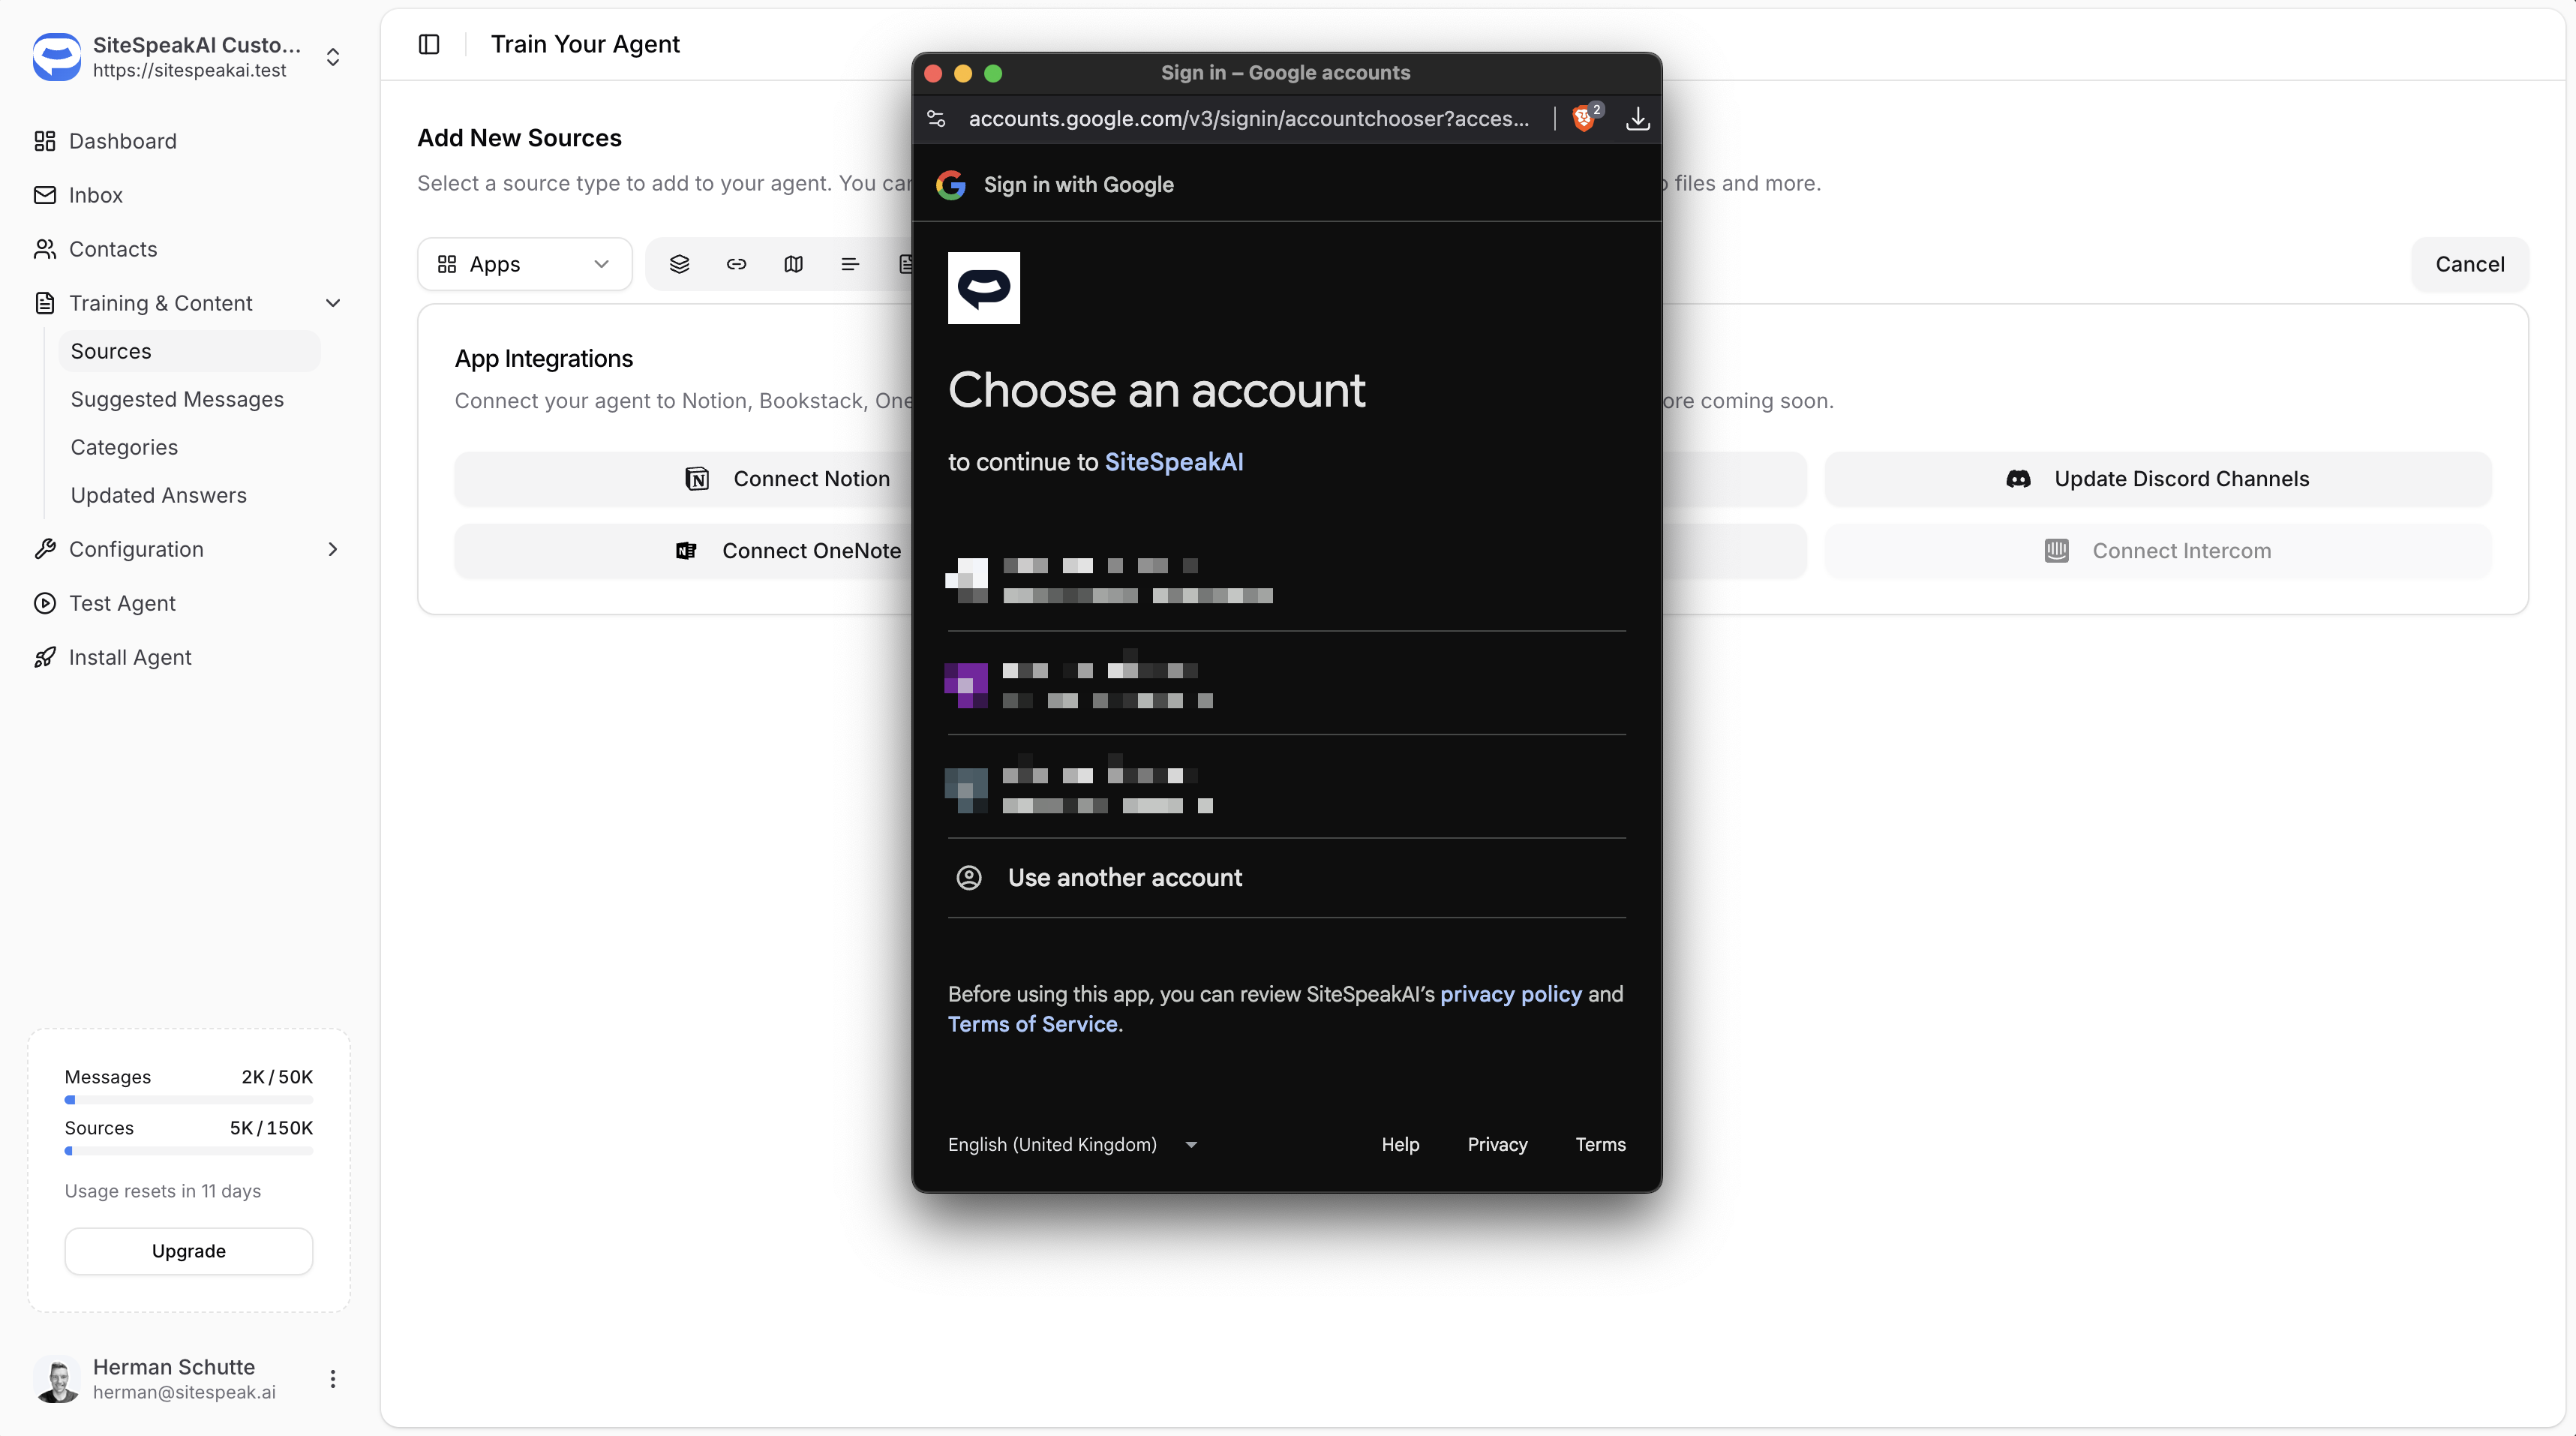
Click **Connect Google Drive** to link your Google account. You'll be redirected to Google to choose an account and authorize access to your Drive documents.
***
## Google Drive
Click **Connect Google Drive** to link your Google account. You'll be redirected to Google to choose an account and authorize access to your Drive documents.
 ***
## SharePoint
Click **Connect SharePoint** to train your chatbot on documents and pages stored in your SharePoint Online environment. You'll be prompted to sign in with your Microsoft account and grant permission to read your SharePoint sites and files.
### Getting started
From the **Apps** source type, click **Connect SharePoint**. If you haven't connected your Microsoft account yet, you'll be prompted to sign in and authorize access.
Choose the SharePoint site that contains the content you want to use for training.
Select either **Document Libraries** or **Site Pages** depending on the type of content you want to index.
### Document Libraries
Use this option to train on files stored in SharePoint document libraries.
**Supported file types:**
* Word documents (.docx, .doc)
* PDF files (.pdf)
* PowerPoint presentations (.pptx, .ppt)
* Excel spreadsheets (.xlsx, .xls)
* Text files (.txt, .csv, .md, .rtf)
Browse the available document libraries in the selected site.
You can browse and select individual documents, or click **Auto-sync** to automatically discover and index all documents in the library.
Click **Add Selected** to start training your chatbot on the selected documents.
**Auto-sync** creates a parent source that checks the library daily for new or updated documents and indexes them automatically. This works the same way as sitemap auto-sync.
Auto-sync for document libraries requires the **Pro** plan or higher.
### Site Pages
Use this option to train on SharePoint wiki pages and modern pages.
All wiki and modern pages from the selected site are listed.
You can select individual pages using the checkboxes, or click **Auto-sync All Pages** to automatically index every page on the site.
Click **Add Selected** to start training your chatbot on the selected pages. Content is extracted from each page's canvas layout.
**Auto-sync** creates a parent source that checks the site daily for new, updated, or deleted pages and keeps your training data in sync automatically. New pages are added, and pages that have been removed from SharePoint are cleaned up on the next sync cycle.
Auto-sync for site pages requires the **Pro** plan or higher.
SharePoint uses the same Microsoft account connection as OneNote. If you've already connected OneNote, you may need to reconnect to grant the additional SharePoint permissions.
***
## OneDrive
Click **Connect OneDrive** to train your chatbot on files stored in your OneDrive account. You'll be prompted to sign in with your Microsoft account and grant permission to read your files.
### Getting started
From the **Apps** source type, click **Connect OneDrive**. If you haven't connected your Microsoft account yet, you'll be prompted to sign in and authorize access.
Navigate through your OneDrive folders to find the files you want to use for training.
Check the boxes next to the files you want to train on.
Click **Add Selected** to start training your chatbot on the selected files.
**Supported file types:**
* Word documents (.docx, .doc)
* PDF files (.pdf)
* PowerPoint presentations (.pptx, .ppt)
* Excel spreadsheets (.xlsx, .xls)
* Text files (.txt, .csv, .md, .rtf)
OneDrive uses the same Microsoft account connection as OneNote and SharePoint. If you've already connected one of these, you may need to reconnect to grant the additional OneDrive permissions.
***
## Confluence
Click **Connect Confluence** to train your chatbot on pages from your Confluence workspace. You'll be redirected to Atlassian to log in and authorize access.
### Getting started
From the **Apps** source type, click **Connect Confluence**. You'll be redirected to Atlassian to authorize access.
If you have multiple Confluence sites, choose the one that contains the content you want to use for training.
Browse the available spaces and select the one you want to train on.
Browse the pages in the selected space and check the ones you want to include.
Click **Add Selected** to start training your chatbot on the selected pages.
Confluence integration requires your Confluence instance to be accessible via Atlassian Cloud.
***
## Discord
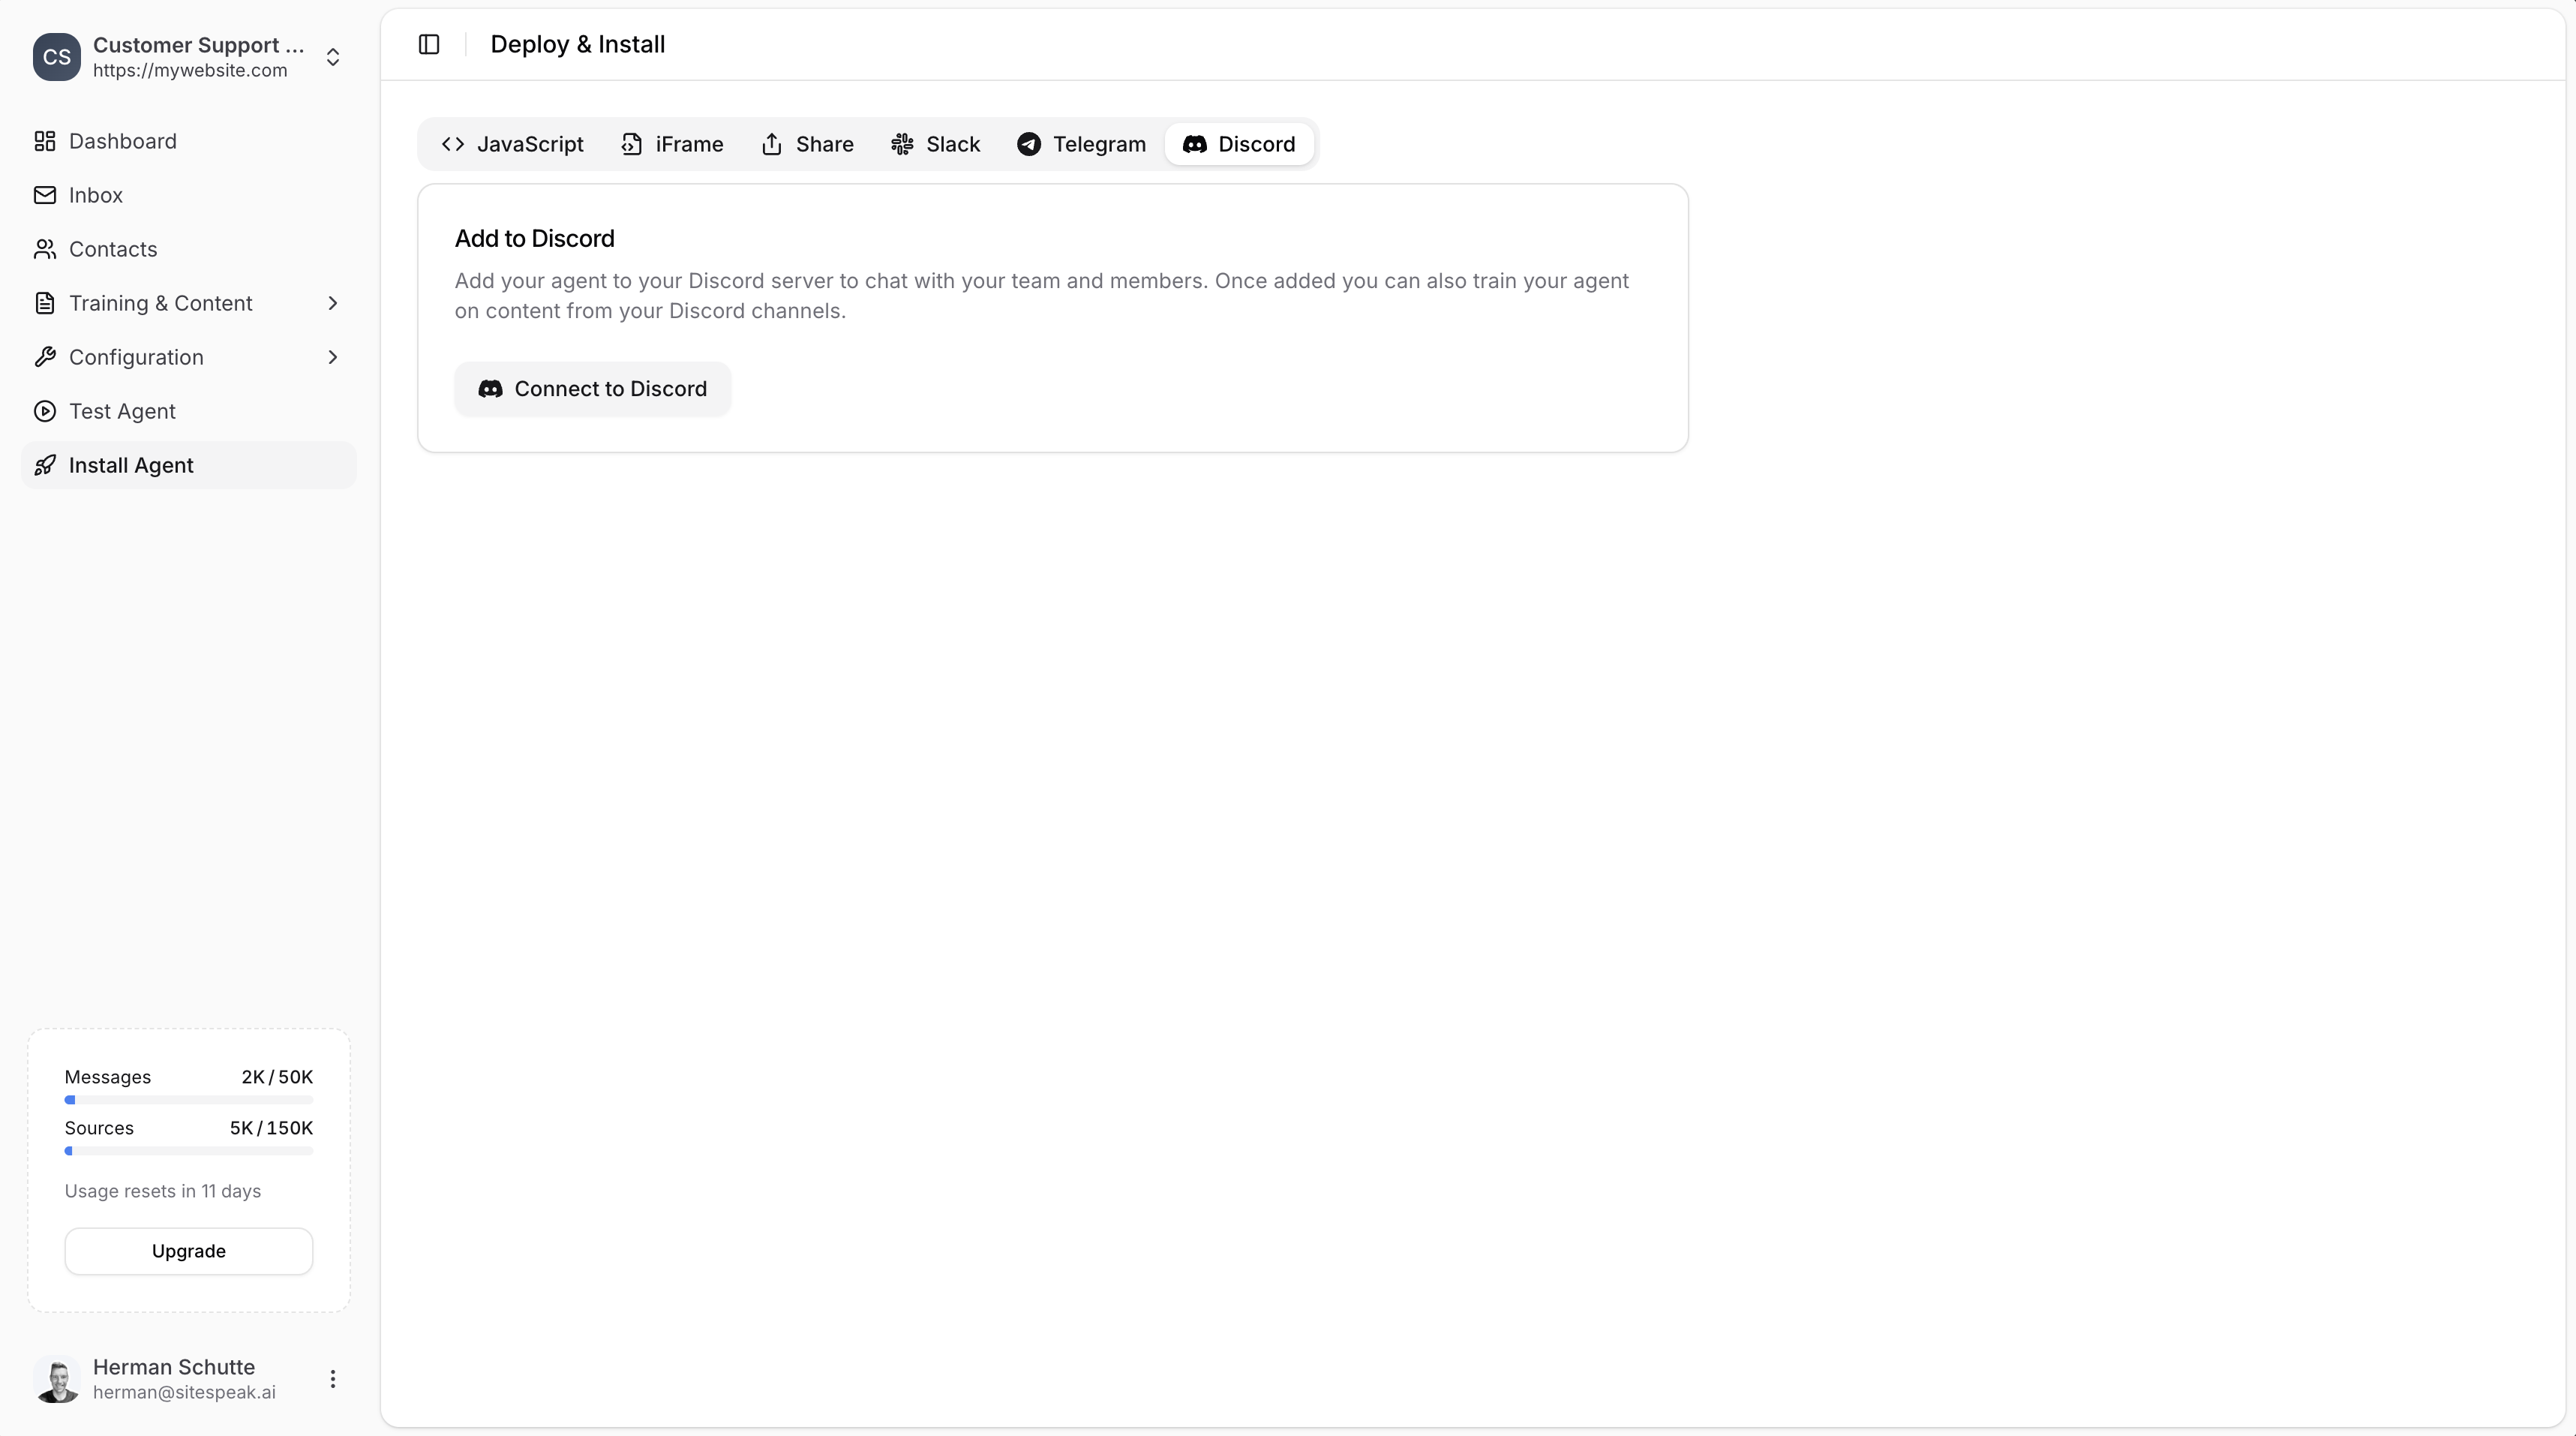
To train your chatbot on Discord channel content, you first need to install the chatbot in your Discord server.
### Step 1: Install to Discord
In your chatbot dashboard, click **Install Agent** in the sidebar.
Click on the **Discord** tab.
Click the **Connect to Discord** button.
Log in to Discord and authorize SiteSpeakAI to access your server.
***
## SharePoint
Click **Connect SharePoint** to train your chatbot on documents and pages stored in your SharePoint Online environment. You'll be prompted to sign in with your Microsoft account and grant permission to read your SharePoint sites and files.
### Getting started
From the **Apps** source type, click **Connect SharePoint**. If you haven't connected your Microsoft account yet, you'll be prompted to sign in and authorize access.
Choose the SharePoint site that contains the content you want to use for training.
Select either **Document Libraries** or **Site Pages** depending on the type of content you want to index.
### Document Libraries
Use this option to train on files stored in SharePoint document libraries.
**Supported file types:**
* Word documents (.docx, .doc)
* PDF files (.pdf)
* PowerPoint presentations (.pptx, .ppt)
* Excel spreadsheets (.xlsx, .xls)
* Text files (.txt, .csv, .md, .rtf)
Browse the available document libraries in the selected site.
You can browse and select individual documents, or click **Auto-sync** to automatically discover and index all documents in the library.
Click **Add Selected** to start training your chatbot on the selected documents.
**Auto-sync** creates a parent source that checks the library daily for new or updated documents and indexes them automatically. This works the same way as sitemap auto-sync.
Auto-sync for document libraries requires the **Pro** plan or higher.
### Site Pages
Use this option to train on SharePoint wiki pages and modern pages.
All wiki and modern pages from the selected site are listed.
You can select individual pages using the checkboxes, or click **Auto-sync All Pages** to automatically index every page on the site.
Click **Add Selected** to start training your chatbot on the selected pages. Content is extracted from each page's canvas layout.
**Auto-sync** creates a parent source that checks the site daily for new, updated, or deleted pages and keeps your training data in sync automatically. New pages are added, and pages that have been removed from SharePoint are cleaned up on the next sync cycle.
Auto-sync for site pages requires the **Pro** plan or higher.
SharePoint uses the same Microsoft account connection as OneNote. If you've already connected OneNote, you may need to reconnect to grant the additional SharePoint permissions.
***
## OneDrive
Click **Connect OneDrive** to train your chatbot on files stored in your OneDrive account. You'll be prompted to sign in with your Microsoft account and grant permission to read your files.
### Getting started
From the **Apps** source type, click **Connect OneDrive**. If you haven't connected your Microsoft account yet, you'll be prompted to sign in and authorize access.
Navigate through your OneDrive folders to find the files you want to use for training.
Check the boxes next to the files you want to train on.
Click **Add Selected** to start training your chatbot on the selected files.
**Supported file types:**
* Word documents (.docx, .doc)
* PDF files (.pdf)
* PowerPoint presentations (.pptx, .ppt)
* Excel spreadsheets (.xlsx, .xls)
* Text files (.txt, .csv, .md, .rtf)
OneDrive uses the same Microsoft account connection as OneNote and SharePoint. If you've already connected one of these, you may need to reconnect to grant the additional OneDrive permissions.
***
## Confluence
Click **Connect Confluence** to train your chatbot on pages from your Confluence workspace. You'll be redirected to Atlassian to log in and authorize access.
### Getting started
From the **Apps** source type, click **Connect Confluence**. You'll be redirected to Atlassian to authorize access.
If you have multiple Confluence sites, choose the one that contains the content you want to use for training.
Browse the available spaces and select the one you want to train on.
Browse the pages in the selected space and check the ones you want to include.
Click **Add Selected** to start training your chatbot on the selected pages.
Confluence integration requires your Confluence instance to be accessible via Atlassian Cloud.
***
## Discord
To train your chatbot on Discord channel content, you first need to install the chatbot in your Discord server.
### Step 1: Install to Discord
In your chatbot dashboard, click **Install Agent** in the sidebar.
Click on the **Discord** tab.
Click the **Connect to Discord** button.
Log in to Discord and authorize SiteSpeakAI to access your server.
 ### Step 2: Select Channels for Training
Once Discord is connected, you can select which channels to train on:
Click **Training & Content → Sources**.
Click **+ Add Sources** and select **Apps**.
Click **Connect Discord Channels**.
Check the boxes next to the channels you want to train on (e.g., general, support, feature-requests).
Click **Save** to confirm your selection.
If you see "No channels found", make sure you have [installed the chatbot in your Discord server](#step-1-install-to-discord) first.
***
## BookStack
For BookStack, you'll need to enter your Wiki URL and API credentials instead of using OAuth. See the [detailed BookStack guide](/training-your-chatbot/bookstack) for step-by-step instructions.
***
Join over 1000+ businesses, websites and startups automating their customer service and other tasks with a custom trained AI agent.
### Step 2: Select Channels for Training
Once Discord is connected, you can select which channels to train on:
Click **Training & Content → Sources**.
Click **+ Add Sources** and select **Apps**.
Click **Connect Discord Channels**.
Check the boxes next to the channels you want to train on (e.g., general, support, feature-requests).
Click **Save** to confirm your selection.
If you see "No channels found", make sure you have [installed the chatbot in your Discord server](#step-1-install-to-discord) first.
***
## BookStack
For BookStack, you'll need to enter your Wiki URL and API credentials instead of using OAuth. See the [detailed BookStack guide](/training-your-chatbot/bookstack) for step-by-step instructions.
***
Join over 1000+ businesses, websites and startups automating their customer service and other tasks with a custom trained AI agent.