Why Use SQLite Instead of CSV?
Creating the SQLite Database
1
Install SQLite
Ensure you have
sqlite3 installed on your system. It comes pre-installed on macOS and most Linux distributions.2
Create a new database
Open your terminal and run:Replace
my_data.db with your preferred database name.Importing Your CSV Data
In the SQLite prompt that opens, run the following commands:Each CSV file will become a separate table in your database. You can import multiple CSV files to create multiple tables.
Example
Verify Your Data
Check that the table was created correctly:Check Column Types
It’s important to verify that columns have the correct data types, especially for numeric fields used in sorting or calculations.Add the SQLite Action to Your Chatbot
1
Go to Tools & Actions
In your chatbot dashboard, click Configuration then Tools & Actions.
2
Add SQLite Database Action
Click + Add Action and select SQLite Database.
3
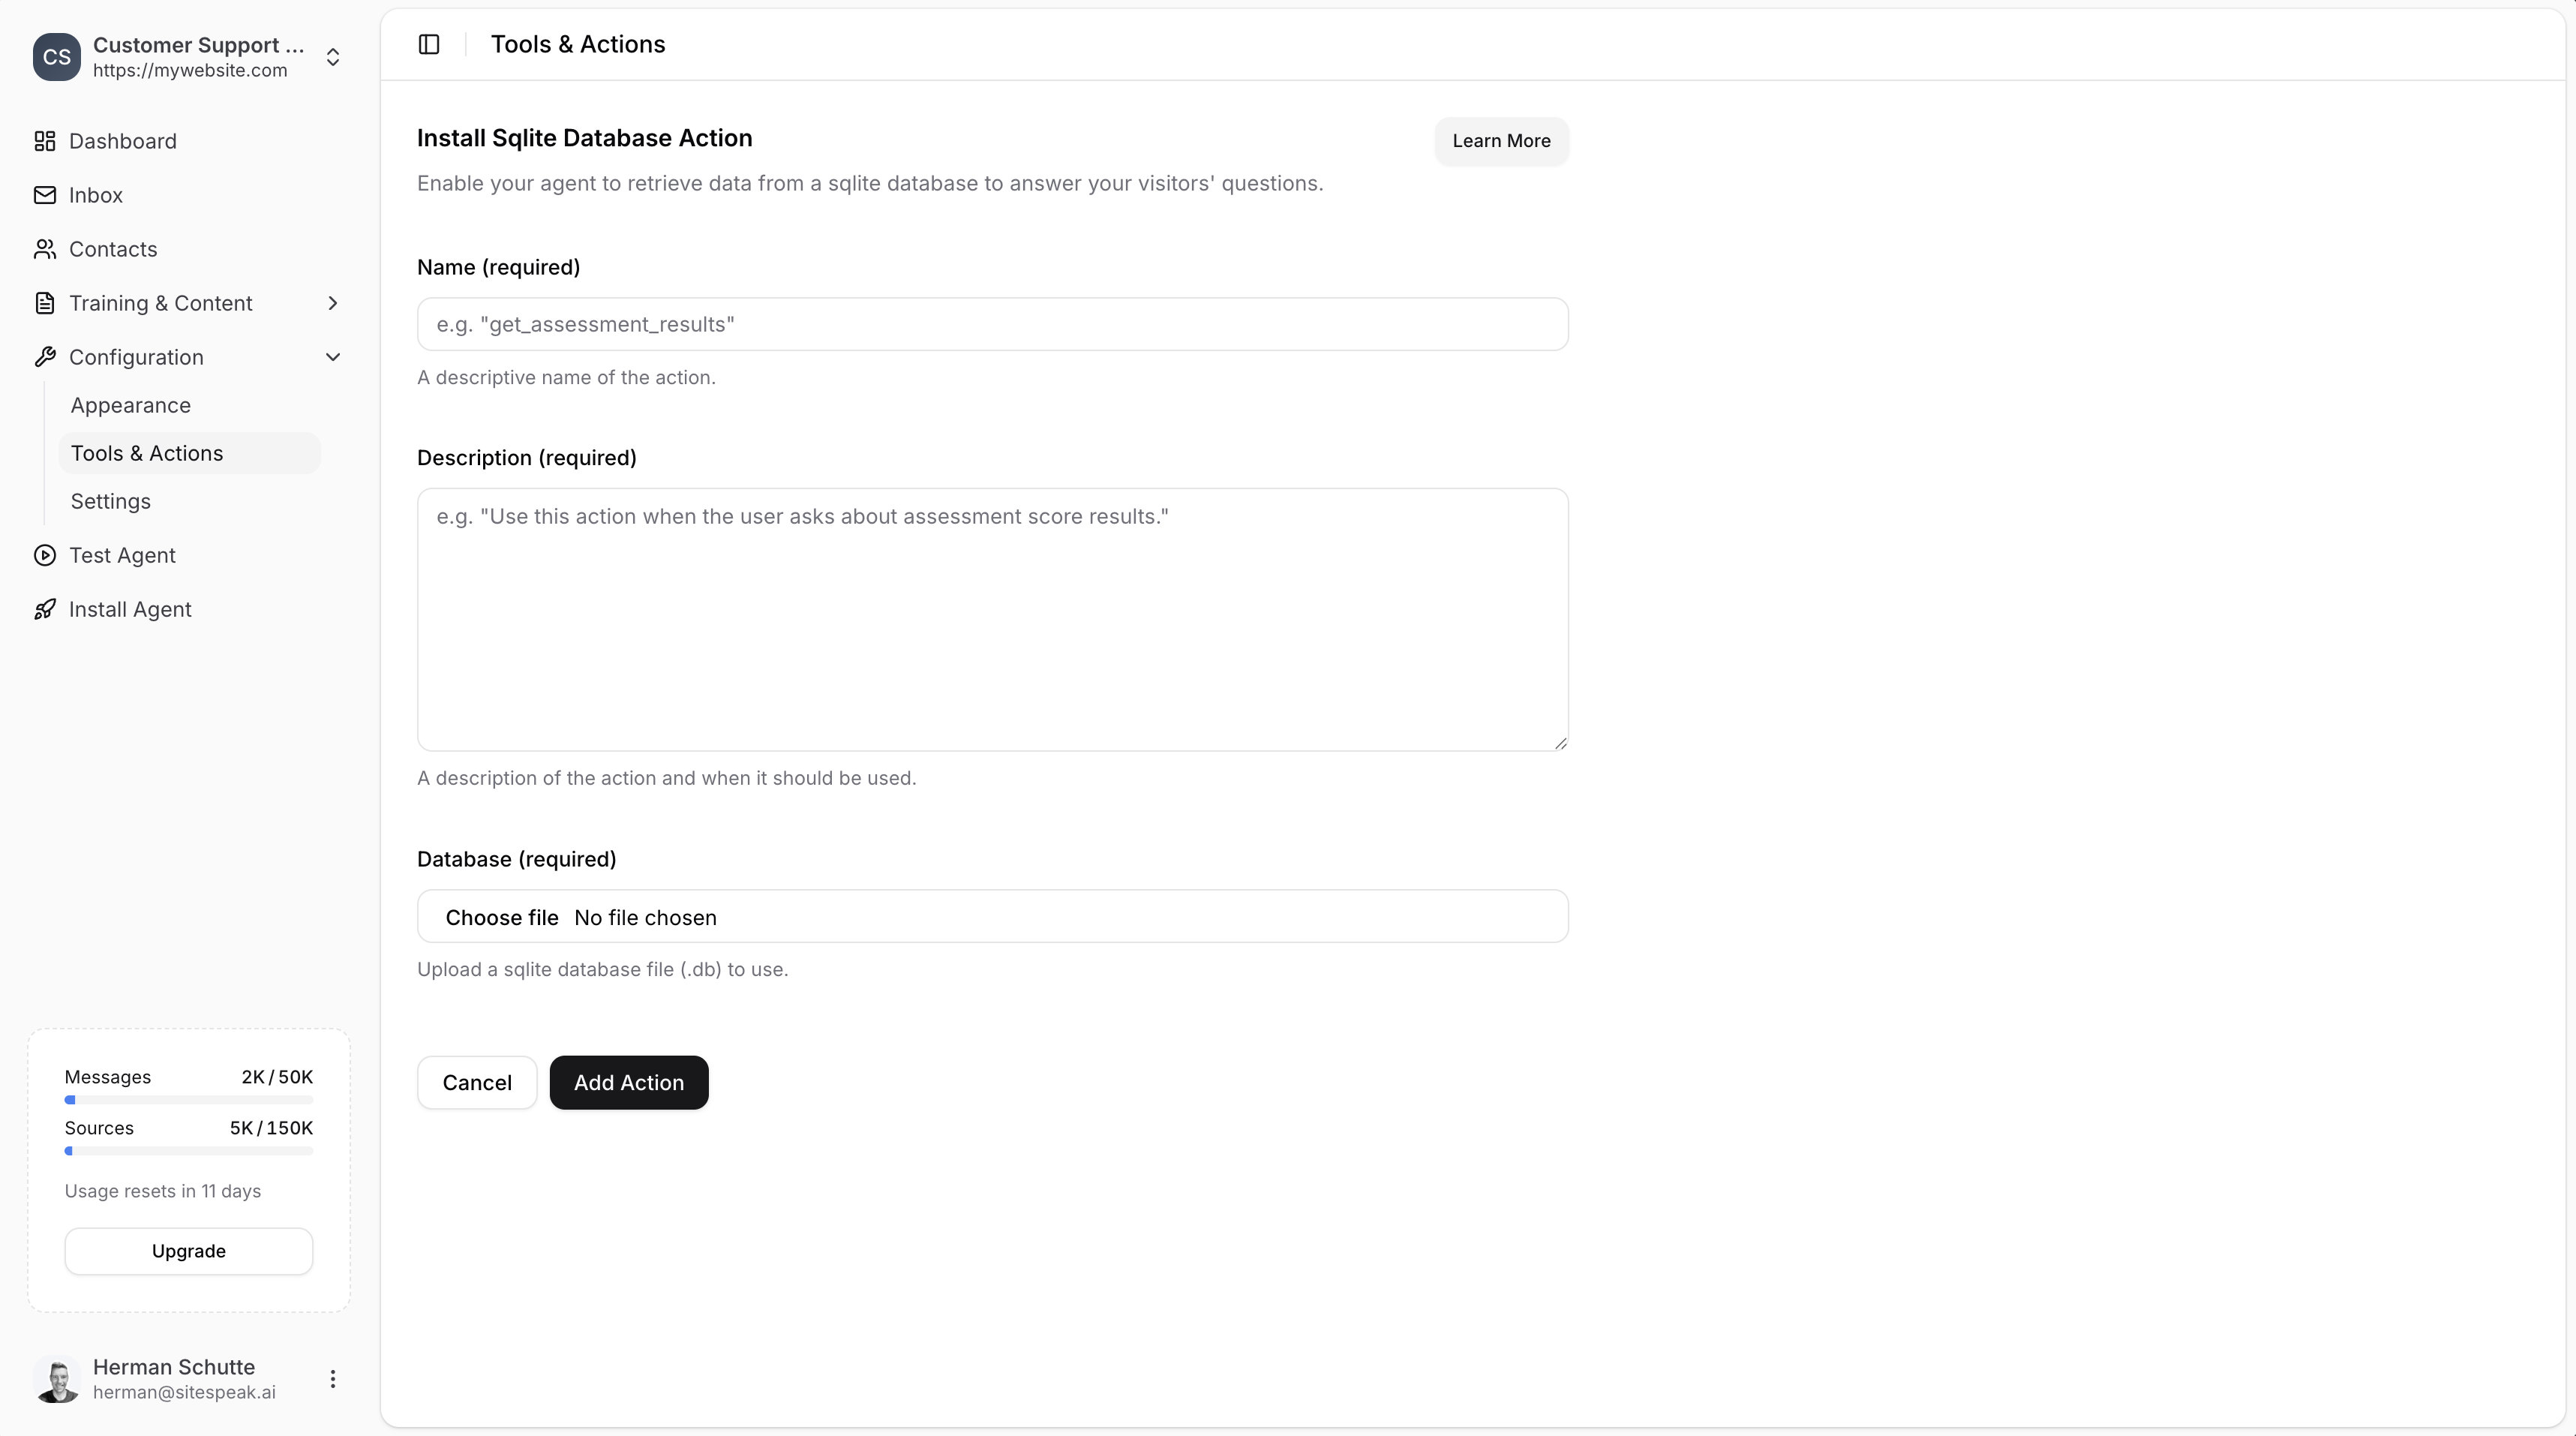
Configure the Action
- Give it a descriptive Name (e.g.,
product_database) - Add a Description explaining what data it contains and when to use it
- Upload your
.dbfile
4
Save
Click Add Action to enable it.
Updating Your Database
When your data changes, simply:- Update your local SQLite database file
- Go to Tools & Actions in your chatbot dashboard
- Edit the SQLite Database action
- Upload the new database file
Best Practices
Use Clear Column Names
Add Helpful Descriptions
In your action description, tell the chatbot about:- What tables exist
- What each column means
- How to handle common queries
- Any business rules (e.g., “prices are in USD”)
Test Common Queries
Before going live, test that your chatbot can answer typical questions:- “What products do you have under $50?”
- “Is [product name] in stock?”
- “What’s your most expensive item?”
Ready to automate your customer service with AI?
Join over 1000+ businesses, websites and startups automating their customer service and other tasks with a custom trained AI agent.