Add your AI support agent to your Silex website
In SiteSpeakAI
Select your chatbot from the dropdown menu at the top, click on the Install Agent section in the sidebar, then click on the Copy Code button to copy your code snippet.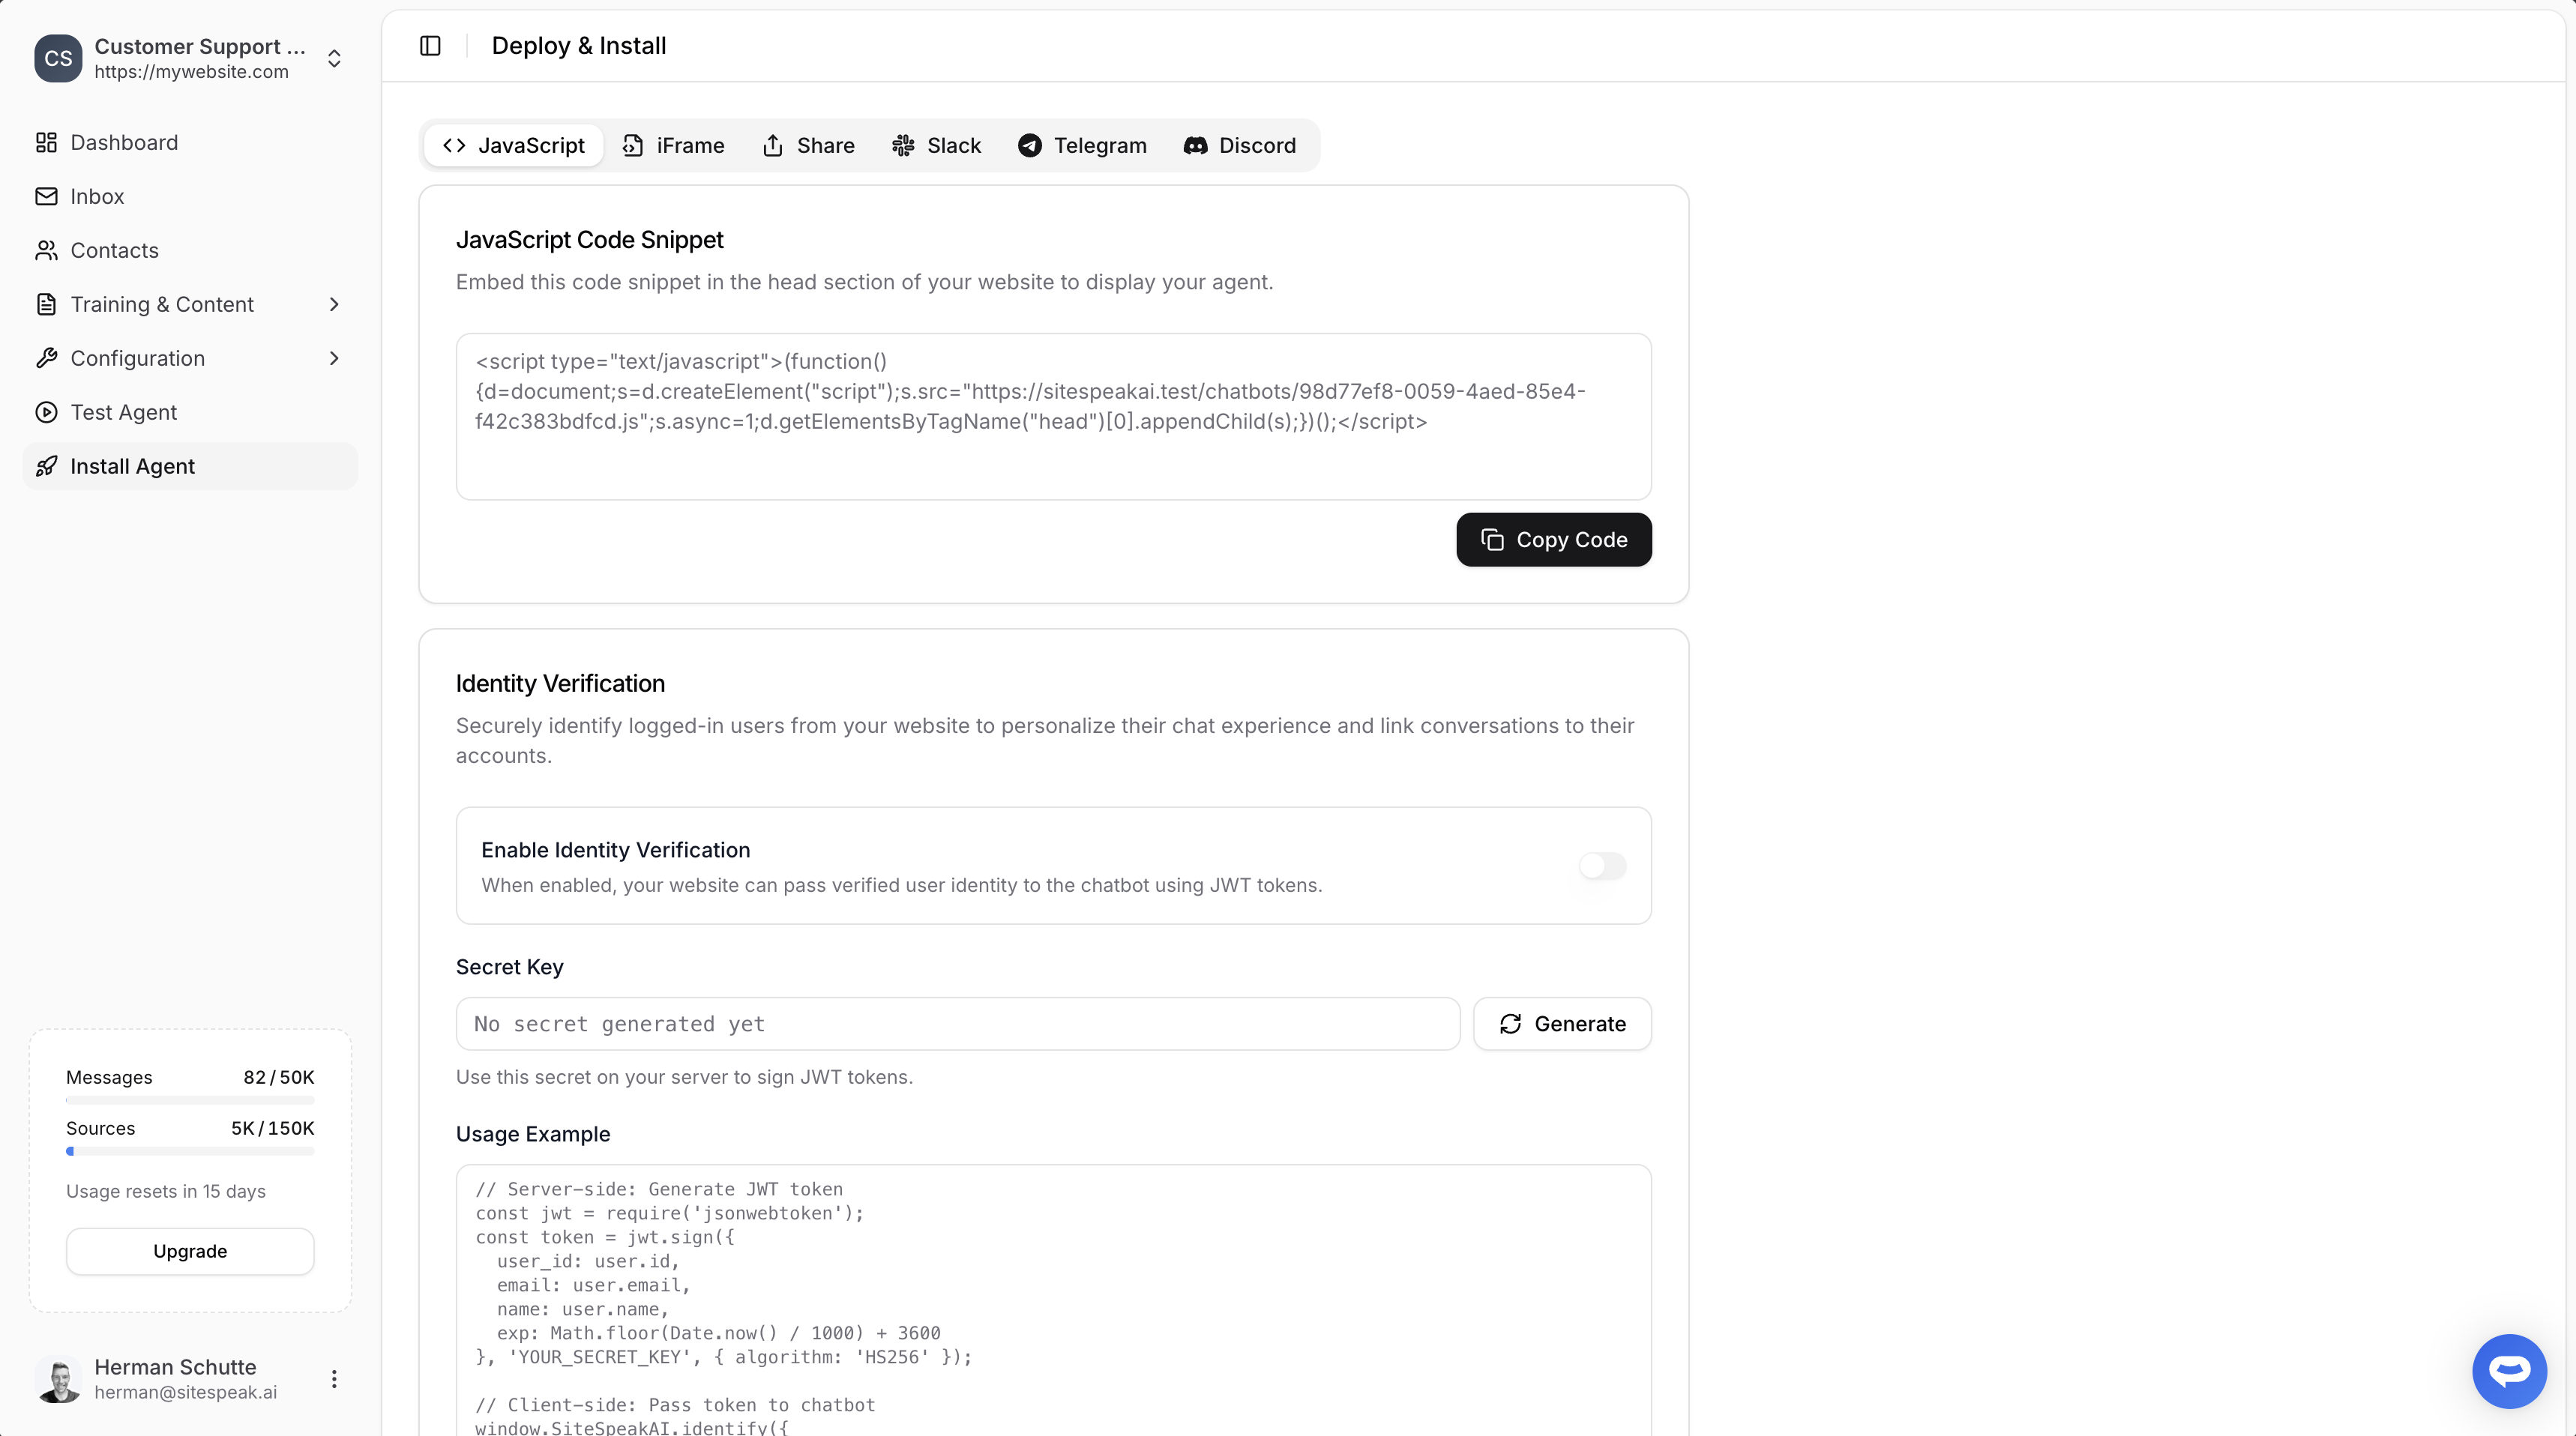
In Silex
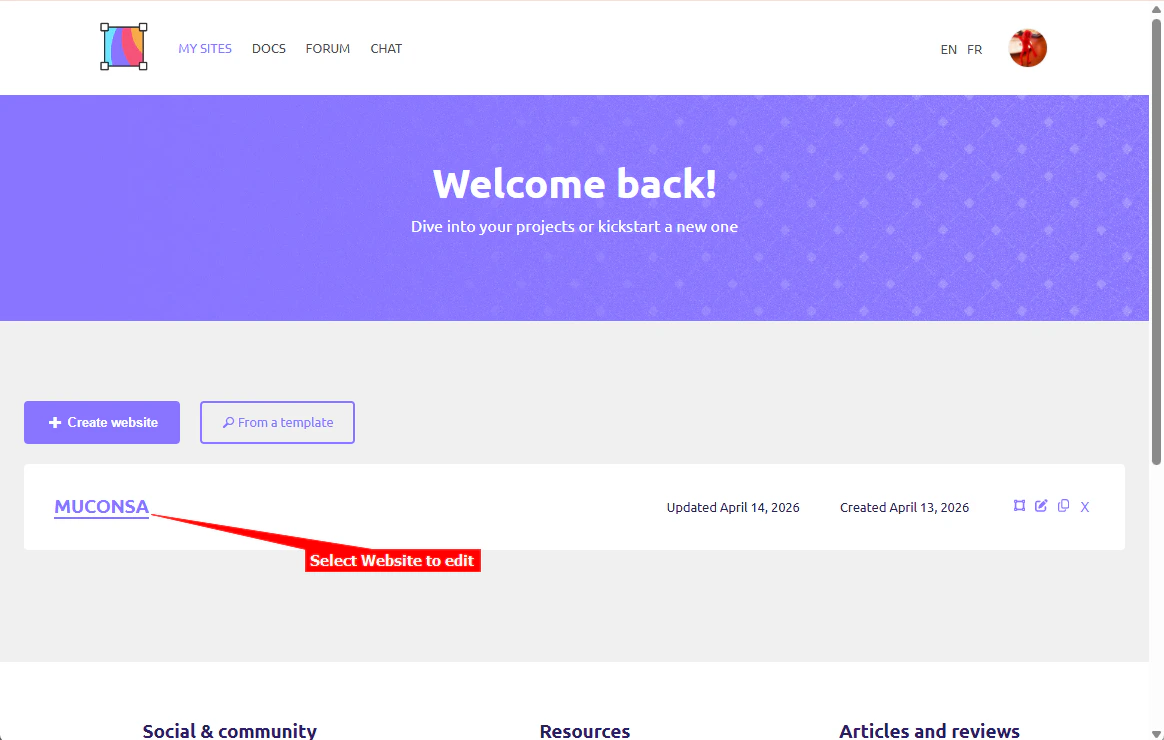
- Log into your Silex account and open the website you want to add your AI support agent to
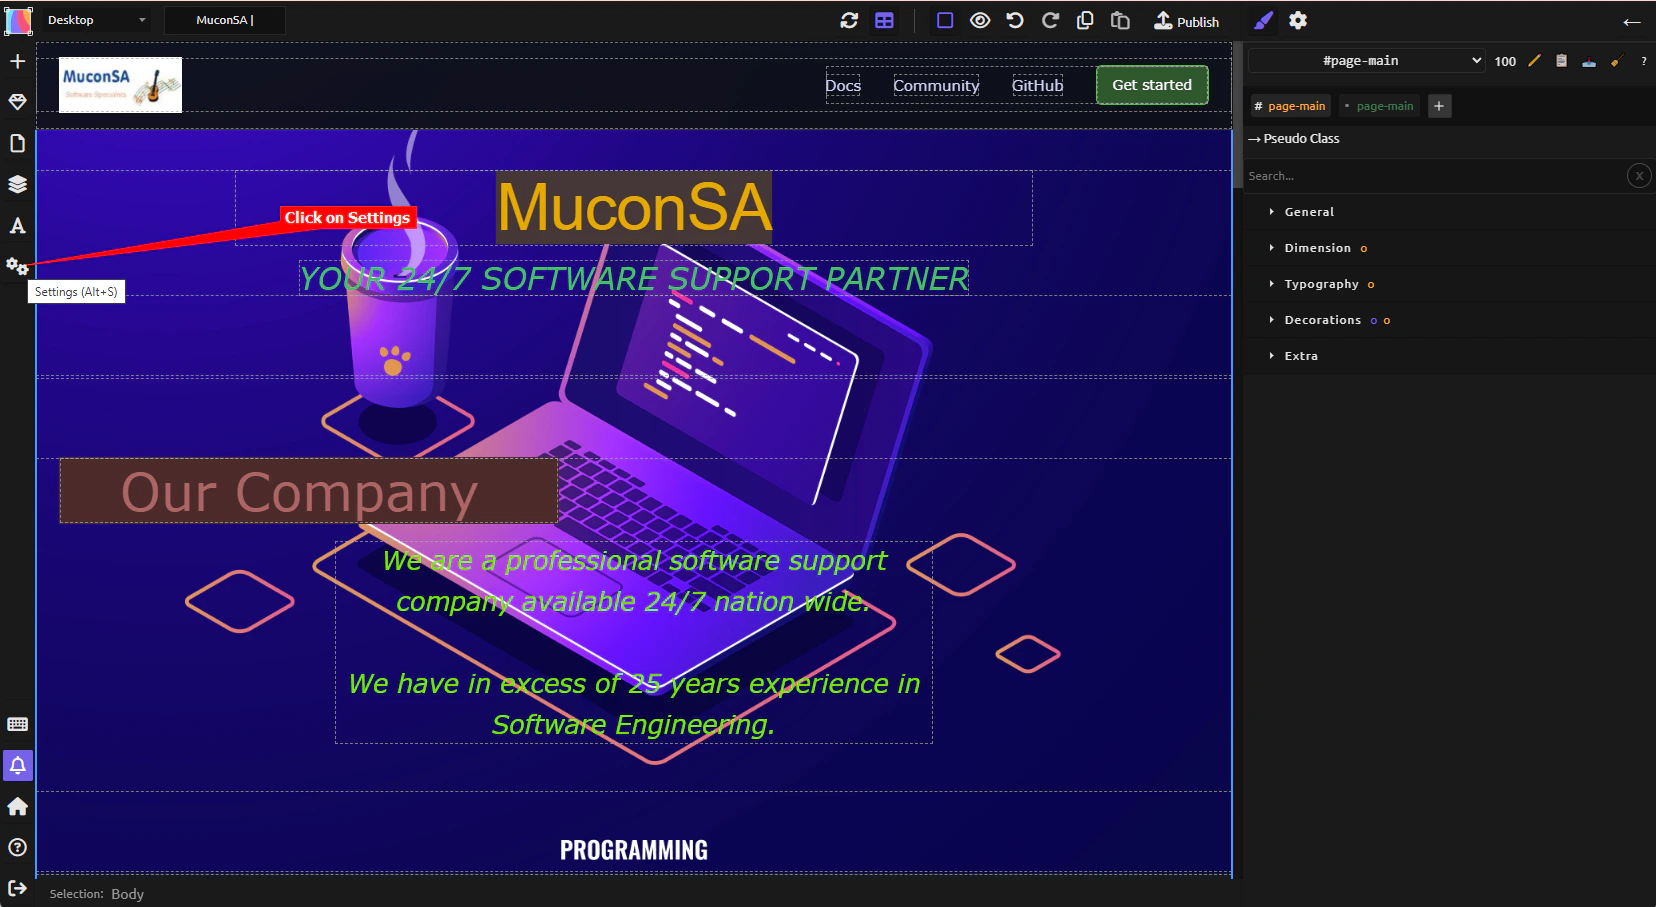
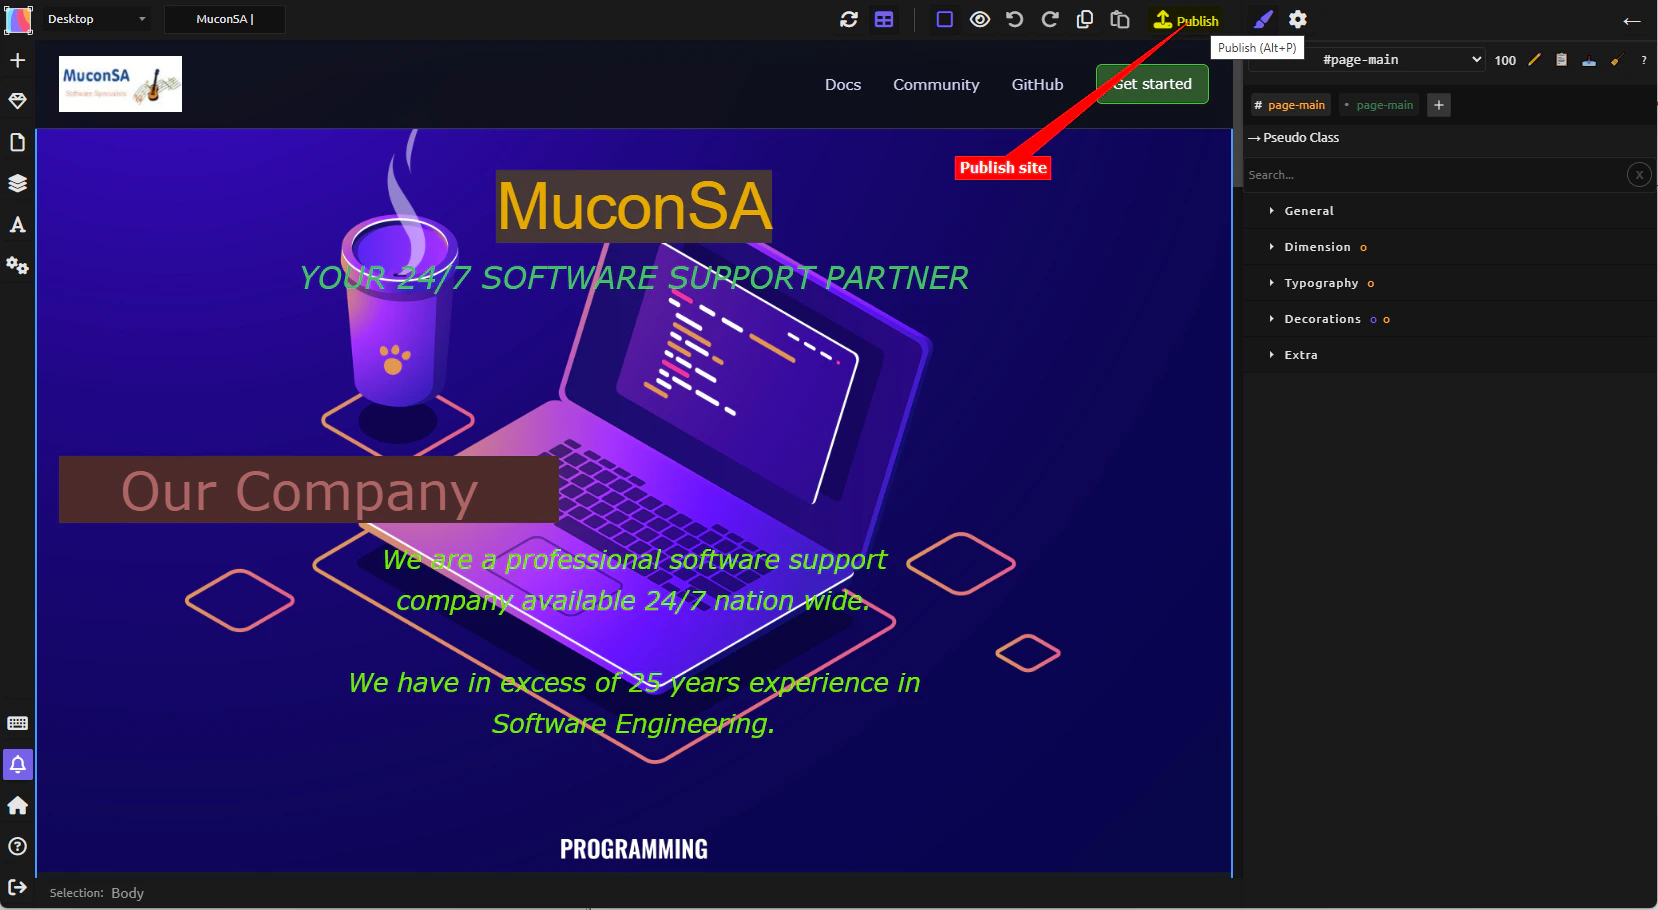
- Click on Settings on the left side toolbar
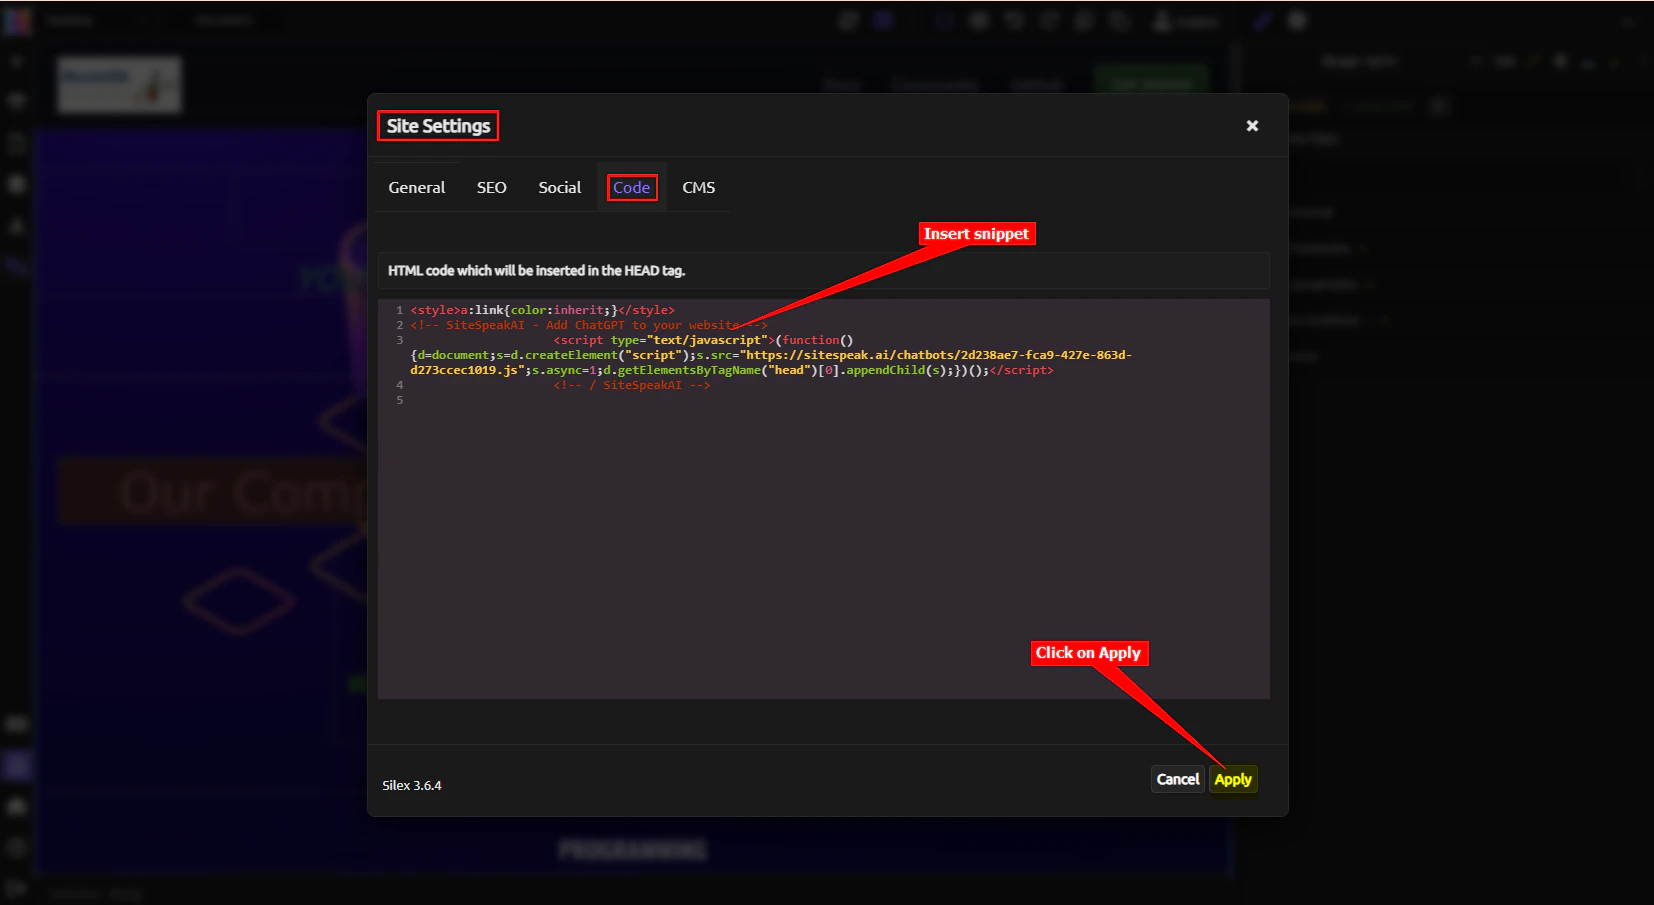
- Select the Code tab under Site Settings, insert your snippet in the editor text box and click on Apply
- Click on Publish to publish the changes to your live website
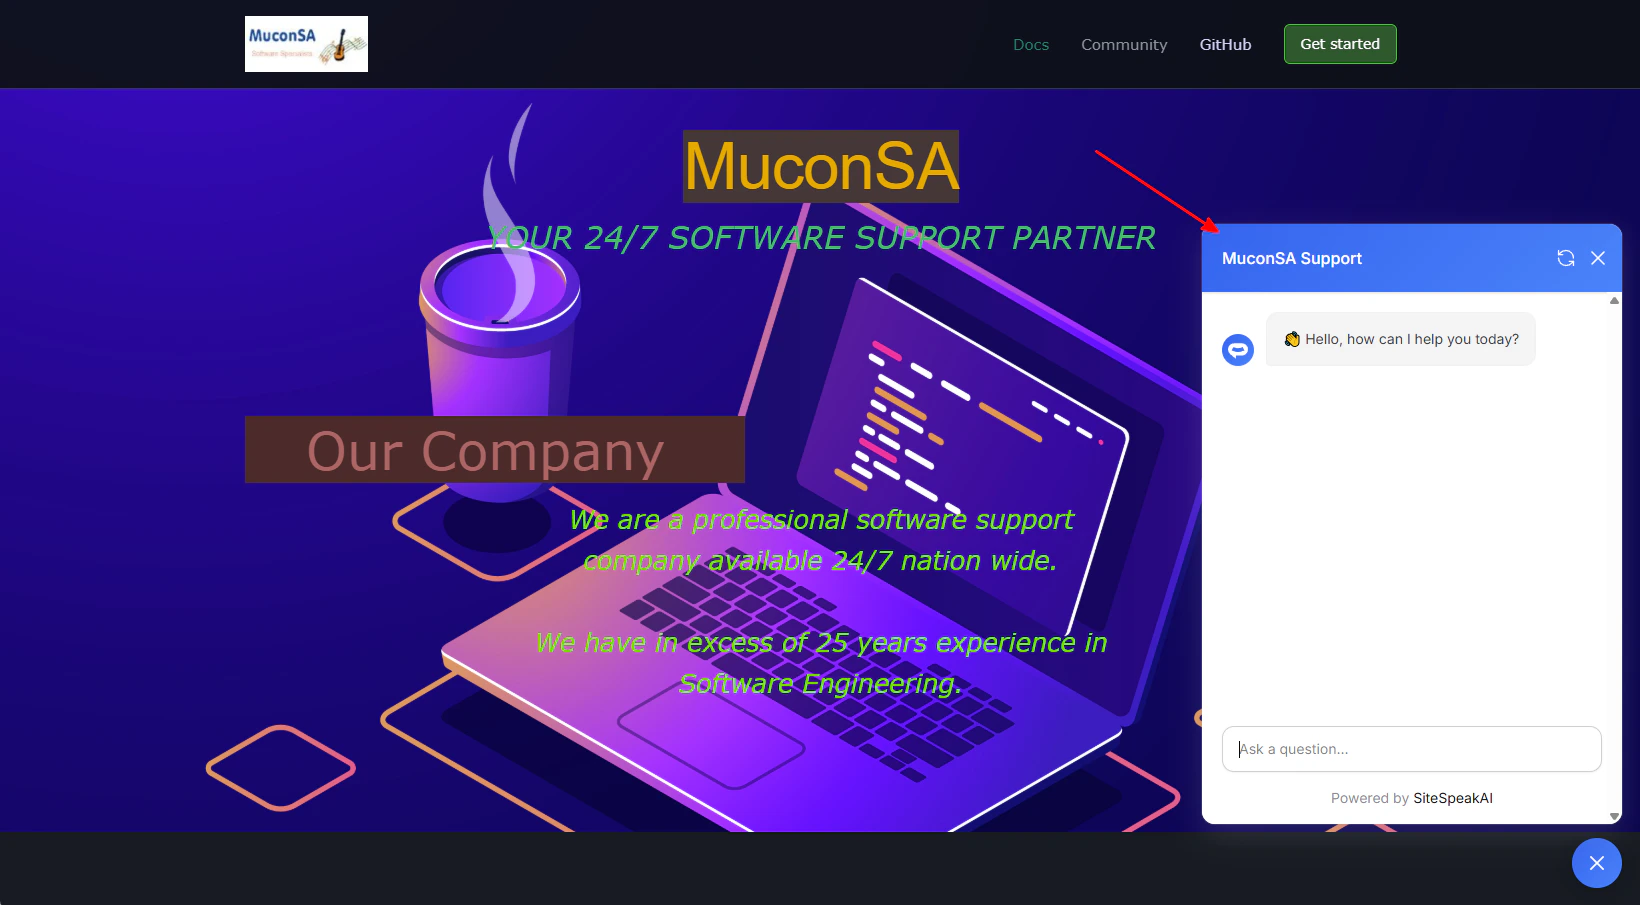
- Your AI support agent button will now be displayed on your Silex website page

- If you click on the button it will display the AI support agent dialogue
Ready to automate your customer service with AI?
Join over 1000+ businesses, websites and startups automating their customer service and other tasks with a custom trained AI agent.