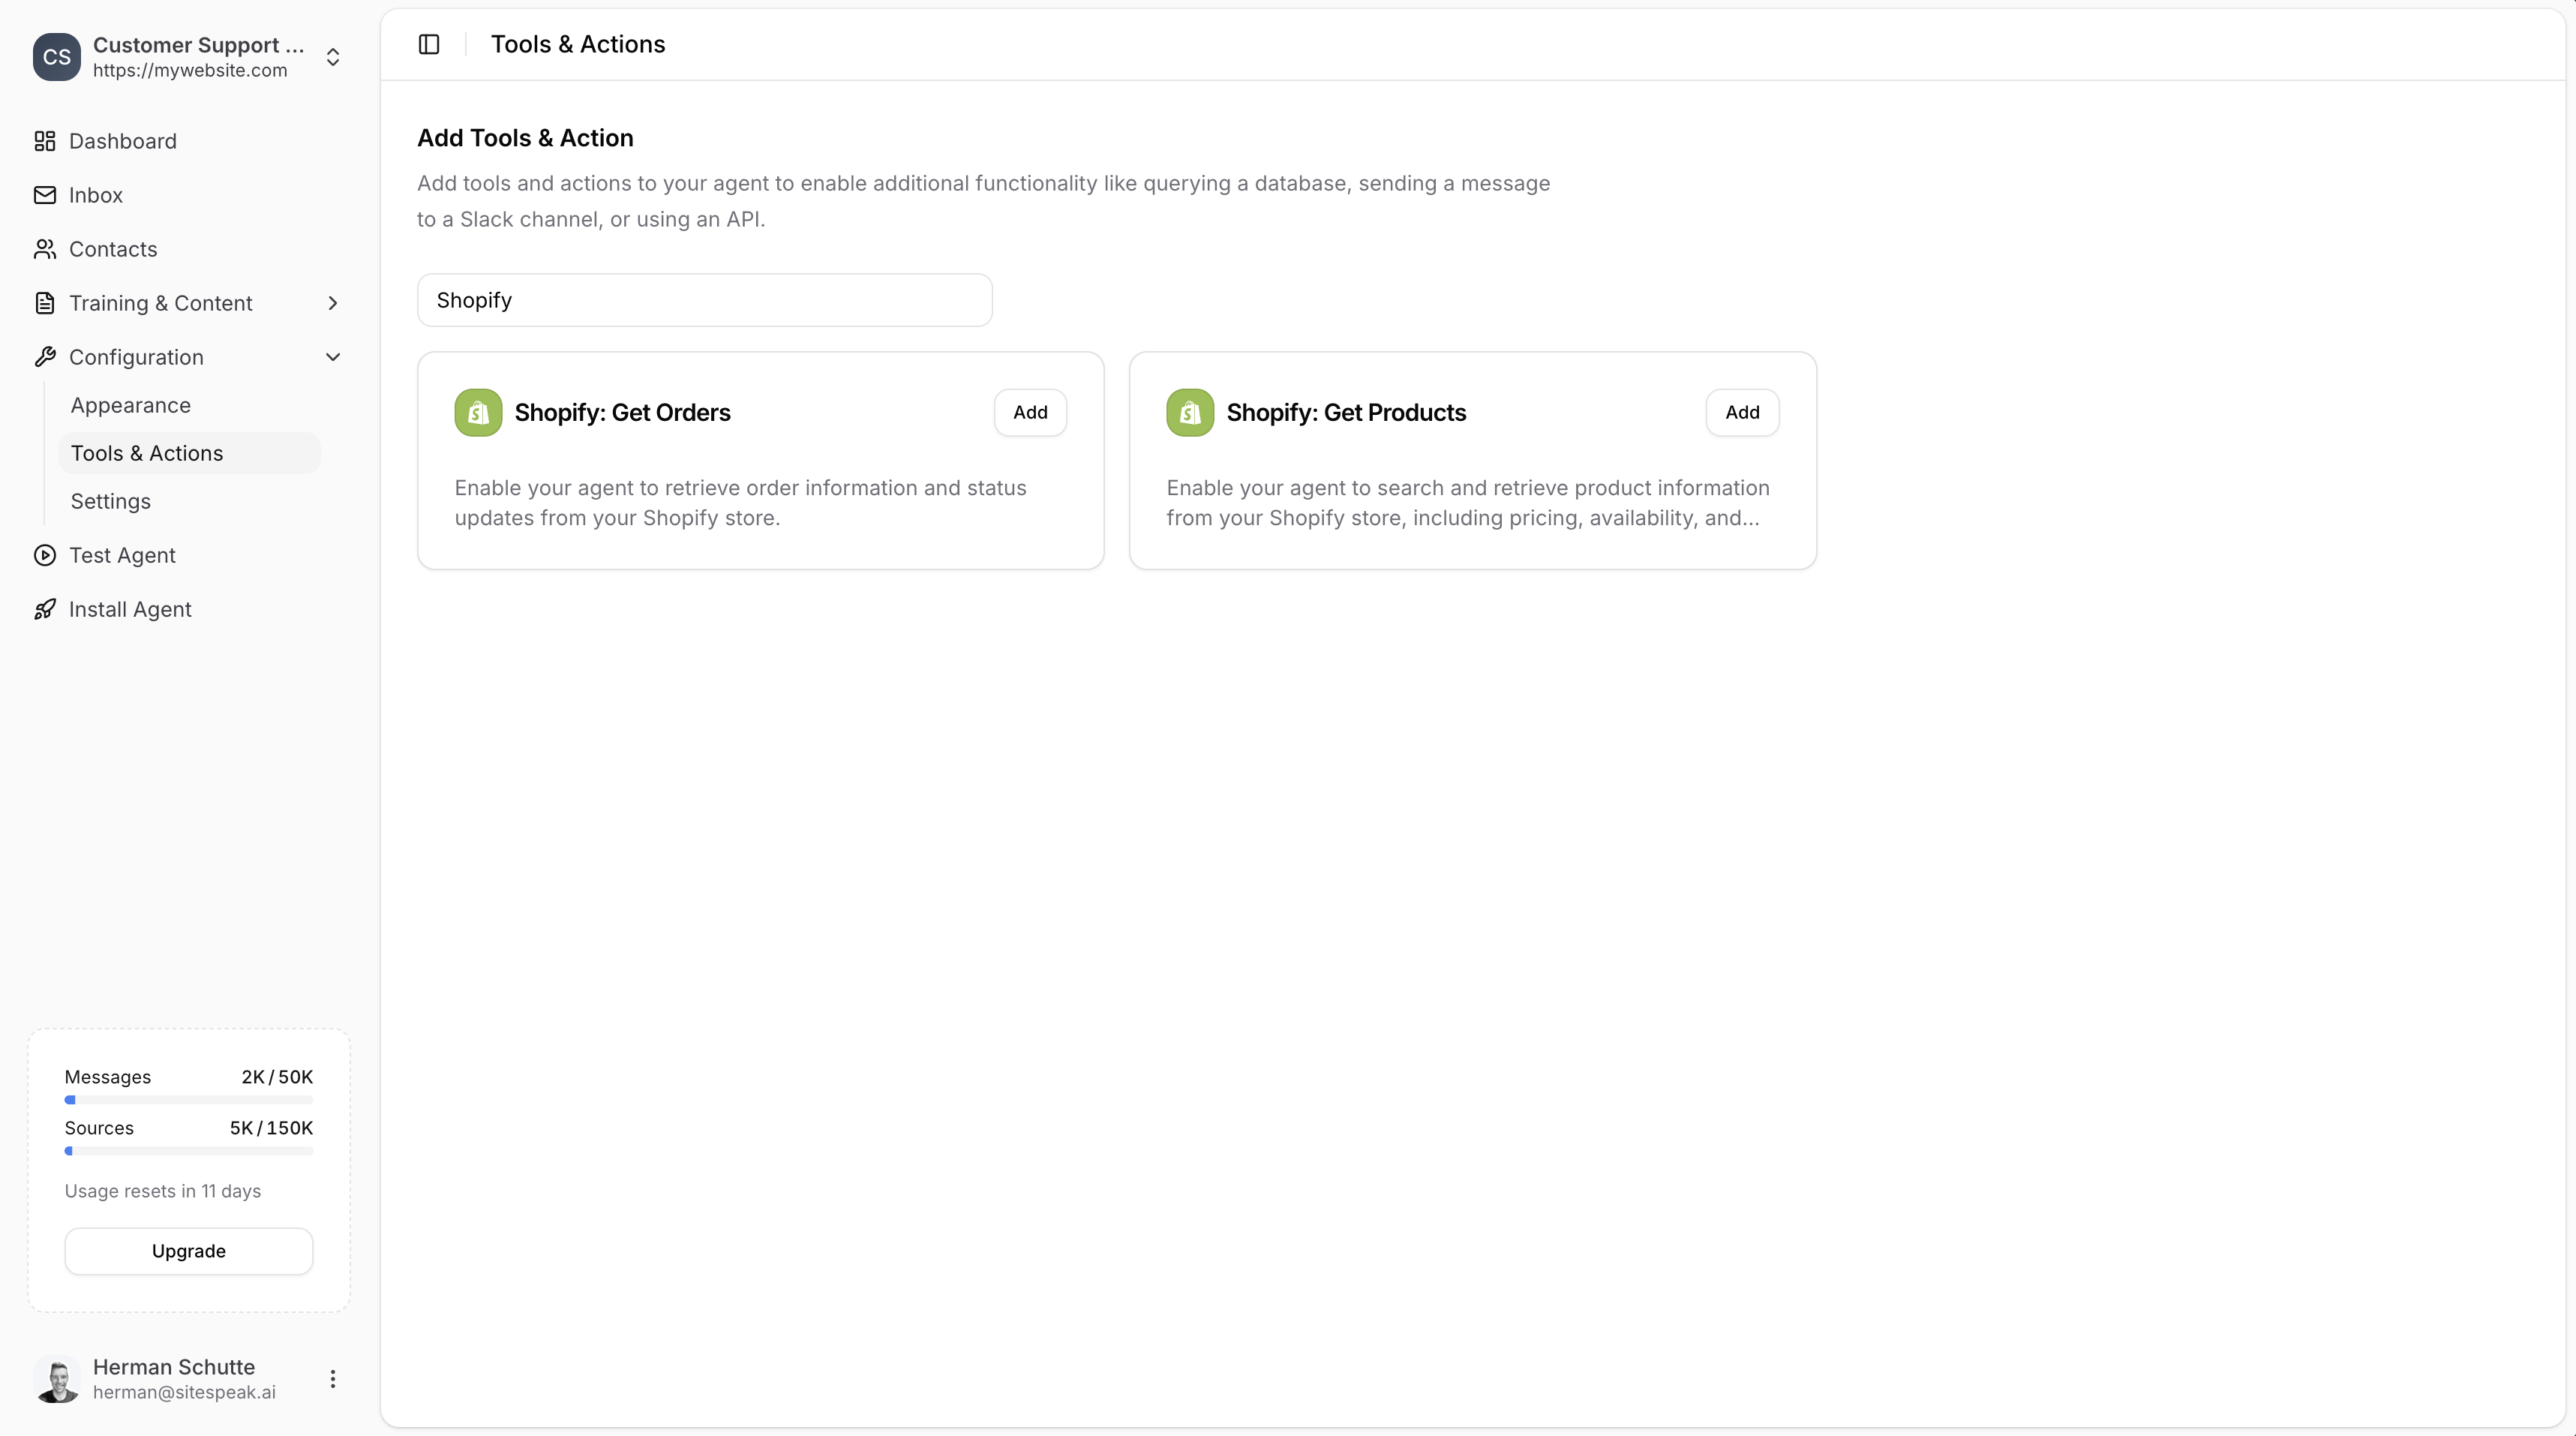
Available Shopify Actions
- Shopify: Get Orders - Retrieve order information and status updates from your Shopify store
- Shopify: Get Products - Search and retrieve product information including pricing, availability, and details
Adding a Shopify Action
1
Go to Tools & Actions
In your chatbot dashboard, go to Configuration → Tools & Actions.
2
Select a Shopify action
Find Shopify: Get Orders or Shopify: Get Products and click Add.
Configuration
Both Shopify actions require the same configuration: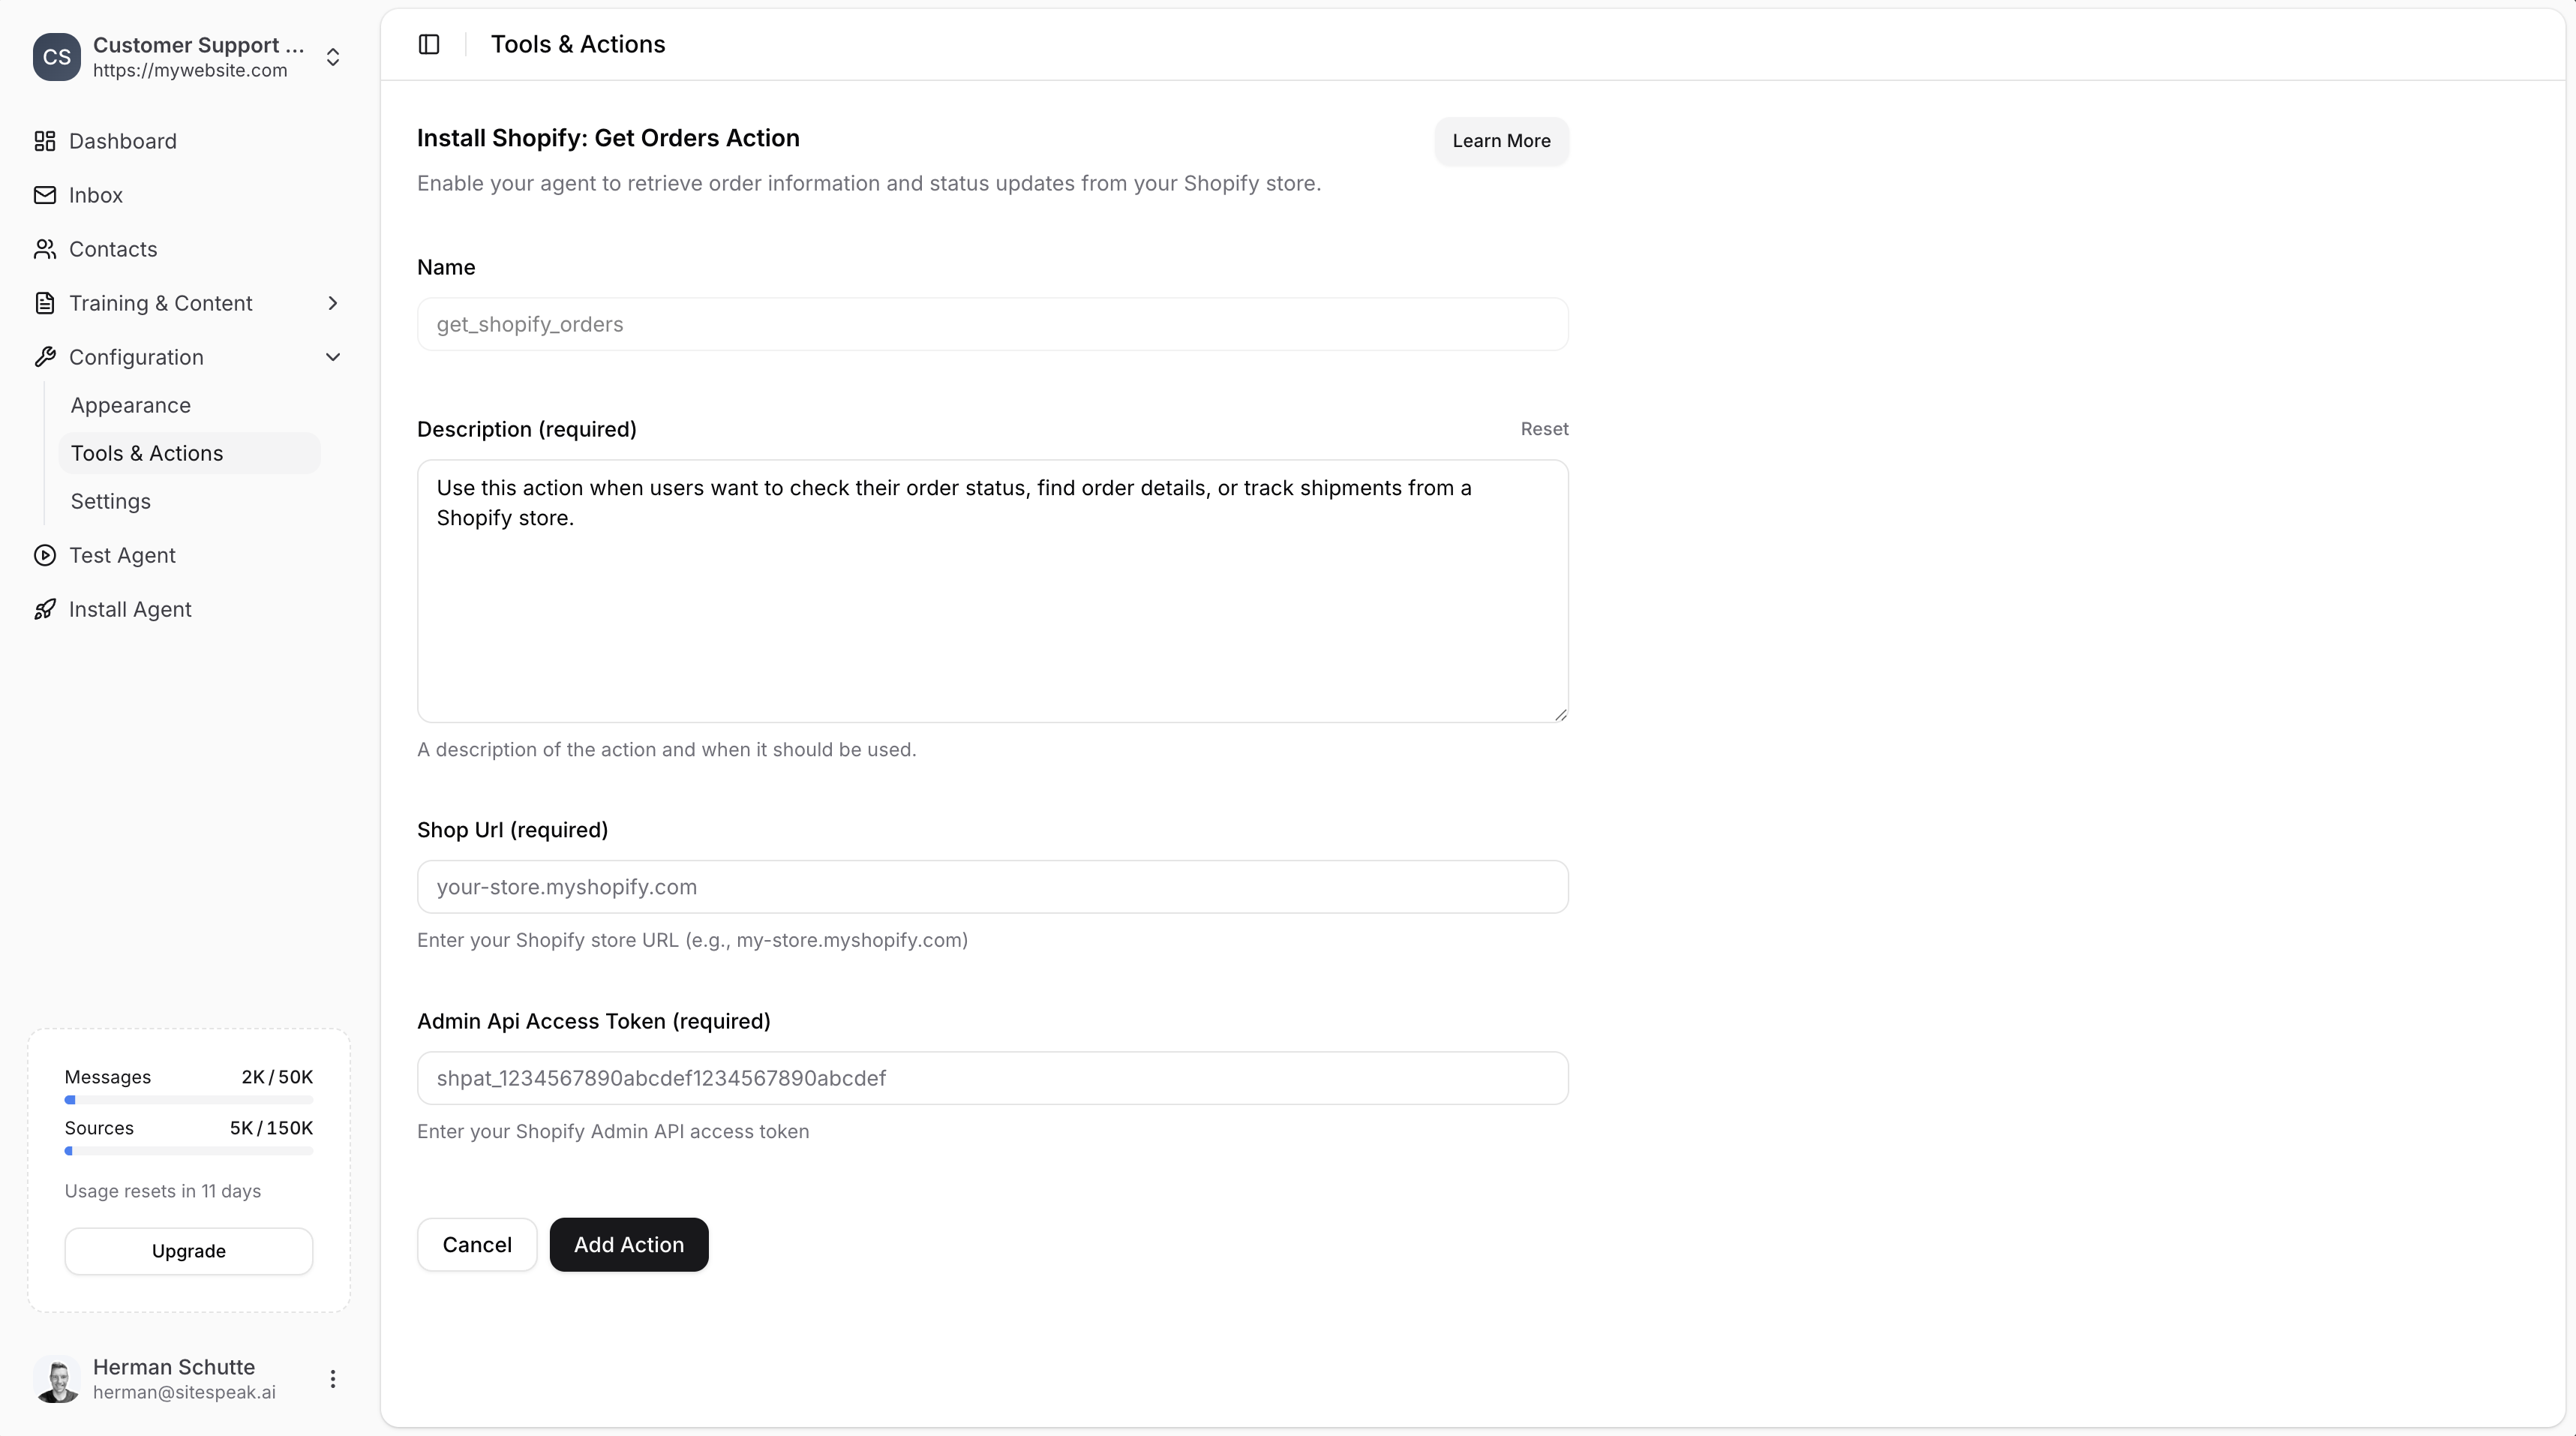
Name
A descriptive name for the action. Default:get_shopify_orders or get_shopify_products
Description (required)
A description of the action and when it should be used. Example for orders:Use this action when users want to check their order status, find order details, or track shipments from a Shopify store.
Shop URL (required)
Your Shopify store URL in the format:your-store.myshopify.com
Admin API Access Token (required)
Your Shopify Admin API access token. This requires creating a custom app in Shopify (see below).Creating a Shopify Custom App
To get your Admin API Access Token, you need to create a custom app in Shopify. This only takes a minute.1
Open Shopify Settings
In your Shopify admin, click Settings in the sidebar.
2
Go to Apps and sales channels
Select Apps and sales channels from the sidebar.
3
Click Develop Apps
Click the Develop Apps button to go to the App development section.
4
Allow custom app development
If this is your first custom app, click Allow custom app development.
5
Create an app
Click Create an app. Enter an app name (e.g., “SiteSpeakAI Integration”) and select yourself as the app developer.
6
Configure Admin API scopes
Click Configure Admin API scopes to assign permissions.
7
Select permissions
Enable the following 3 permissions:
read_productsread_ordersread_customers
8
Install the app
Click the API credentials tab, then click Install app to install it in your store.
9
Get your access token
Click Reveal token once to get your Admin API access token.The token will be in the format:
You will not be able to see this token again. Copy it immediately and store it safely.
shpat_abc123...Save the Action
Add your Shop URL and Admin API Access Token to SiteSpeakAI, then click Add Action to enable it. Your agent will now be able to:- Get Orders: Retrieve order information, status updates, and shipping details
- Get Products: Search products and retrieve pricing, availability, and descriptions
What Your Agent Can Do
With Get Orders
- Check order status
- Find order details
- Track shipments
- Look up order history
With Get Products
- Search for products by name
- Get product pricing
- Check availability
- Retrieve product descriptions
Ready to automate your customer service with AI?
Join over 1000+ businesses, websites and startups automating their customer service and other tasks with a custom trained AI agent.