Add your chatbot to your Webstudio website
Webstudio is an open-source, no-code visual web development platform that bridges the gap between design and code. It empowers users to build fast, responsive websites using a visual editor - while still offering full control over HTML, CSS, and JavaScript when needed. Webstudio is ideal for designers, developers, startups, and agencies who want the flexibility of code with the speed of no-code. It’s especially appealing to those who value open-source tools, hosting freedom, and modern web standards. For more info see Webstudio.In SiteSpeakAI
Select your chatbot from the dropdown menu at the top, click on the Install Chatbot section in the sidebar and then click on the Copy Code button to copy your code snippet.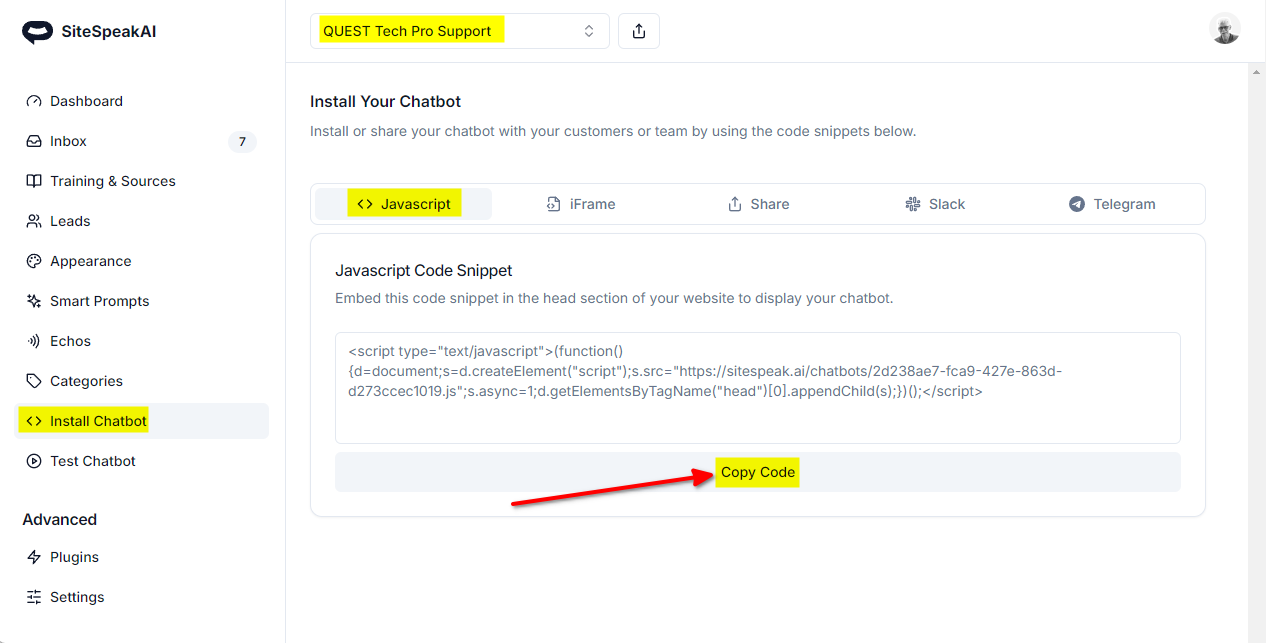
In Webstudio
-
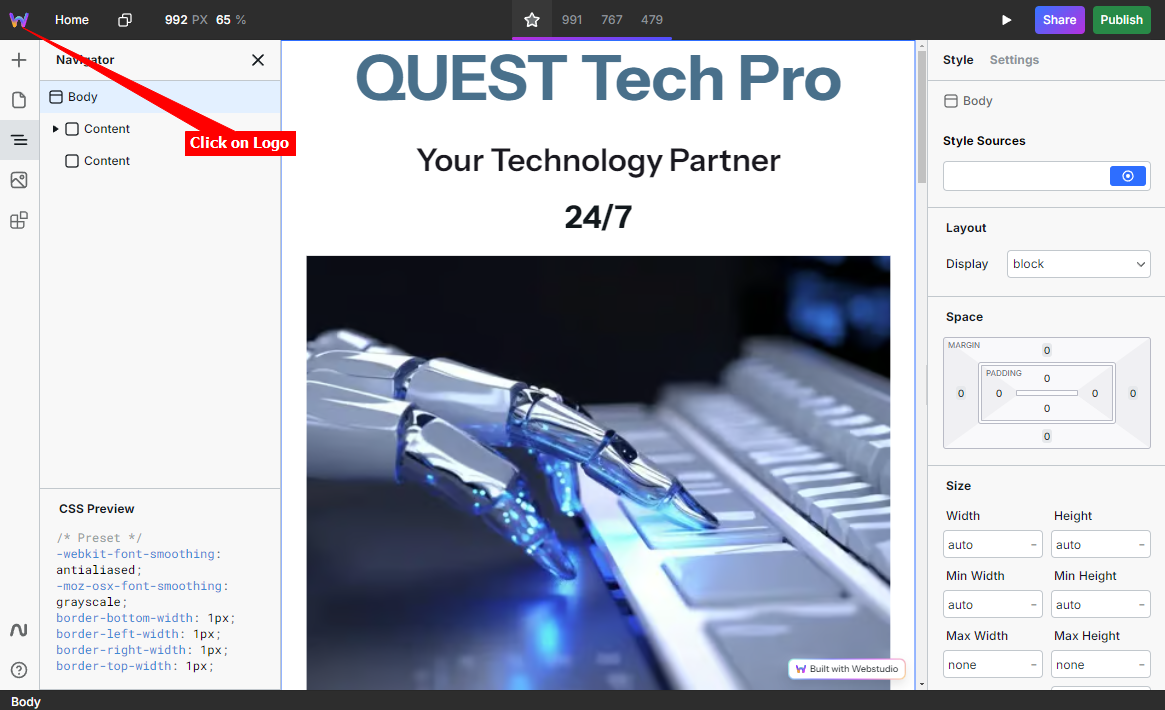
Select your project on your dashboard and click on the Webstudio logo
-
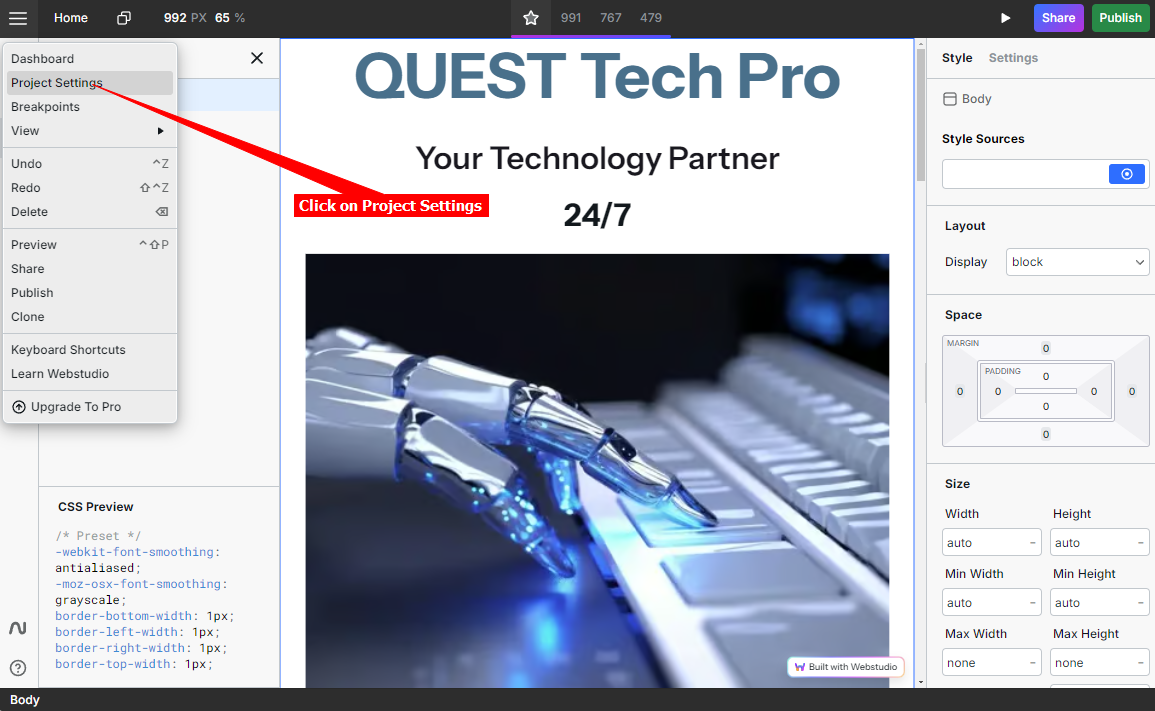
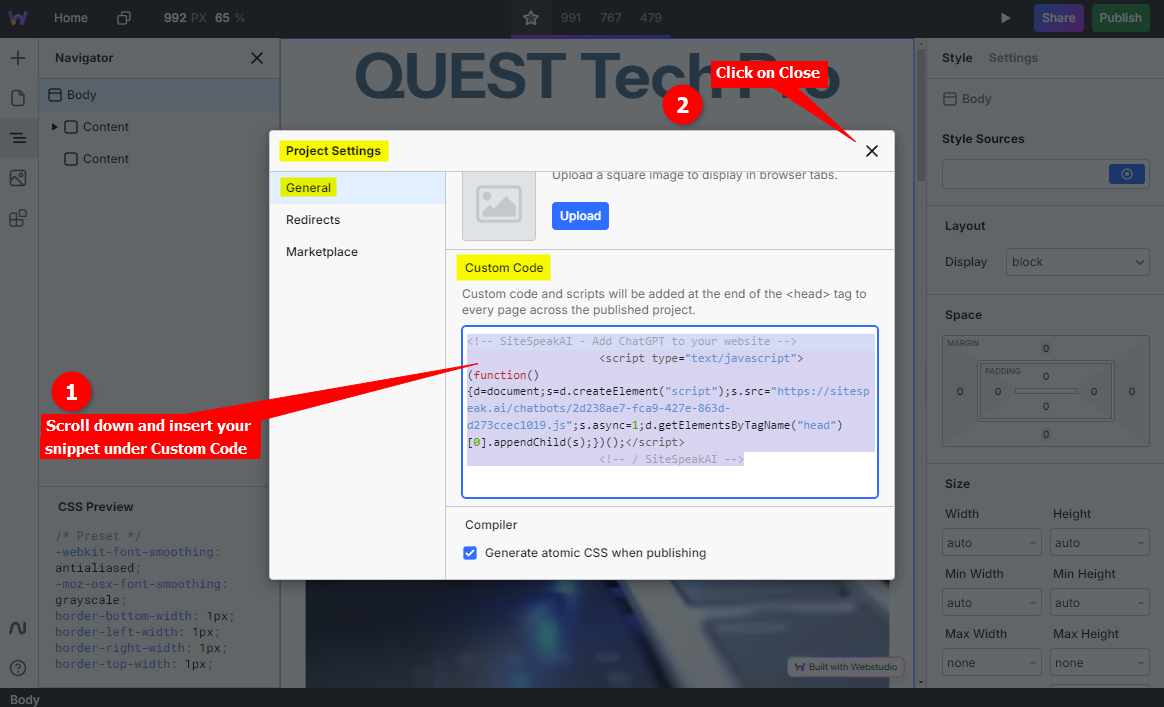
Click on Project Settings
-
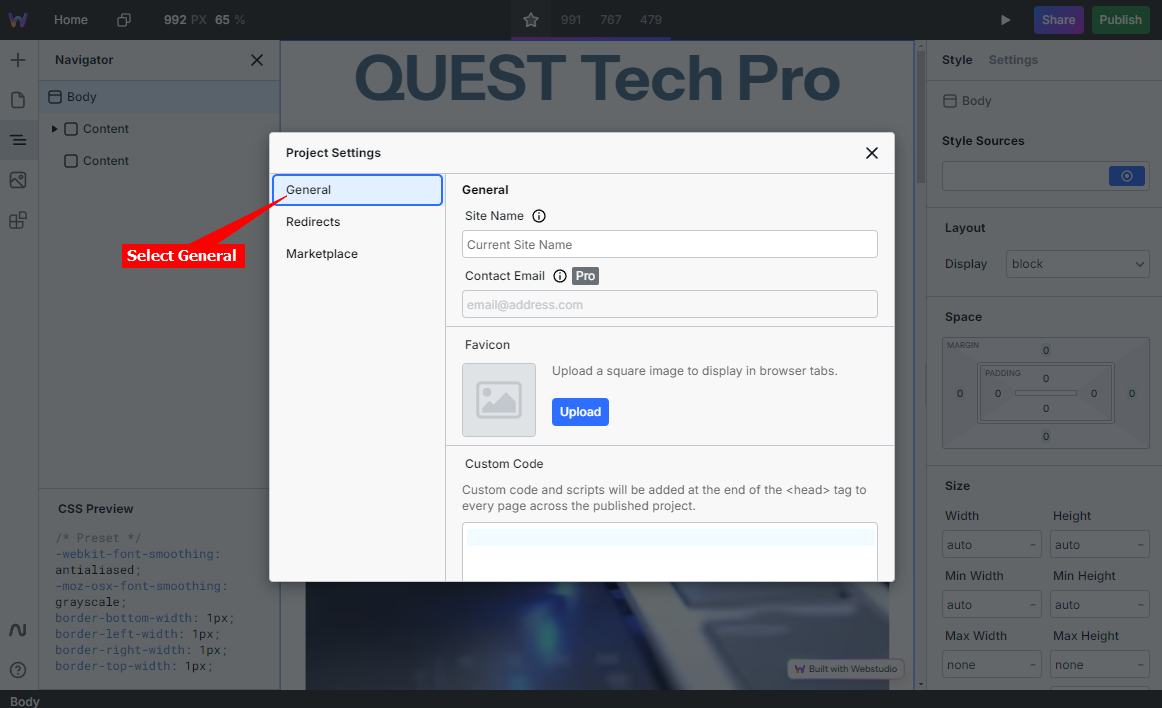
Select General
-
Scroll down and insert your snippet under Custom Code. When done click on X to close the Project Settings dialogue
-
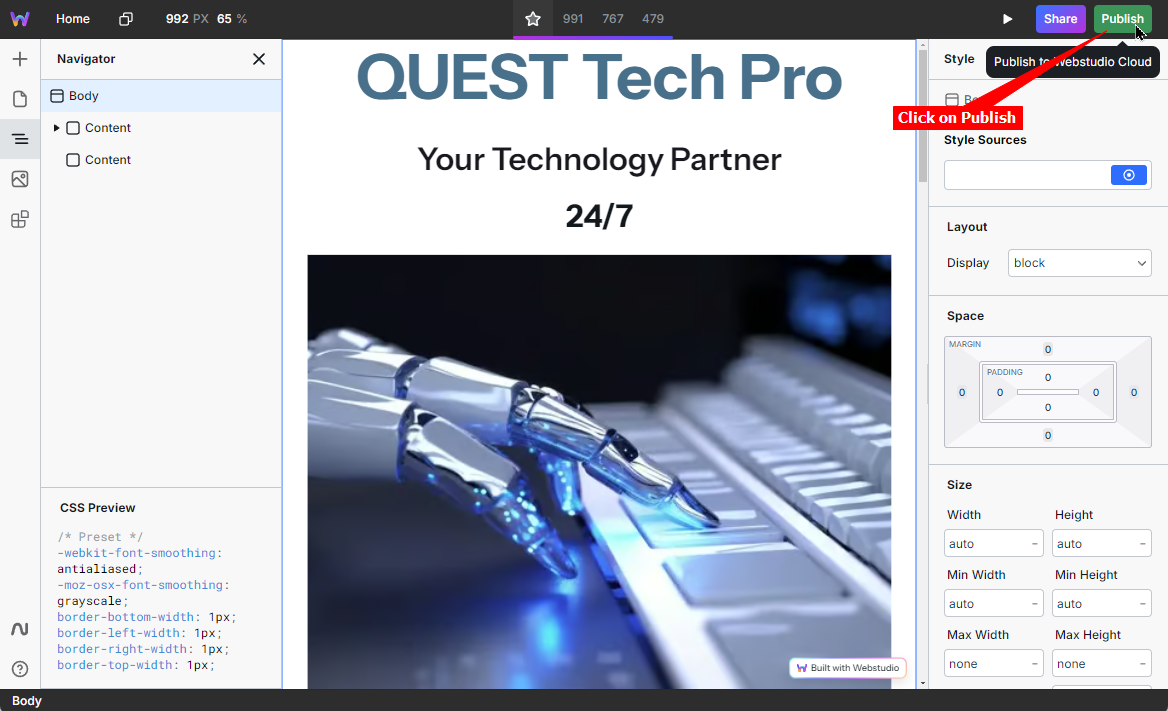
Click on Publish to publish your modifications to your live website
-
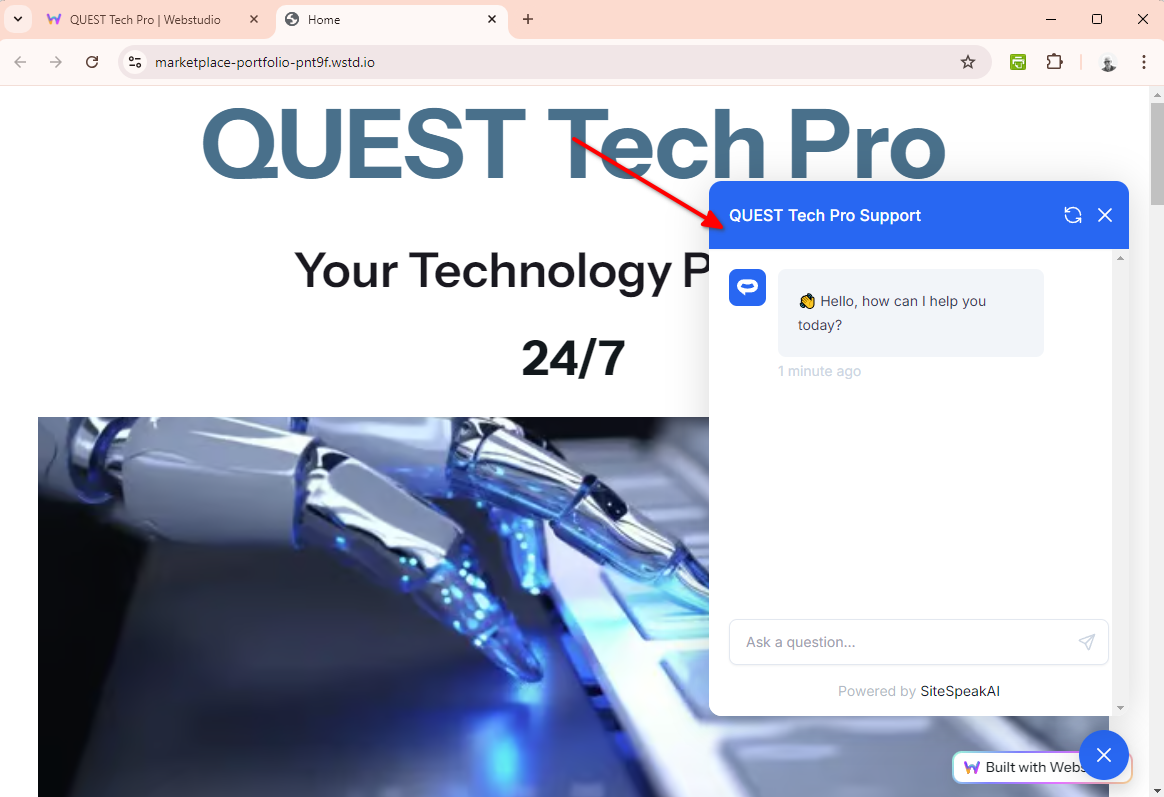
Your chatbot button will now be displayed on your website pages

-
If you click on the button it will display the Chatbot dialogue
Ready to automate your customer service with AI?
Join over 1000+ businesses, websites and startups automating their customer service and other tasks with a custom trained AI agent.