Accessing Localization Settings
1
Go to Configuration
In your chatbot dashboard, click Configuration in the sidebar.
2
Select Settings
Click on the Settings tab.
3
Go to Localization tab
Navigate to the Localization tab.
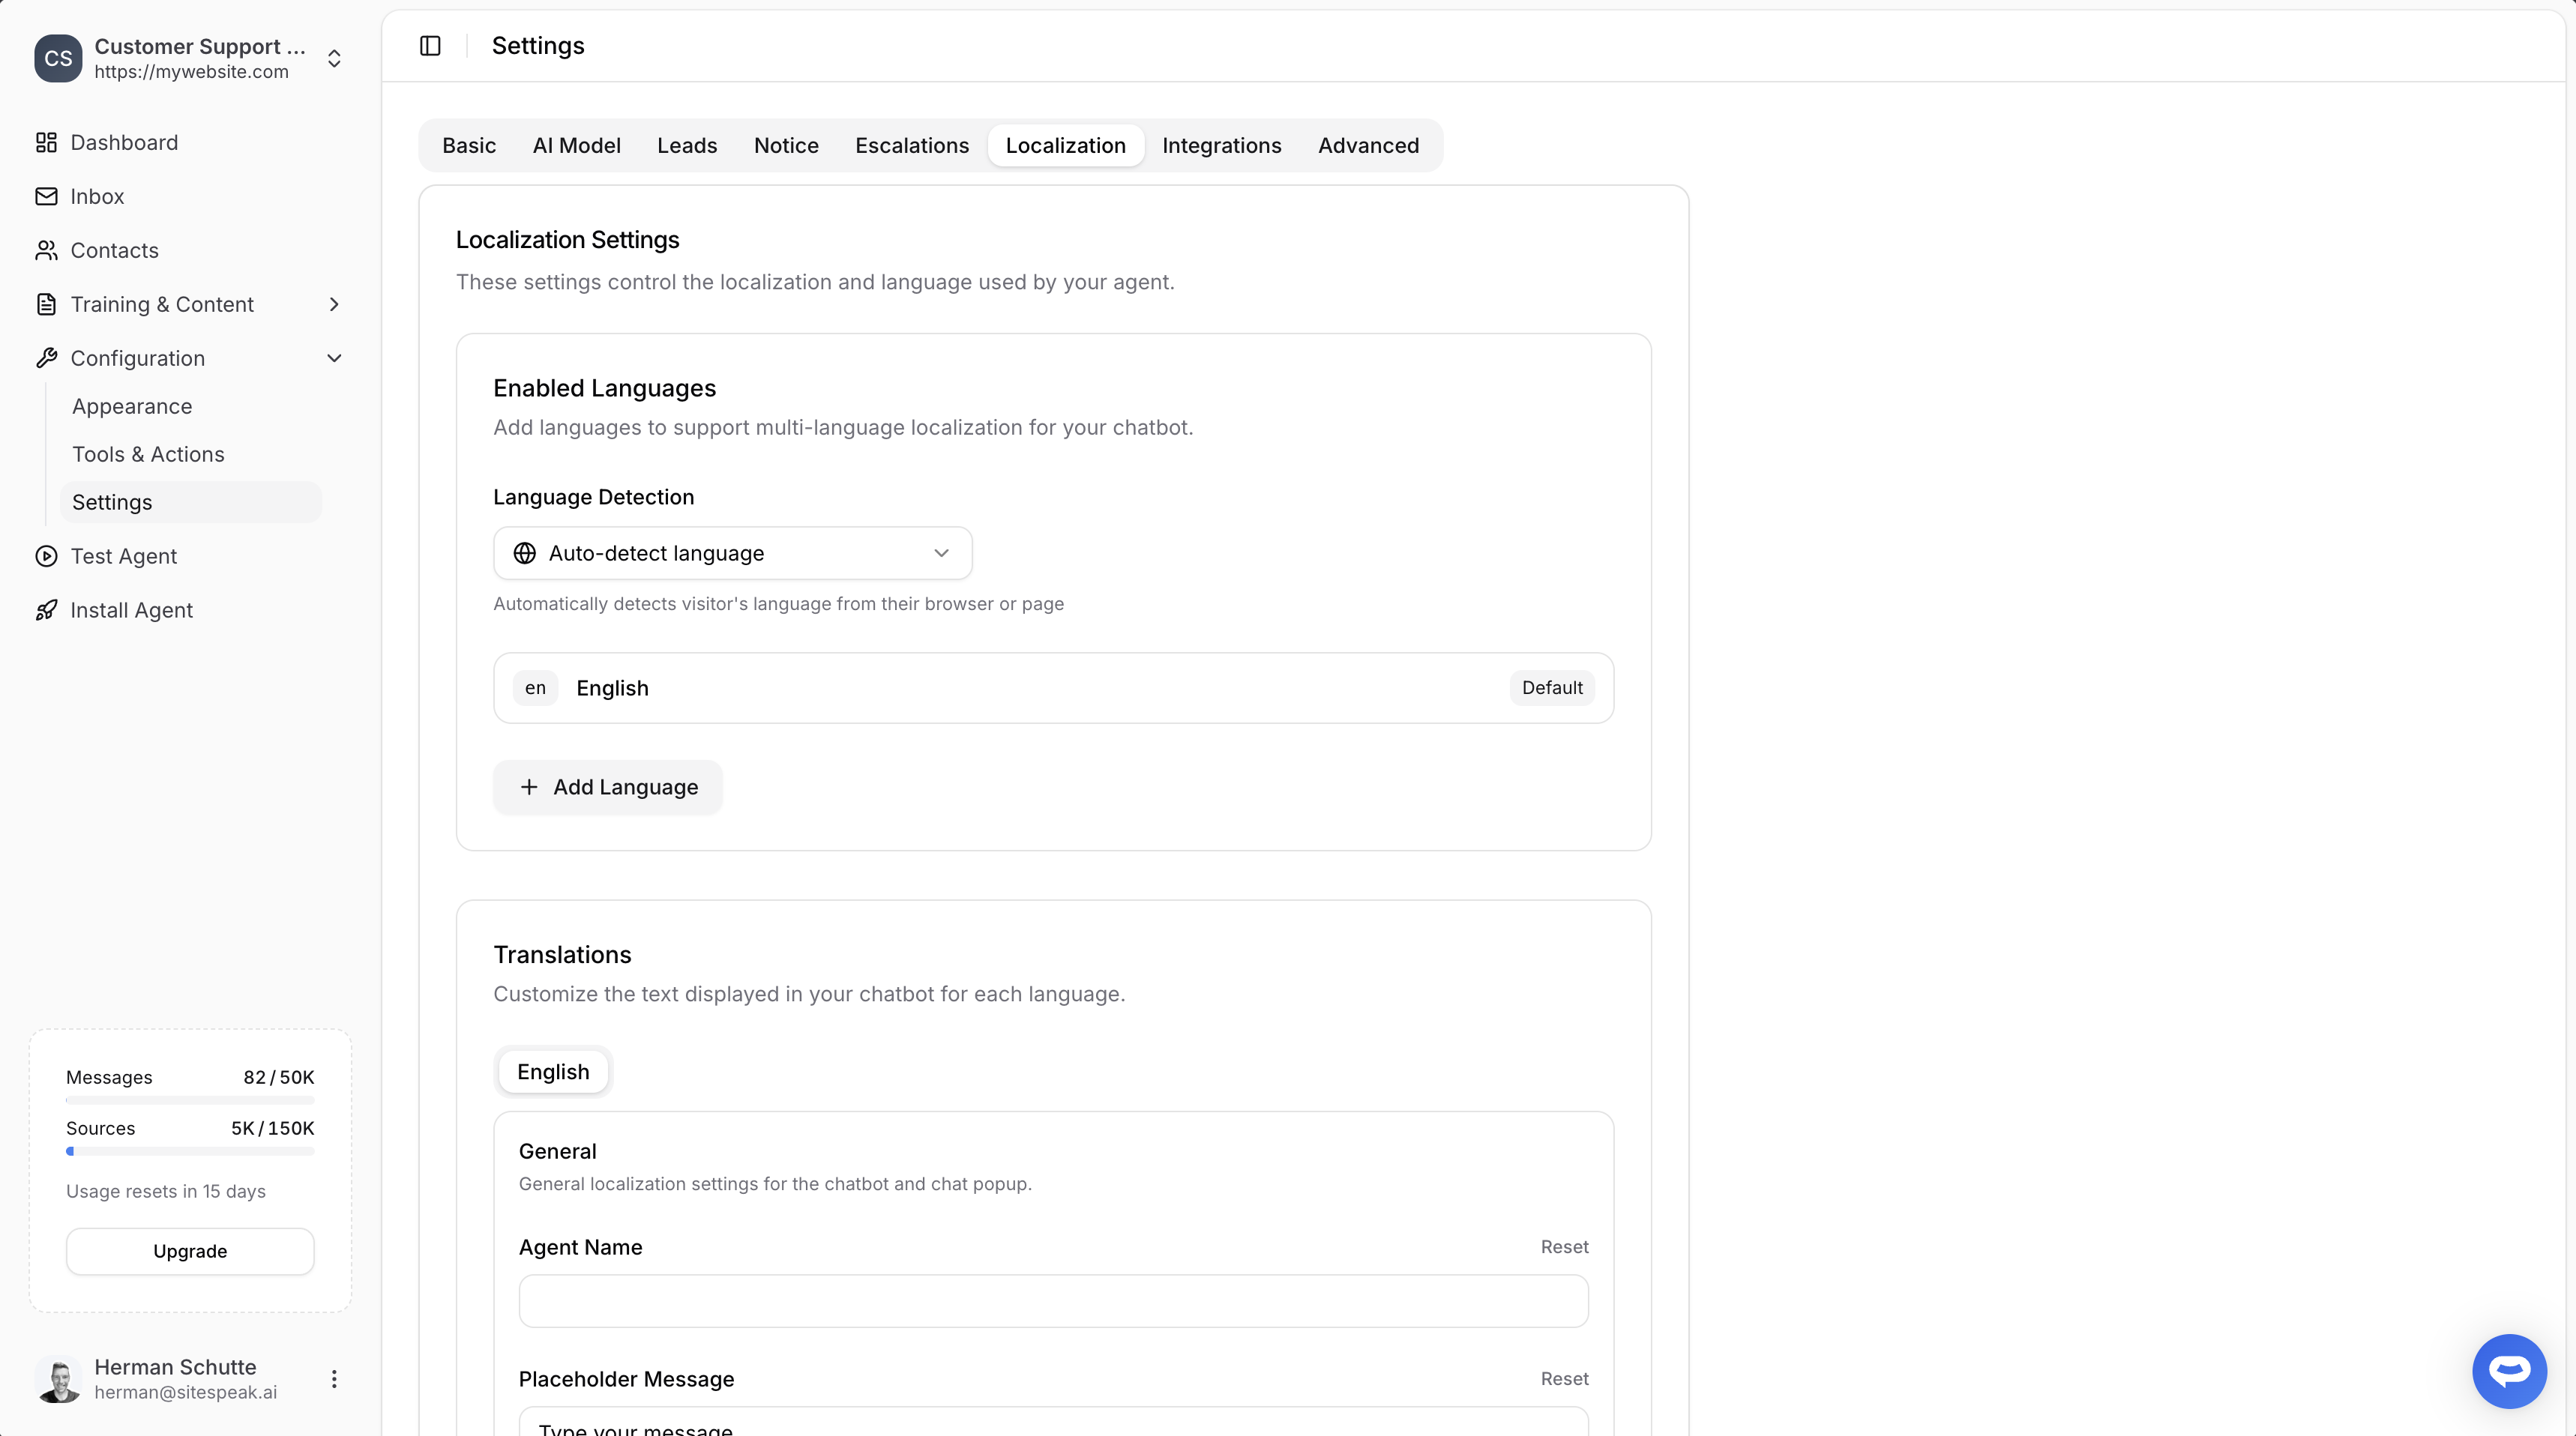
Enabled Languages
Add multiple languages to support visitors from different regions. Your chatbot will display all labels and messages in the visitor’s preferred language.Language Detection
Choose how your chatbot determines which language to display:- Auto-detect language: Automatically detects the visitor’s language from their browser or page settings
- Specific language: Force the chatbot to always display in a particular language
Adding a New Language
1
Click Add Language
In the Enabled Languages section, click the + Add Language button.
2
Enter language details
Specify the language code (e.g.,
fr for French, de for German) and language name.3
Click Add
Click the Add button to add the new language.
Setting a Default Language
One language is marked as Default. This is used when:- The visitor’s language cannot be detected
- The visitor’s language hasn’t been configured in your chatbot
Translations
Customize all text displayed in your chatbot for each language. This ensures a fully localized experience for your visitors.Customizable Fields
The Translations section lets you customize: General- Agent Name
- Placeholder Message (input field text)
- Welcome Messages
- Footer Text
- Form title and description
- Field labels (Name, Email, Phone, etc.)
- Submit button text
- Escalation request messages
- Confirmation messages
- Unavailable messages
- Email subject line
- Greeting and introduction message
- Contact information labels (Name, Email, Phone, Internal User ID)
- Last question label
- Button text, footer, sign off, and sender name
- Feedback prompts
- Thank you messages
… menu in the chatbot header)
menu- aria-label / tooltip on the…buttonnew_chat- “Start New Chat” item and the floating pill in Recent Chatsview_recent_chats- “Recent Chats” itemdelete_chat- “Delete Chat” itemrecent_chats- header title in the recent-chats viewno_conversations- empty state when there are no past conversationsback- aria-label on the back arrow
- Error messages
- Rate limit messages
- Loading states
Editing Translations
1
Select a language
In the Translations section, click on the language tab you want to edit (e.g., English, French).
2
Update the text fields
Modify any of the text fields. Each field has a Reset button to restore the default text.
3
Save your changes
Click the Save button to store your translations.
Email Notification Localization
Escalation notification emails sent to your team can also be localized. These emails are sent in your chatbot’s default language when a visitor requests human assistance.Available Placeholders
Use the following placeholders in your email notification text. They will be replaced with actual values when the email is sent:Customizable Email Fields
You can customize the following parts of the escalation email:- Email Subject - e.g.,
{{chatbot_name}}: Visitor needs human assistance - Greeting - e.g.,
Hello! - Introduction Message - Supports markdown links, e.g.,
Visit your [inbox]({{inbox_link}}) - Last Question Label - Label shown above the visitor’s last message
- Contact Information Labels - Labels for name, email, phone, and internal user ID
- Button Text - The call-to-action button text
- Footer, Sign Off, and Sender Name - Closing content of the email
How It Works
Once you’ve configured multiple languages:- Visitor arrives: When a visitor opens your chatbot, their browser language is detected
- Language matched: If you’ve configured that language, all interface text displays in their language
- AI responds: The AI also responds in the detected language, using your training content
- Fallback: If the language isn’t configured, the default language is used
AI Language Support
Beyond interface localization, your chatbot’s AI can understand and respond in virtually any language:- The AI automatically detects the language of incoming messages
- Responses are generated in the same language the visitor uses
- For best results in specific languages, add training content in those languages
Supported Languages
The AI supports all major languages including:- English, Spanish, French, German, Portuguese, Italian, Dutch
- Chinese, Japanese, Korean
- Arabic, Hebrew, Hindi
- And many more…
Interface localization (labels and buttons) requires you to configure each language. AI responses work in any language automatically.
Best Practices
- Start with your primary language: Configure your default language completely before adding others
- Be consistent: Use the same tone and terminology across all languages
- Test thoroughly: Preview your chatbot in each configured language
- Consider regional variations: Create separate entries for variants like
en-USanden-GBif needed
Ready to automate your customer service with AI?
Join over 1000+ businesses, websites and startups automating their customer service and other tasks with a custom trained AI agent.