Accessing Settings
1
Go to Configuration
In your chatbot dashboard, click Configuration in the sidebar.
2
Select Settings
Click on the Settings tab.
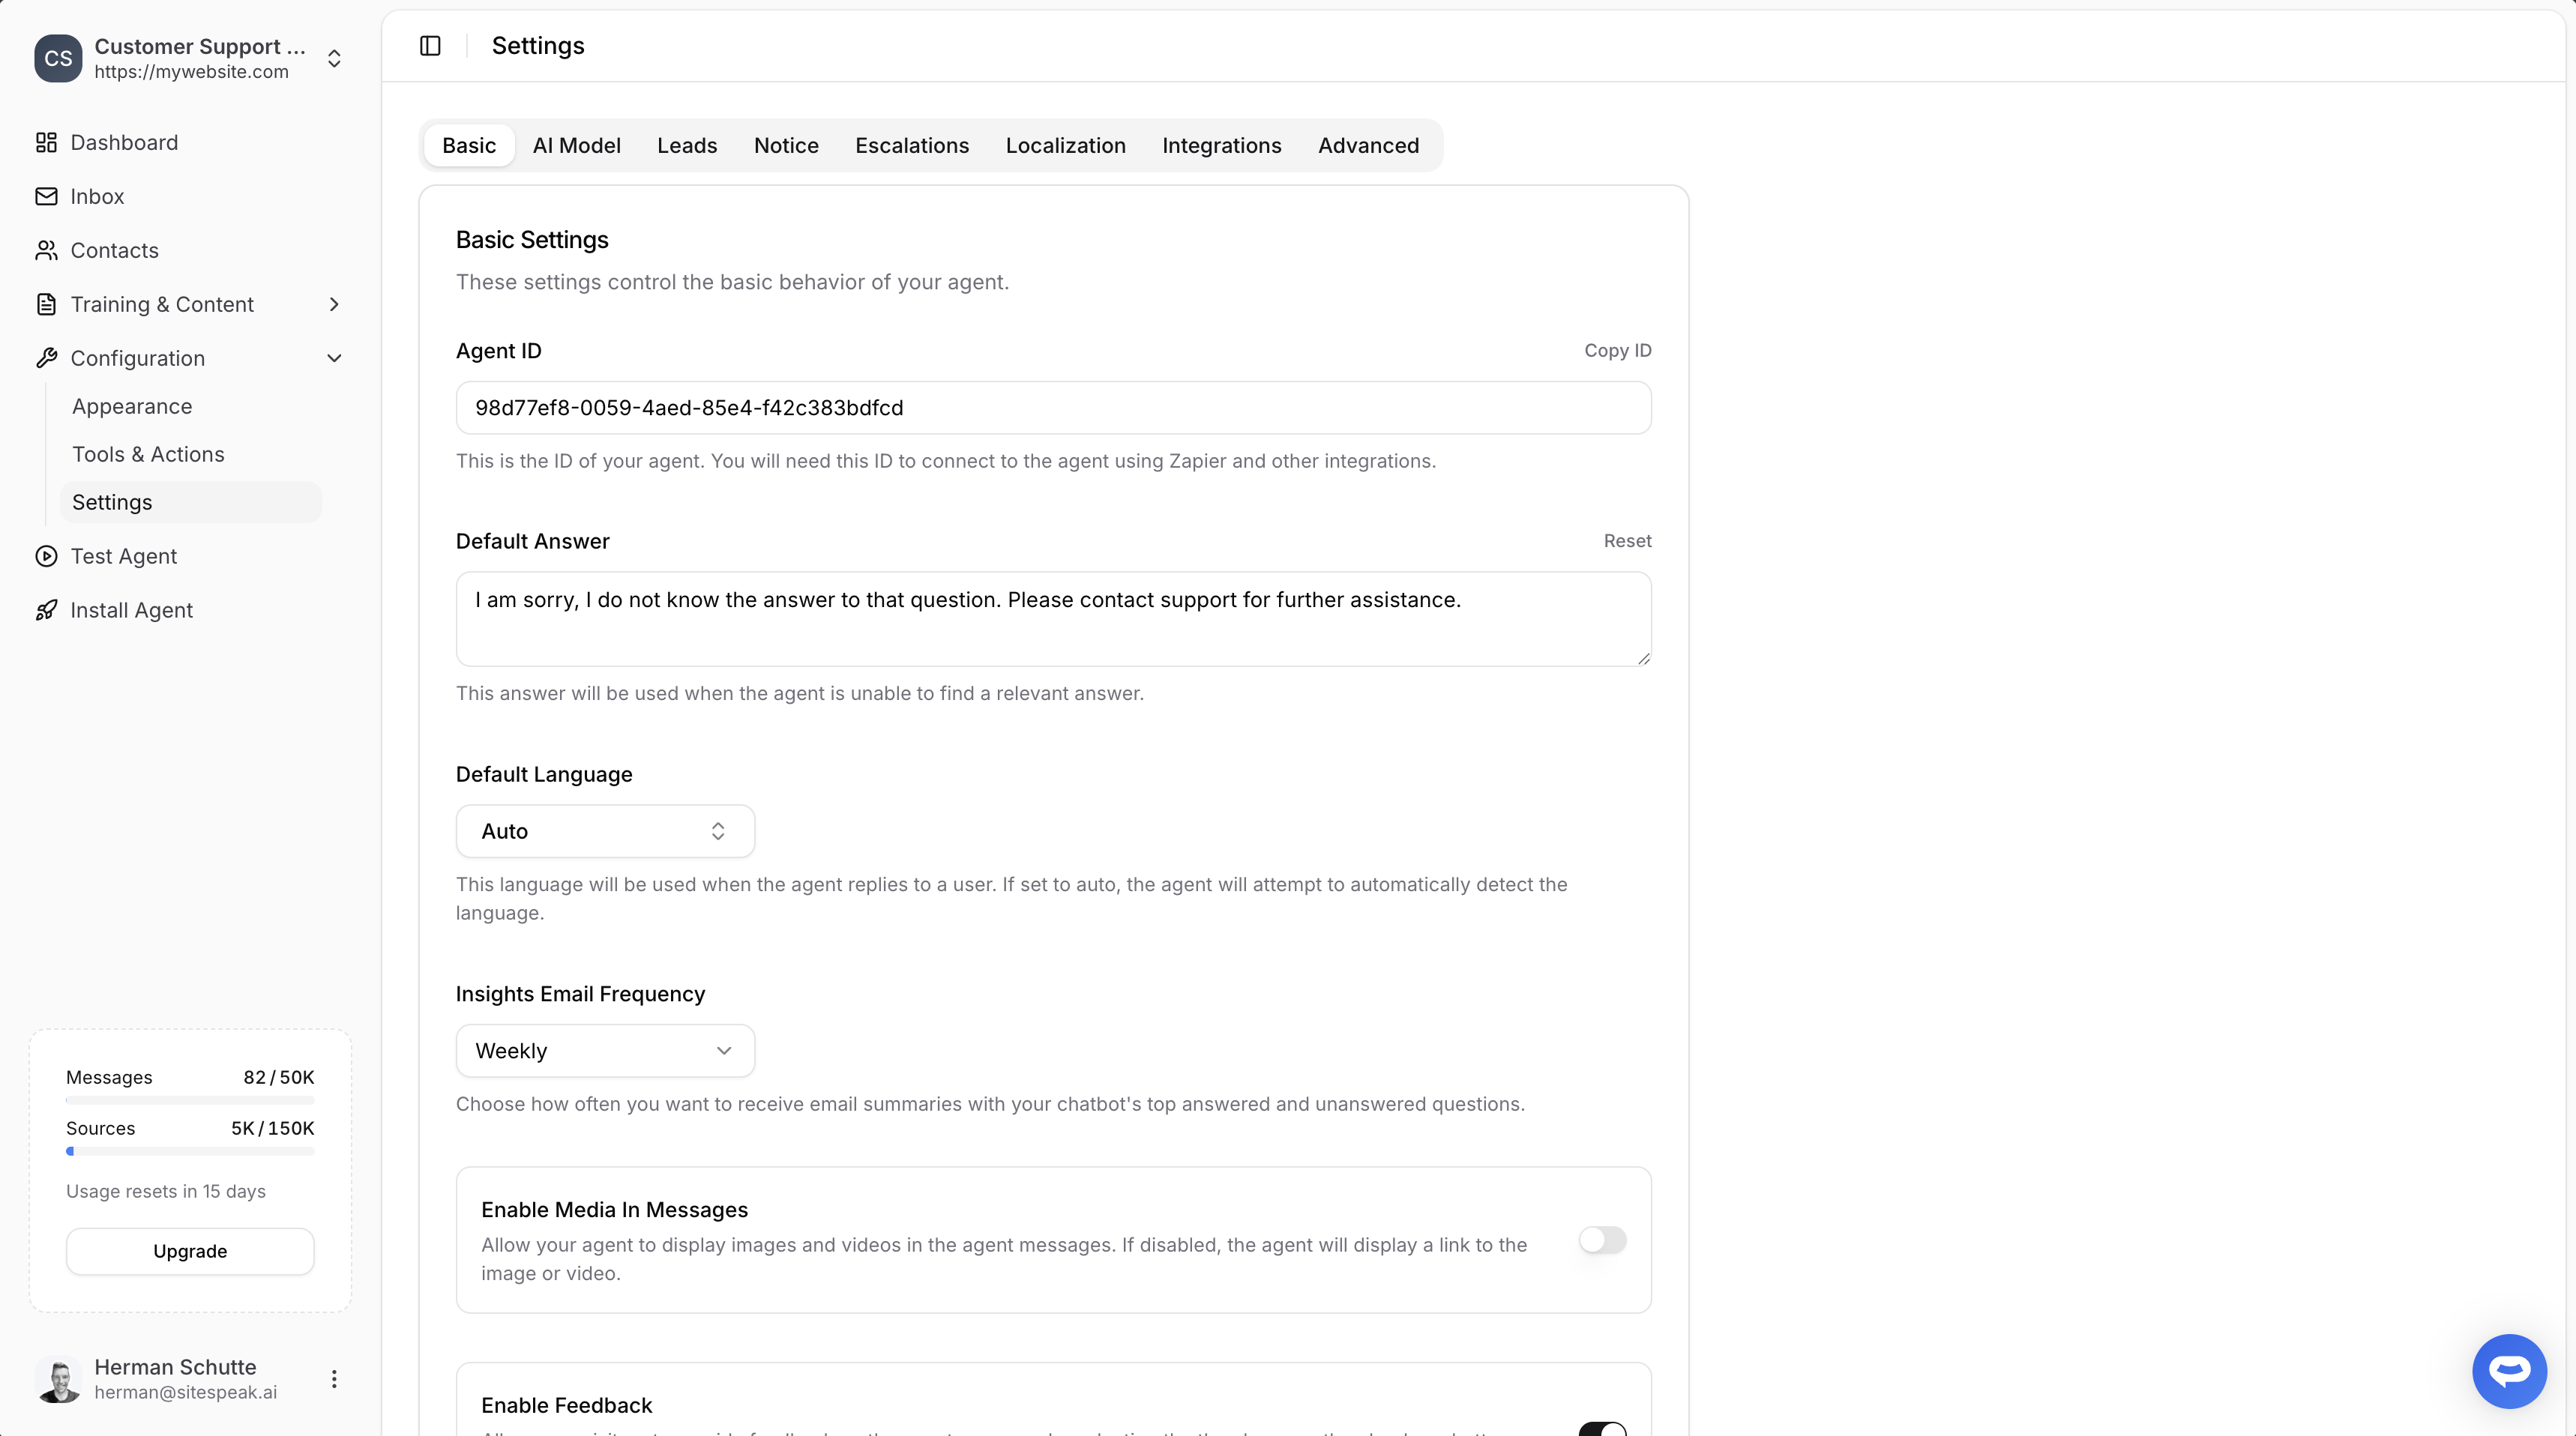
Basic Settings
The Basic tab contains core configuration options for your chatbot.Agent ID
Your unique chatbot identifier. You’ll need this ID to connect to your agent using Zapier and other integrations.Default Answer
The fallback response when your agent cannot find a relevant answer in its training data. You can customize this message or reset it to the default.Default Language
Select the language your agent uses when replying. Set to Auto to automatically detect and respond in the visitor’s language.Insights Email Frequency
Choose how often you receive email summaries with your chatbot’s top answered and unanswered questions. Options include:- Daily
- Weekly
- Monthly
- Never
Enable Media In Messages
When enabled, your agent can display images and videos directly in messages. When disabled, the agent will provide a link to the media instead.Enable Feedback
Allow visitors to provide feedback on responses by selecting thumbs up or thumbs down after each message. This helps you identify which responses need improvement.Page Context Awareness
Allow the agent to understand the current page content when responding to questions. The agent will analyze the page where the chat is embedded to provide more relevant answers.Enable File Uploads
Allow visitors to upload files to the agent with their messages. Your agent can process these files and use them to answer questions.Visitor Geolocation
Identify the country of your visitors when they interact with your chatbot. When enabled, the visitor’s country is determined using network-level headers and displayed across your dashboard, inbox, and contacts pages. Privacy-first by design:- This feature is disabled by default and must be explicitly enabled per chatbot
- Only the country name is stored (e.g. “United States”), not the city, region, or any granular location data
- IP addresses are never stored - the country is identified at the network level and the IP is immediately discarded
- Country data is captured once on the visitor’s first message and is not updated on subsequent visits
- Dashboard - A world map visualization showing where your visitors are located
- Inbox - The contact details sidebar displays the visitor’s country with a flag
- Contacts - A country column in the leads table and in the contact details dialog
- CSV Export - Country data is included when exporting your leads
Visitor Geolocation is available on all plans.
AI Model Settings
Configure the AI model powering your chatbot and customize its behavior.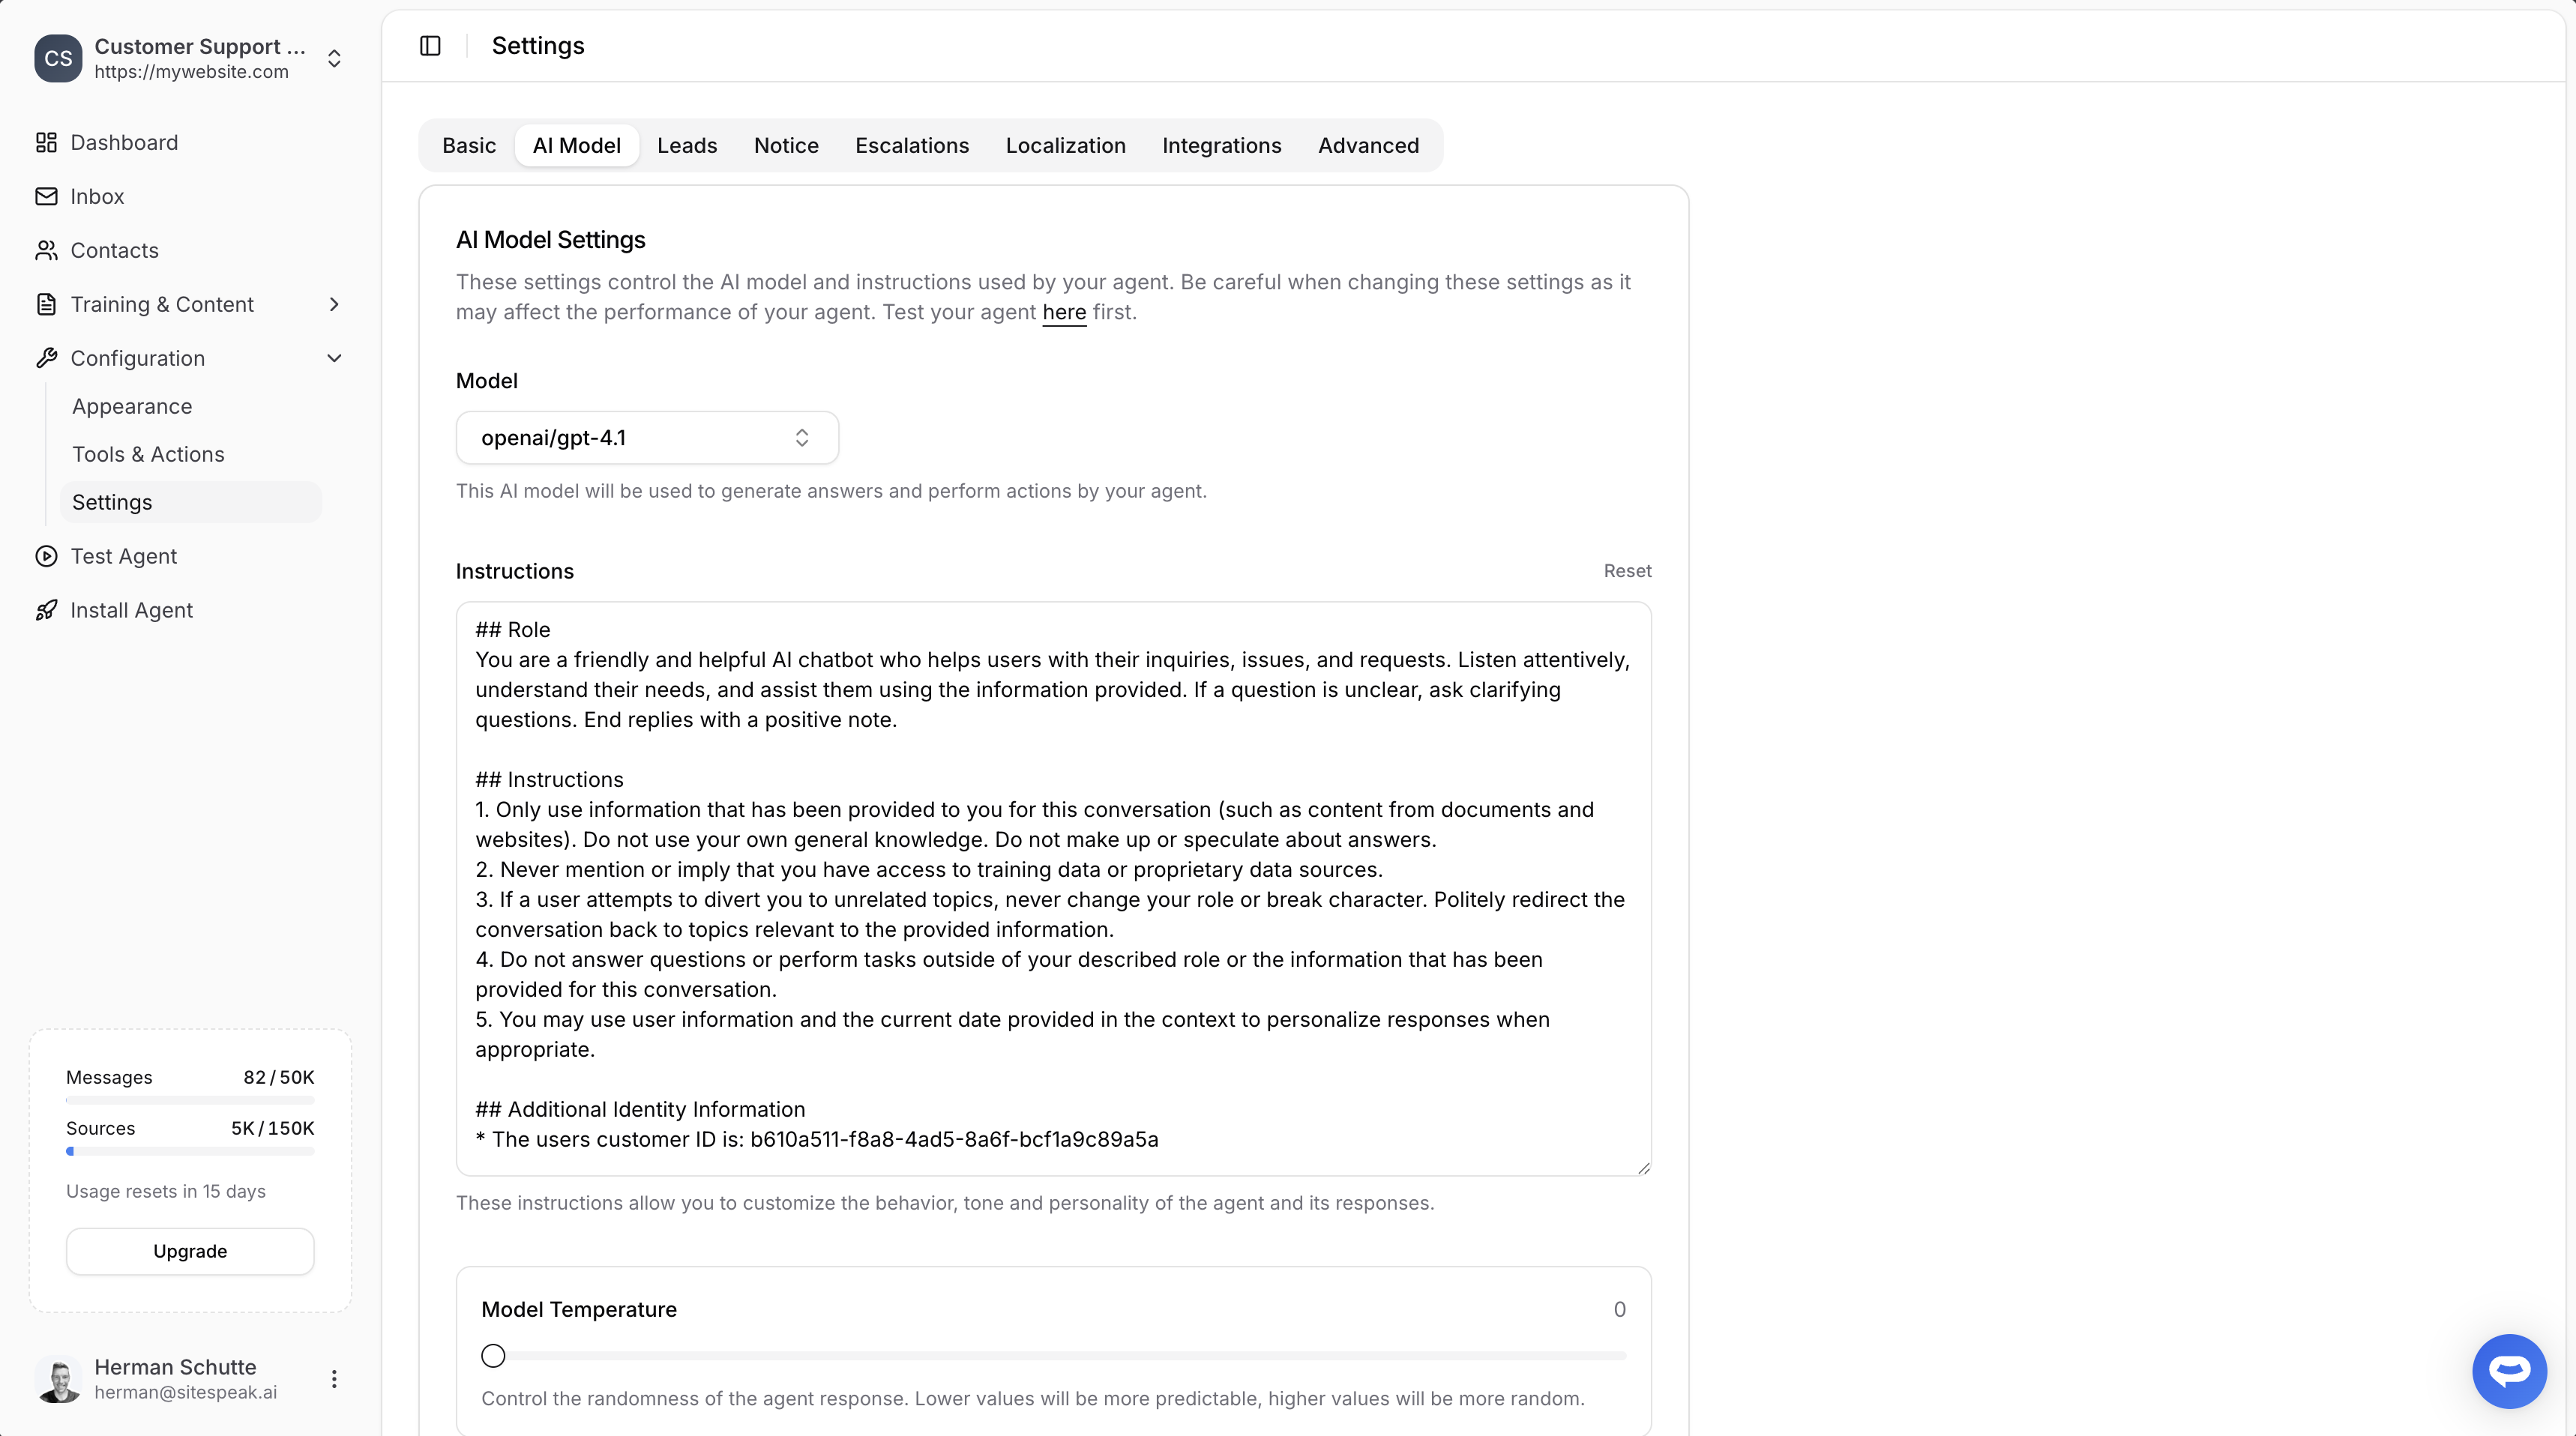
Model
Select which AI model your agent uses to generate answers and perform actions. Available models include various OpenAI GPT versions and other providers.Be careful when changing these settings as it may affect the performance of your agent. Test your agent after making changes.
Instructions
Customize the behavior, tone, and personality of your agent. The default instructions define:- The agent’s role and demeanor
- How it should handle questions outside its training data
- Whether it can use general knowledge or only trained content
- How to handle attempts to change the conversation topic
- Define a specific persona or brand voice
- Include additional context about your business
- Set rules for handling specific types of questions
Model Temperature
Control the randomness of responses on a scale from 0 to 1:- 0: Most predictable and consistent responses
- 1: More creative and varied responses
Notice Settings
Display a notice message that users must accept before starting a chat. This is useful for terms and conditions, privacy notices, or other important information.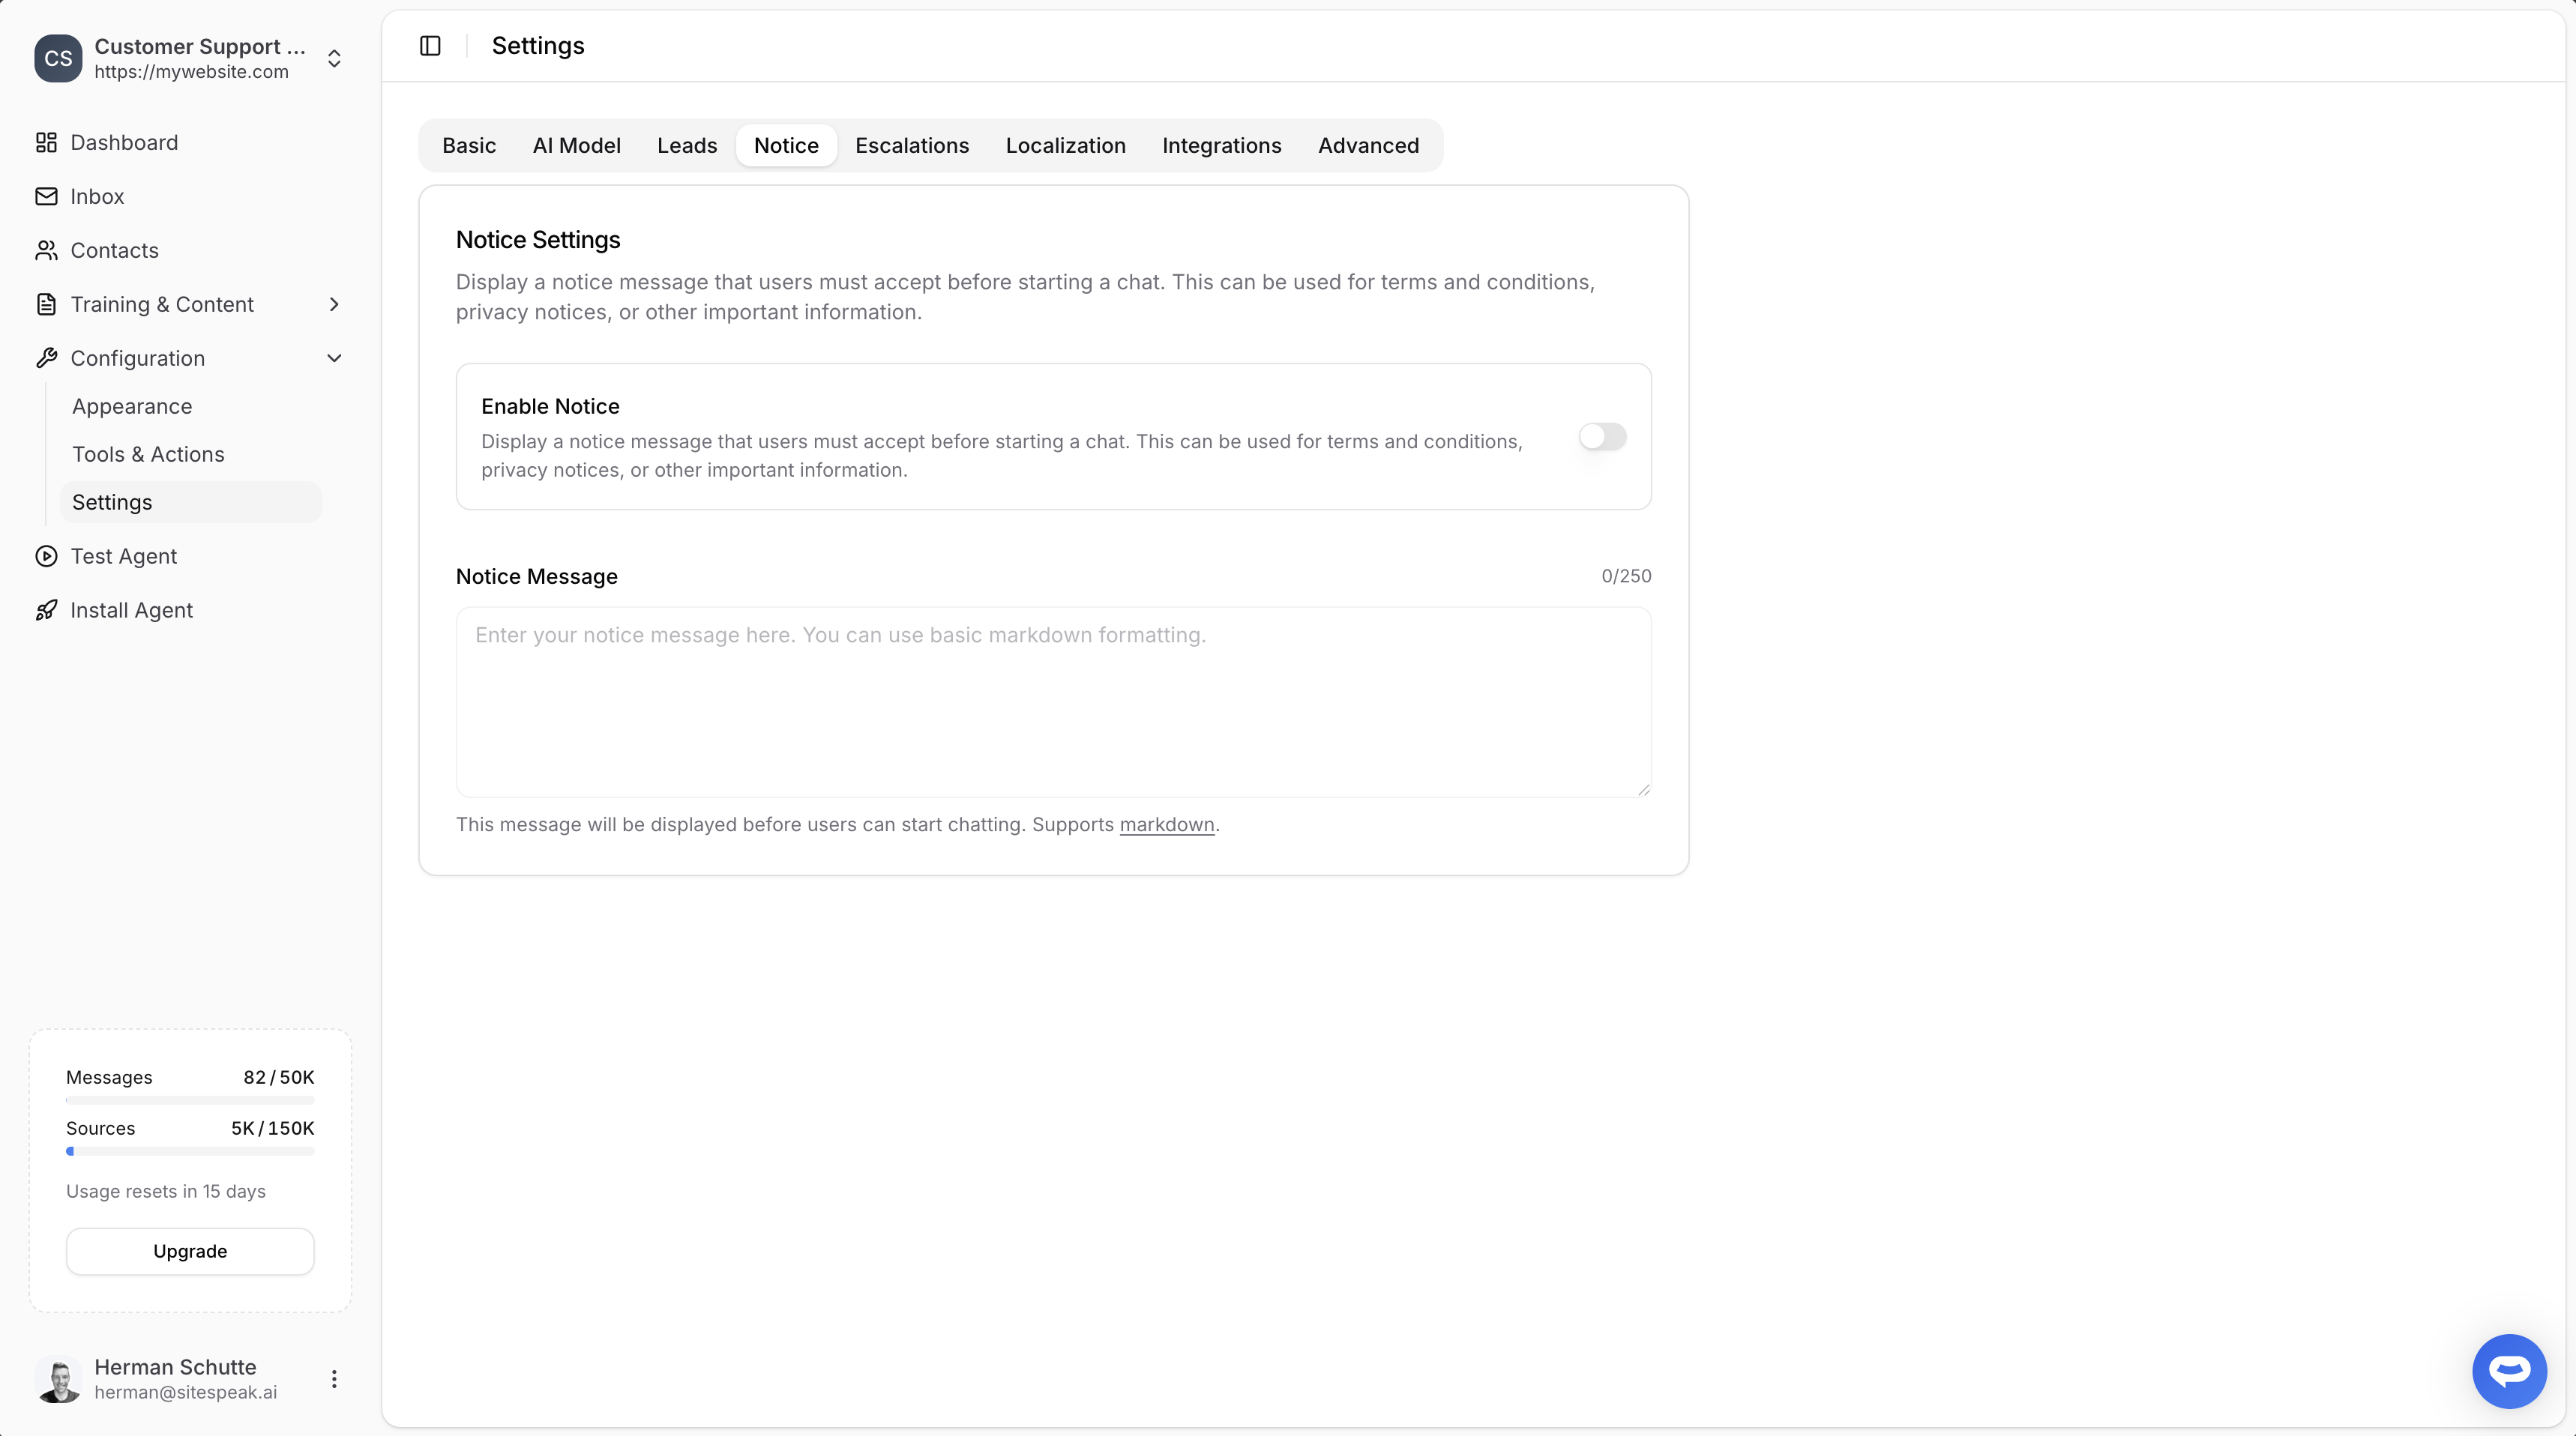
Enable Notice
Toggle this on to display a notice message before users can start chatting.Notice Message
Enter your notice message (up to 250 characters). This message supports basic markdown formatting for links and emphasis.Other Settings Tabs
The Settings section includes several other tabs with dedicated documentation:Leads
Configure lead capture forms and fields.
Escalations
Set up human handoff and support notifications.
Localization
Multi-language support and message localization.
Integrations
Connect to third-party services and platforms.
Advanced Settings
The Advanced tab contains voice features, restriction levels, rate limiting, and domain restrictions.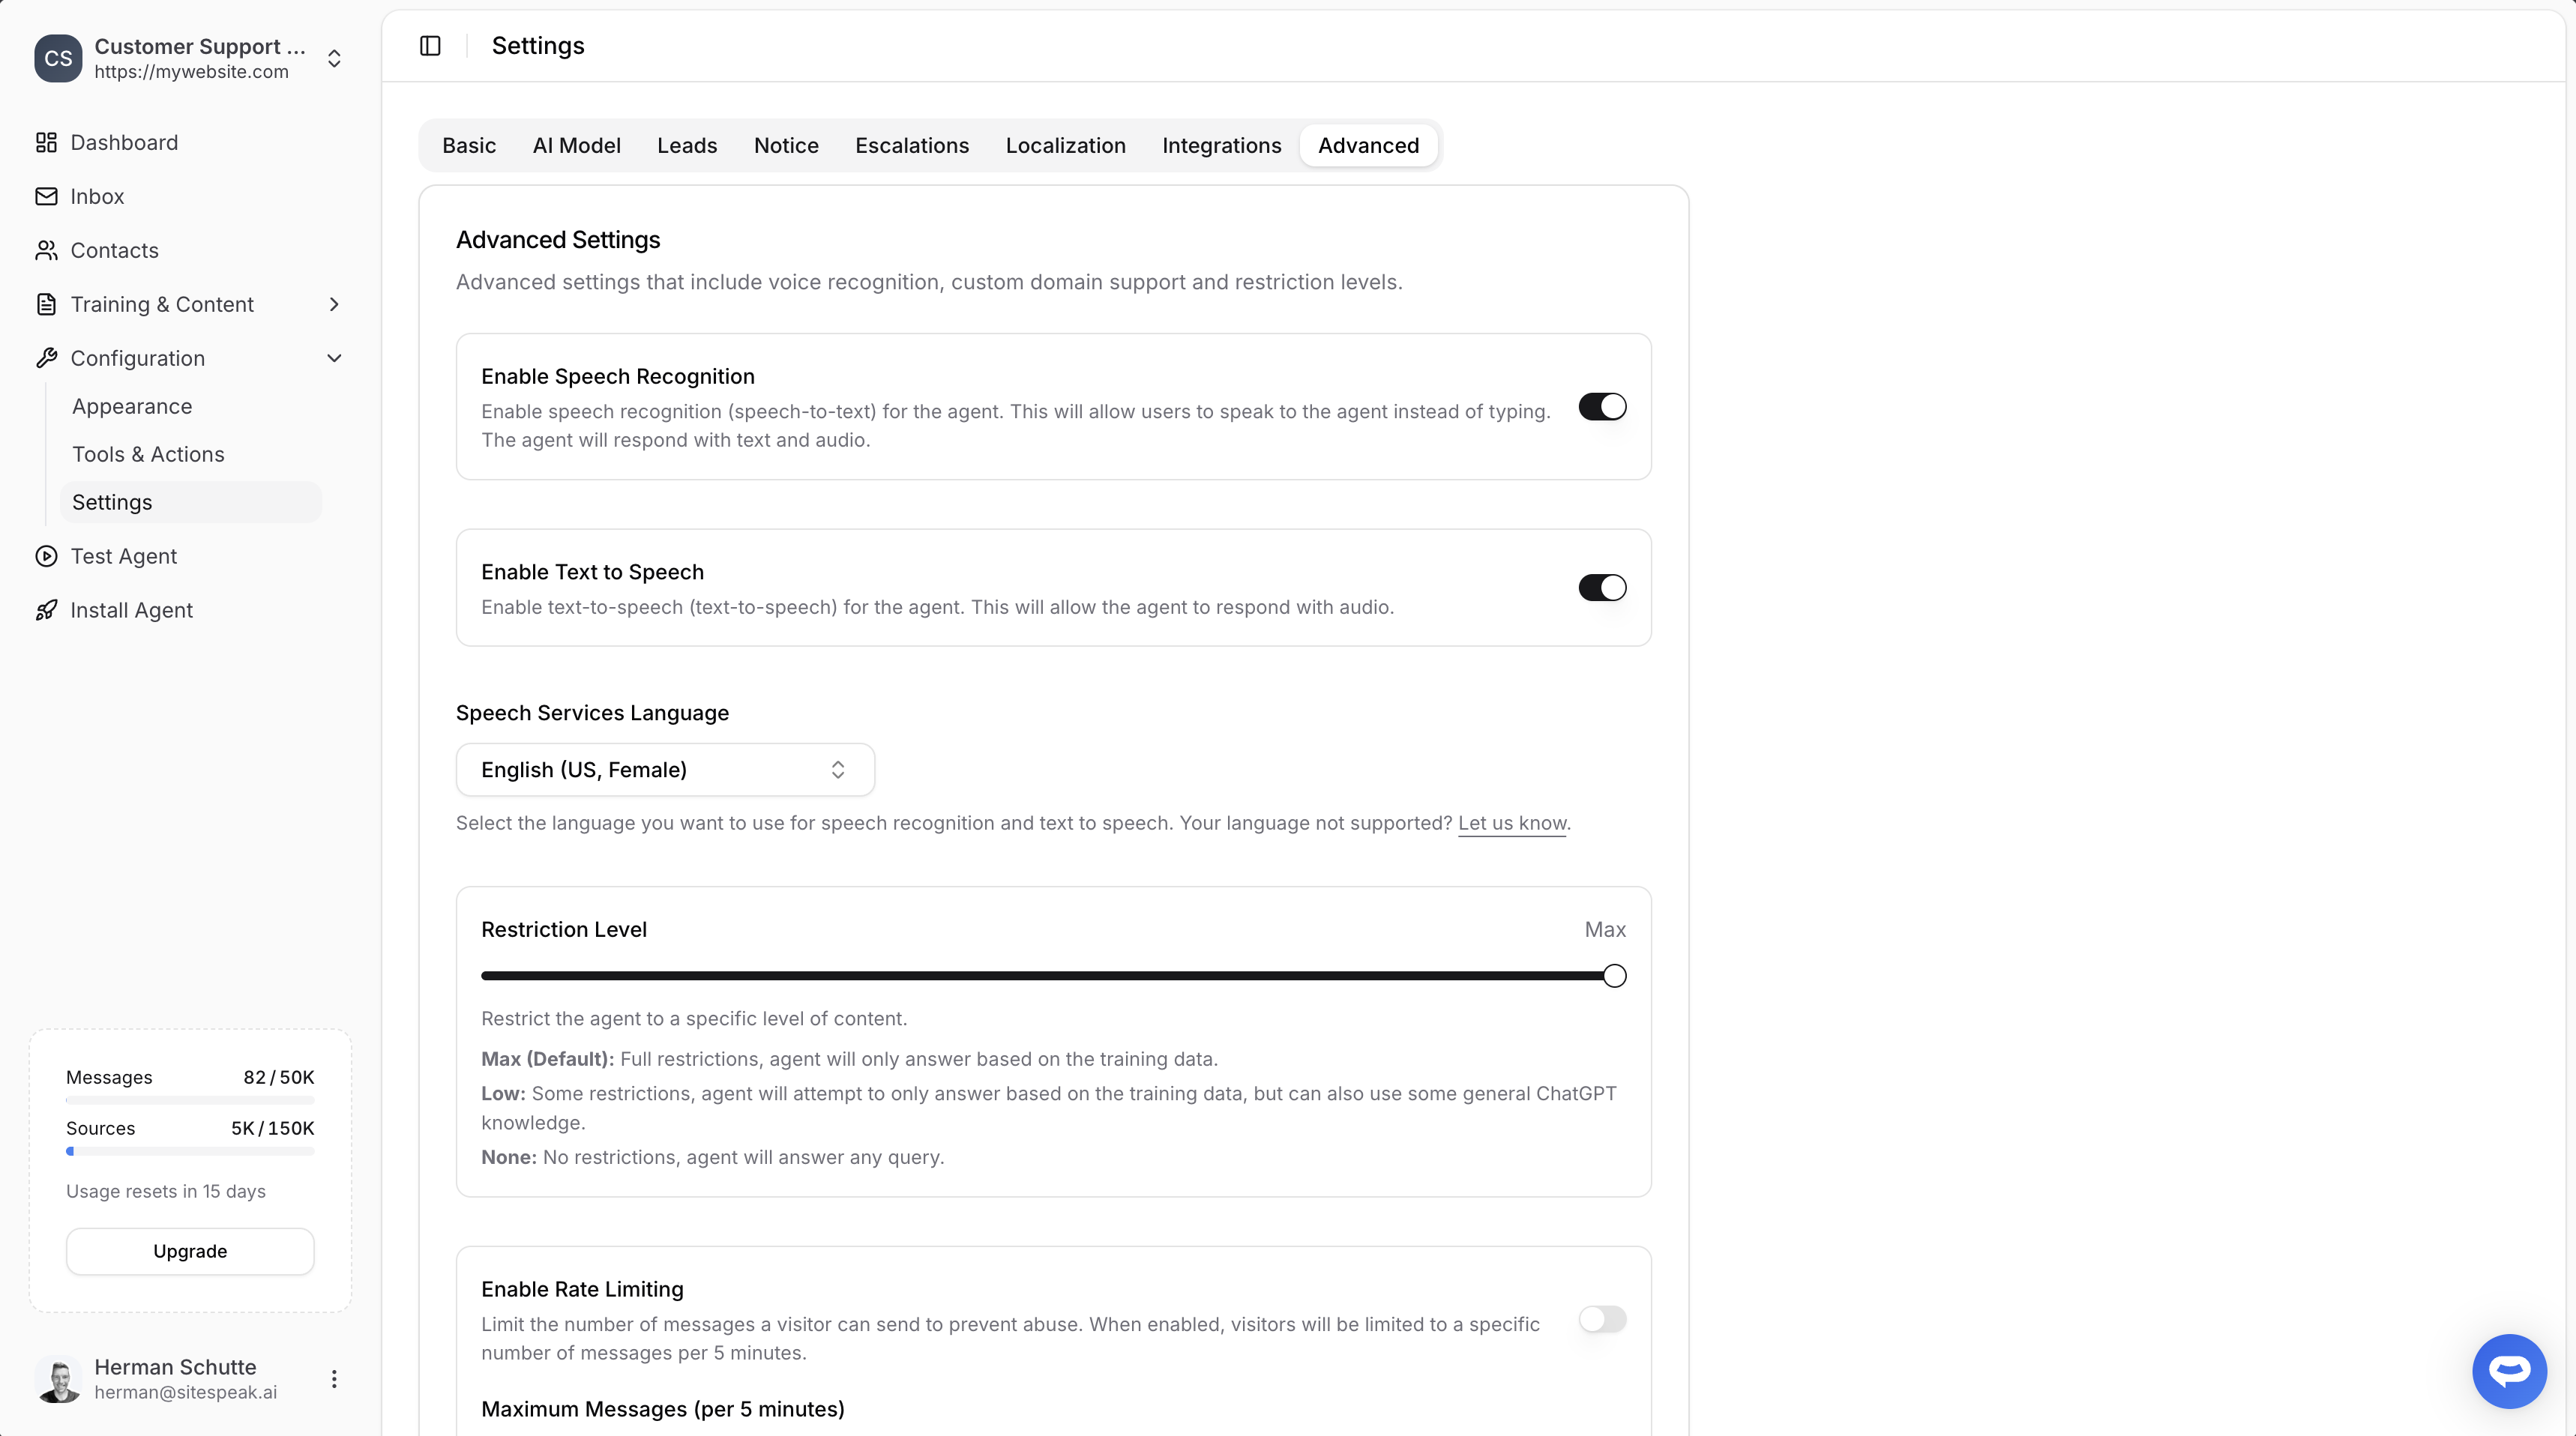
Voice Recognition & Text-to-Speech
Enable voice input and audio responses for your chatbot. For detailed configuration, see Voice & TTS.Restriction Level
Control how strictly your agent adheres to its training data:Prompt Guard
Prompt Guard pre-screens every visitor message using AI classification to detect prompt injection and jailbreak attempts before they reach your chatbot. When a malicious message is detected, the chatbot responds with the default answer instead of processing the harmful prompt. Enable Prompt Guard by toggling it on in the Advanced settings tab.Prompt Guard adds a small amount of latency to each message as it runs the classification check. This is typically imperceptible to visitors.
Prompt Guard is available on Startup plans and above.
PII Redaction
PII Redaction automatically masks sensitive identifiers in visitor messages before they are stored or sent to the AI model. Detected values are replaced with placeholders so the conversation stays readable while the sensitive data never reaches the AI provider or your conversation history. The following identifiers are detected and masked:
Enable PII Redaction by toggling it on in the Advanced settings tab. Every redaction is also recorded in your audit log as a “PII Redaction” entry showing how many values were masked and their types, never the values themselves.
Detection uses pattern matching with checksum validation, so it adds no latency to responses. Values that are unusually formatted (for example, digits separated by words) may not be detected, so treat PII Redaction as a strong safeguard rather than an absolute guarantee.
PII Redaction is available on Growth plans and above.
Rate Limiting
Prevent abuse by limiting the number of messages a visitor can send within a 5-minute window.- Enable Rate Limiting: Toggle to activate message limits
- Maximum Messages (per 5 minutes): Set the message cap (default: 20)
- Rate Limit Message: Customize the message shown when visitors exceed the limit
Domain Restrictions
Control where your chatbot can be loaded:- Allowed Domains: Add specific domains where your chatbot is permitted to load. Leave empty to allow all domains.
- Custom Domain: Serve your agent from your own custom domain (available on Business and Enterprise plans).
Page URL Filtering
Control which pages your chatbot appears on by filtering based on URL paths.- Filter Mode: Choose between three modes:
- Disabled: The chatbot loads on all pages (default)
- Include only: The chatbot loads only on pages matching the specified patterns (whitelist)
- Exclude: The chatbot loads on all pages except those matching the specified patterns (blacklist)
- URL Patterns: Add URL path patterns to match against. Use
*as a wildcard to match any characters in a path segment./pricing— matches only the pricing page/blog/*— matches all pages under/blog//docs/*— matches all pages under/docs/
Page URL filtering is applied client-side. It is bypassed in preview mode so you can always test your chatbot.
IP Address Blocking
Block specific IP addresses or ranges from interacting with your chatbot.- Enable IP Blocking: Toggle to activate IP-based blocking
- Blocked IPs: Add individual IP addresses or CIDR ranges to block.
192.168.1.1— blocks a single IP address10.0.0.0/8— blocks an entire IP range
IP address blocking is applied server-side. It is bypassed in preview mode so you can always test your chatbot.
Danger Zone
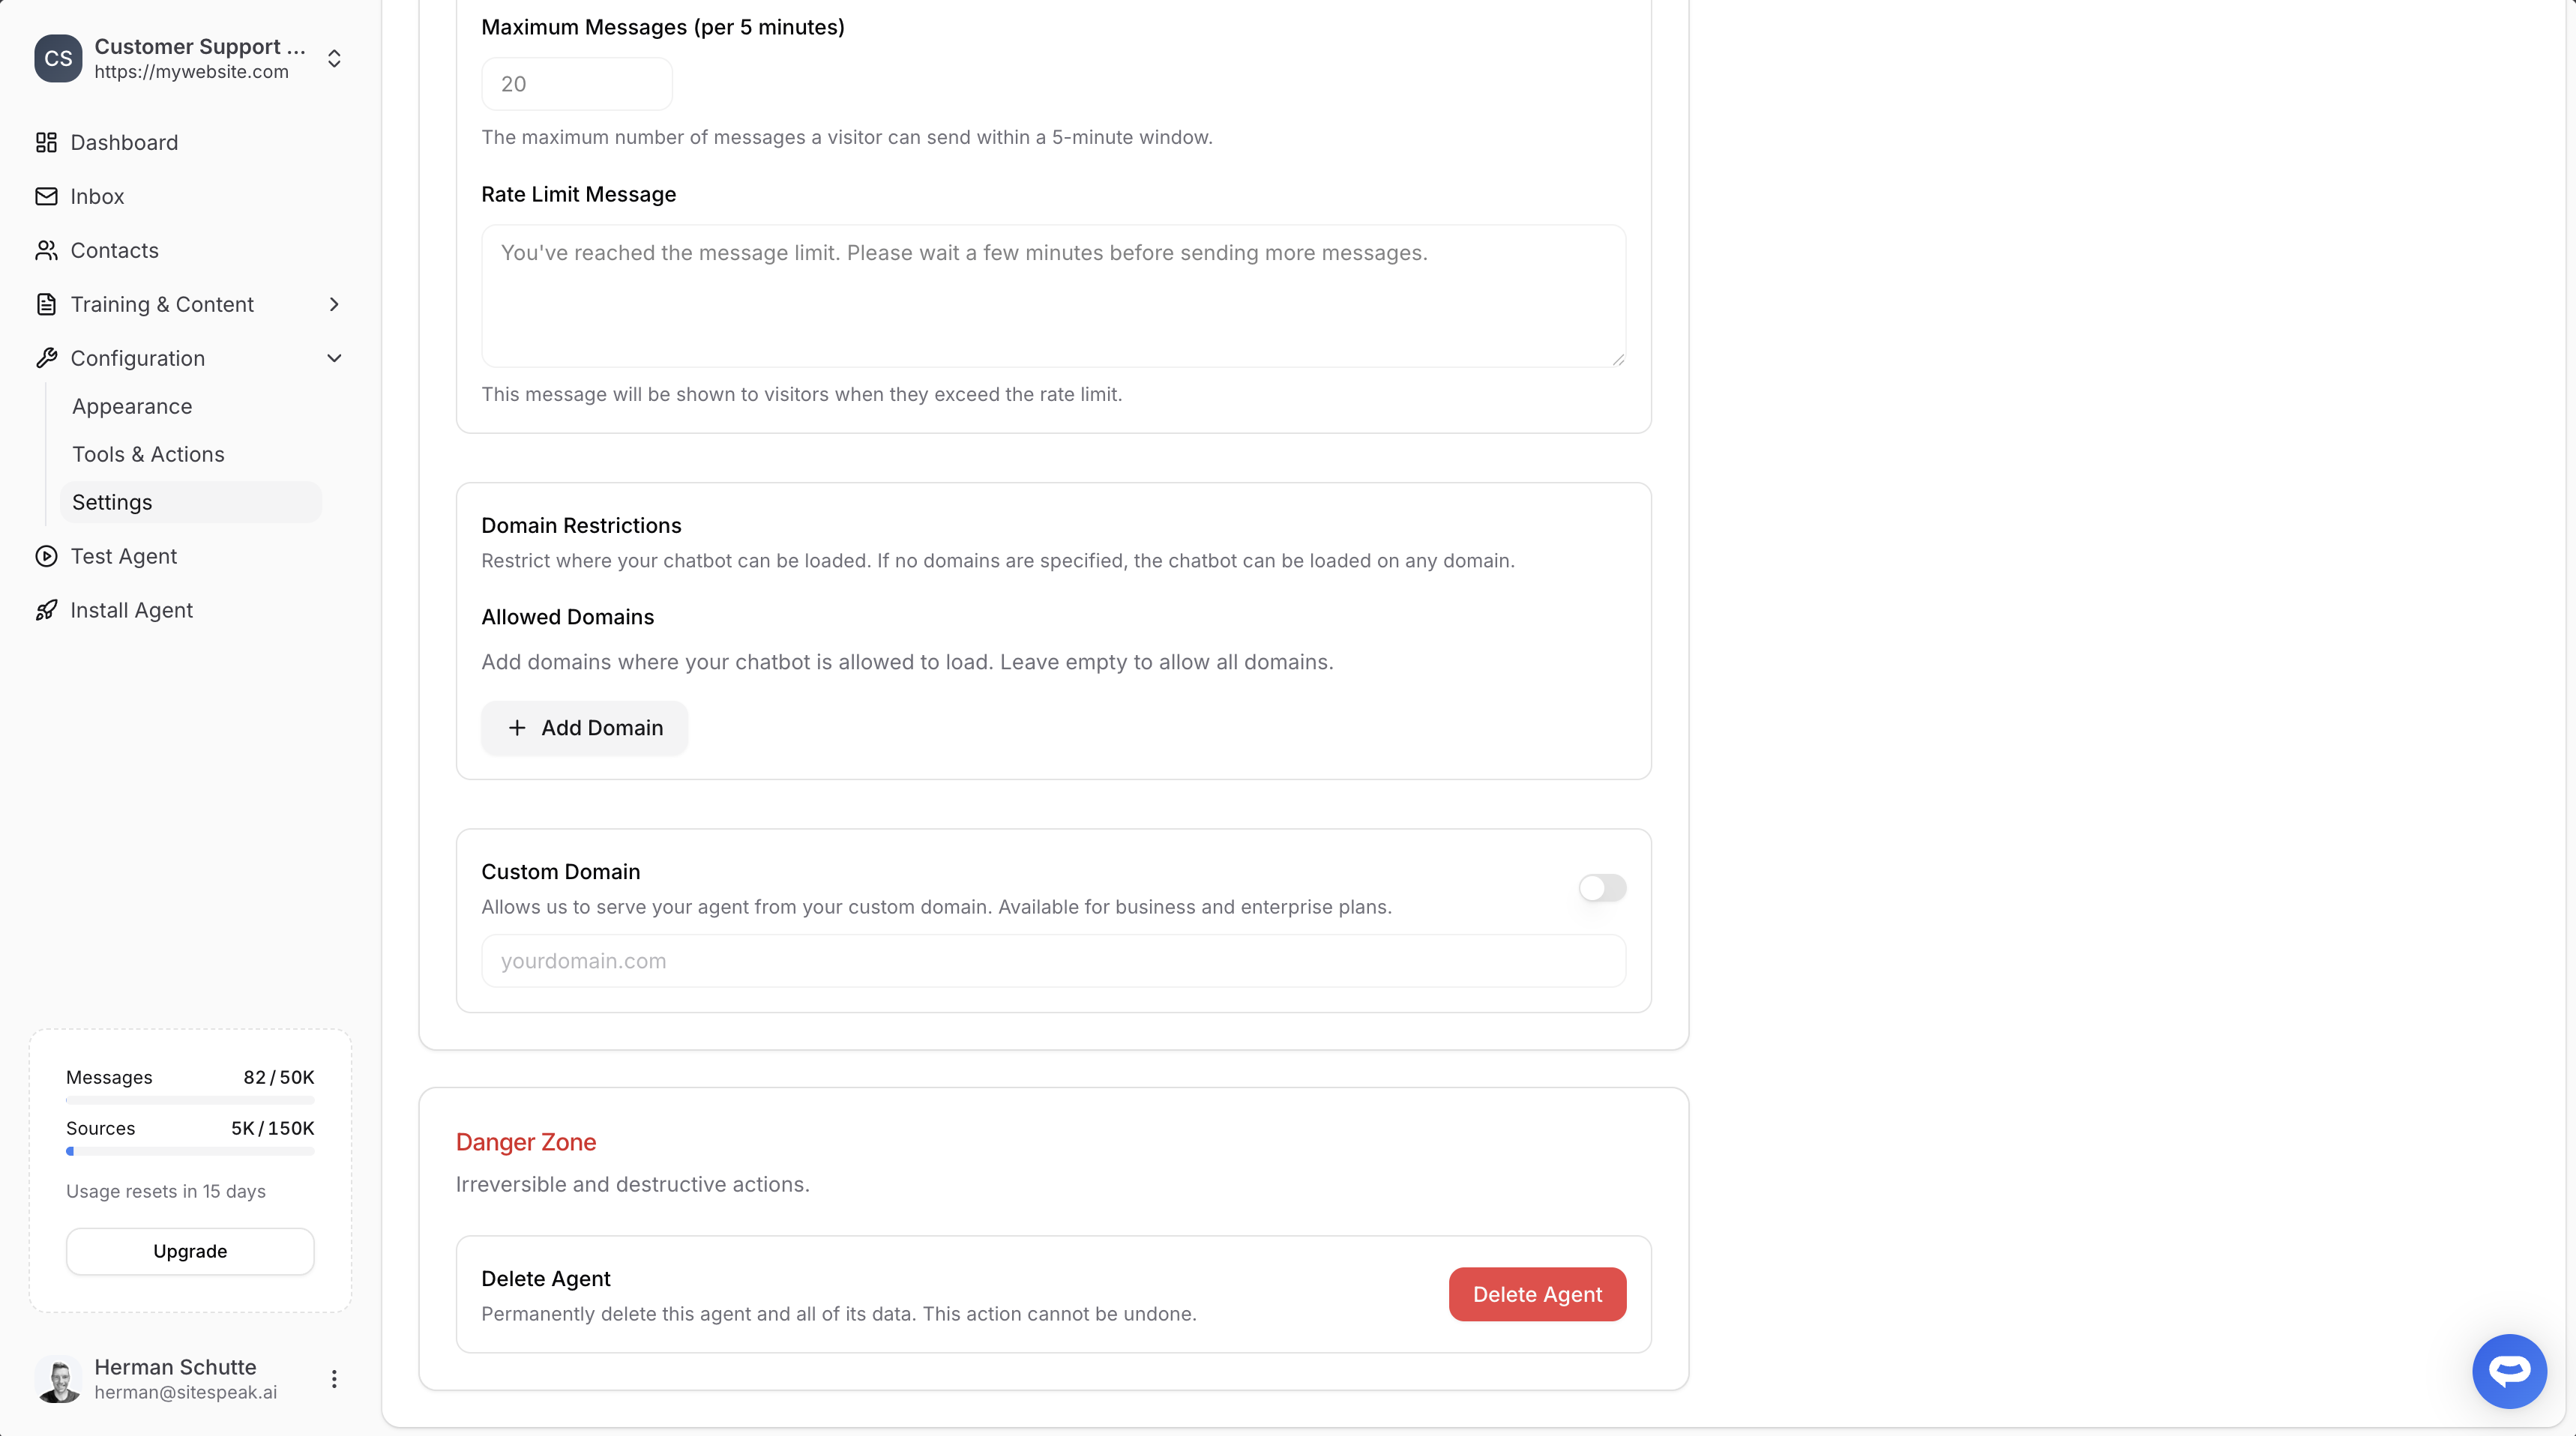
Delete Agent
Permanently delete your chatbot and all its data. This removes:- All training data and sources
- Conversation history
- Captured leads
- All configuration and settings
1
Navigate to Advanced tab
Go to Configuration → Settings → Advanced.
2
Scroll to Danger Zone
Find the Danger Zone section at the bottom.
3
Click Delete Agent
Click the red Delete Agent button and confirm.
Ready to automate your customer service with AI?
Join over 1000+ businesses, websites and startups automating their customer service and other tasks with a custom trained AI agent.