Prerequisites
- A SiteSpeakAI account with a chatbot configured
- A Zapier account (free tier available)
Step 1: Create a SiteSpeakAI API Token
1
Go to API Tokens
In your SiteSpeakAI account, click on your profile and select API Tokens.
2
Create New Token
Click Create Token and give it a descriptive name (e.g., “Zapier Integration”).
3
Copy the Token
Copy the newly created API token. You’ll need this to connect Zapier to your account.
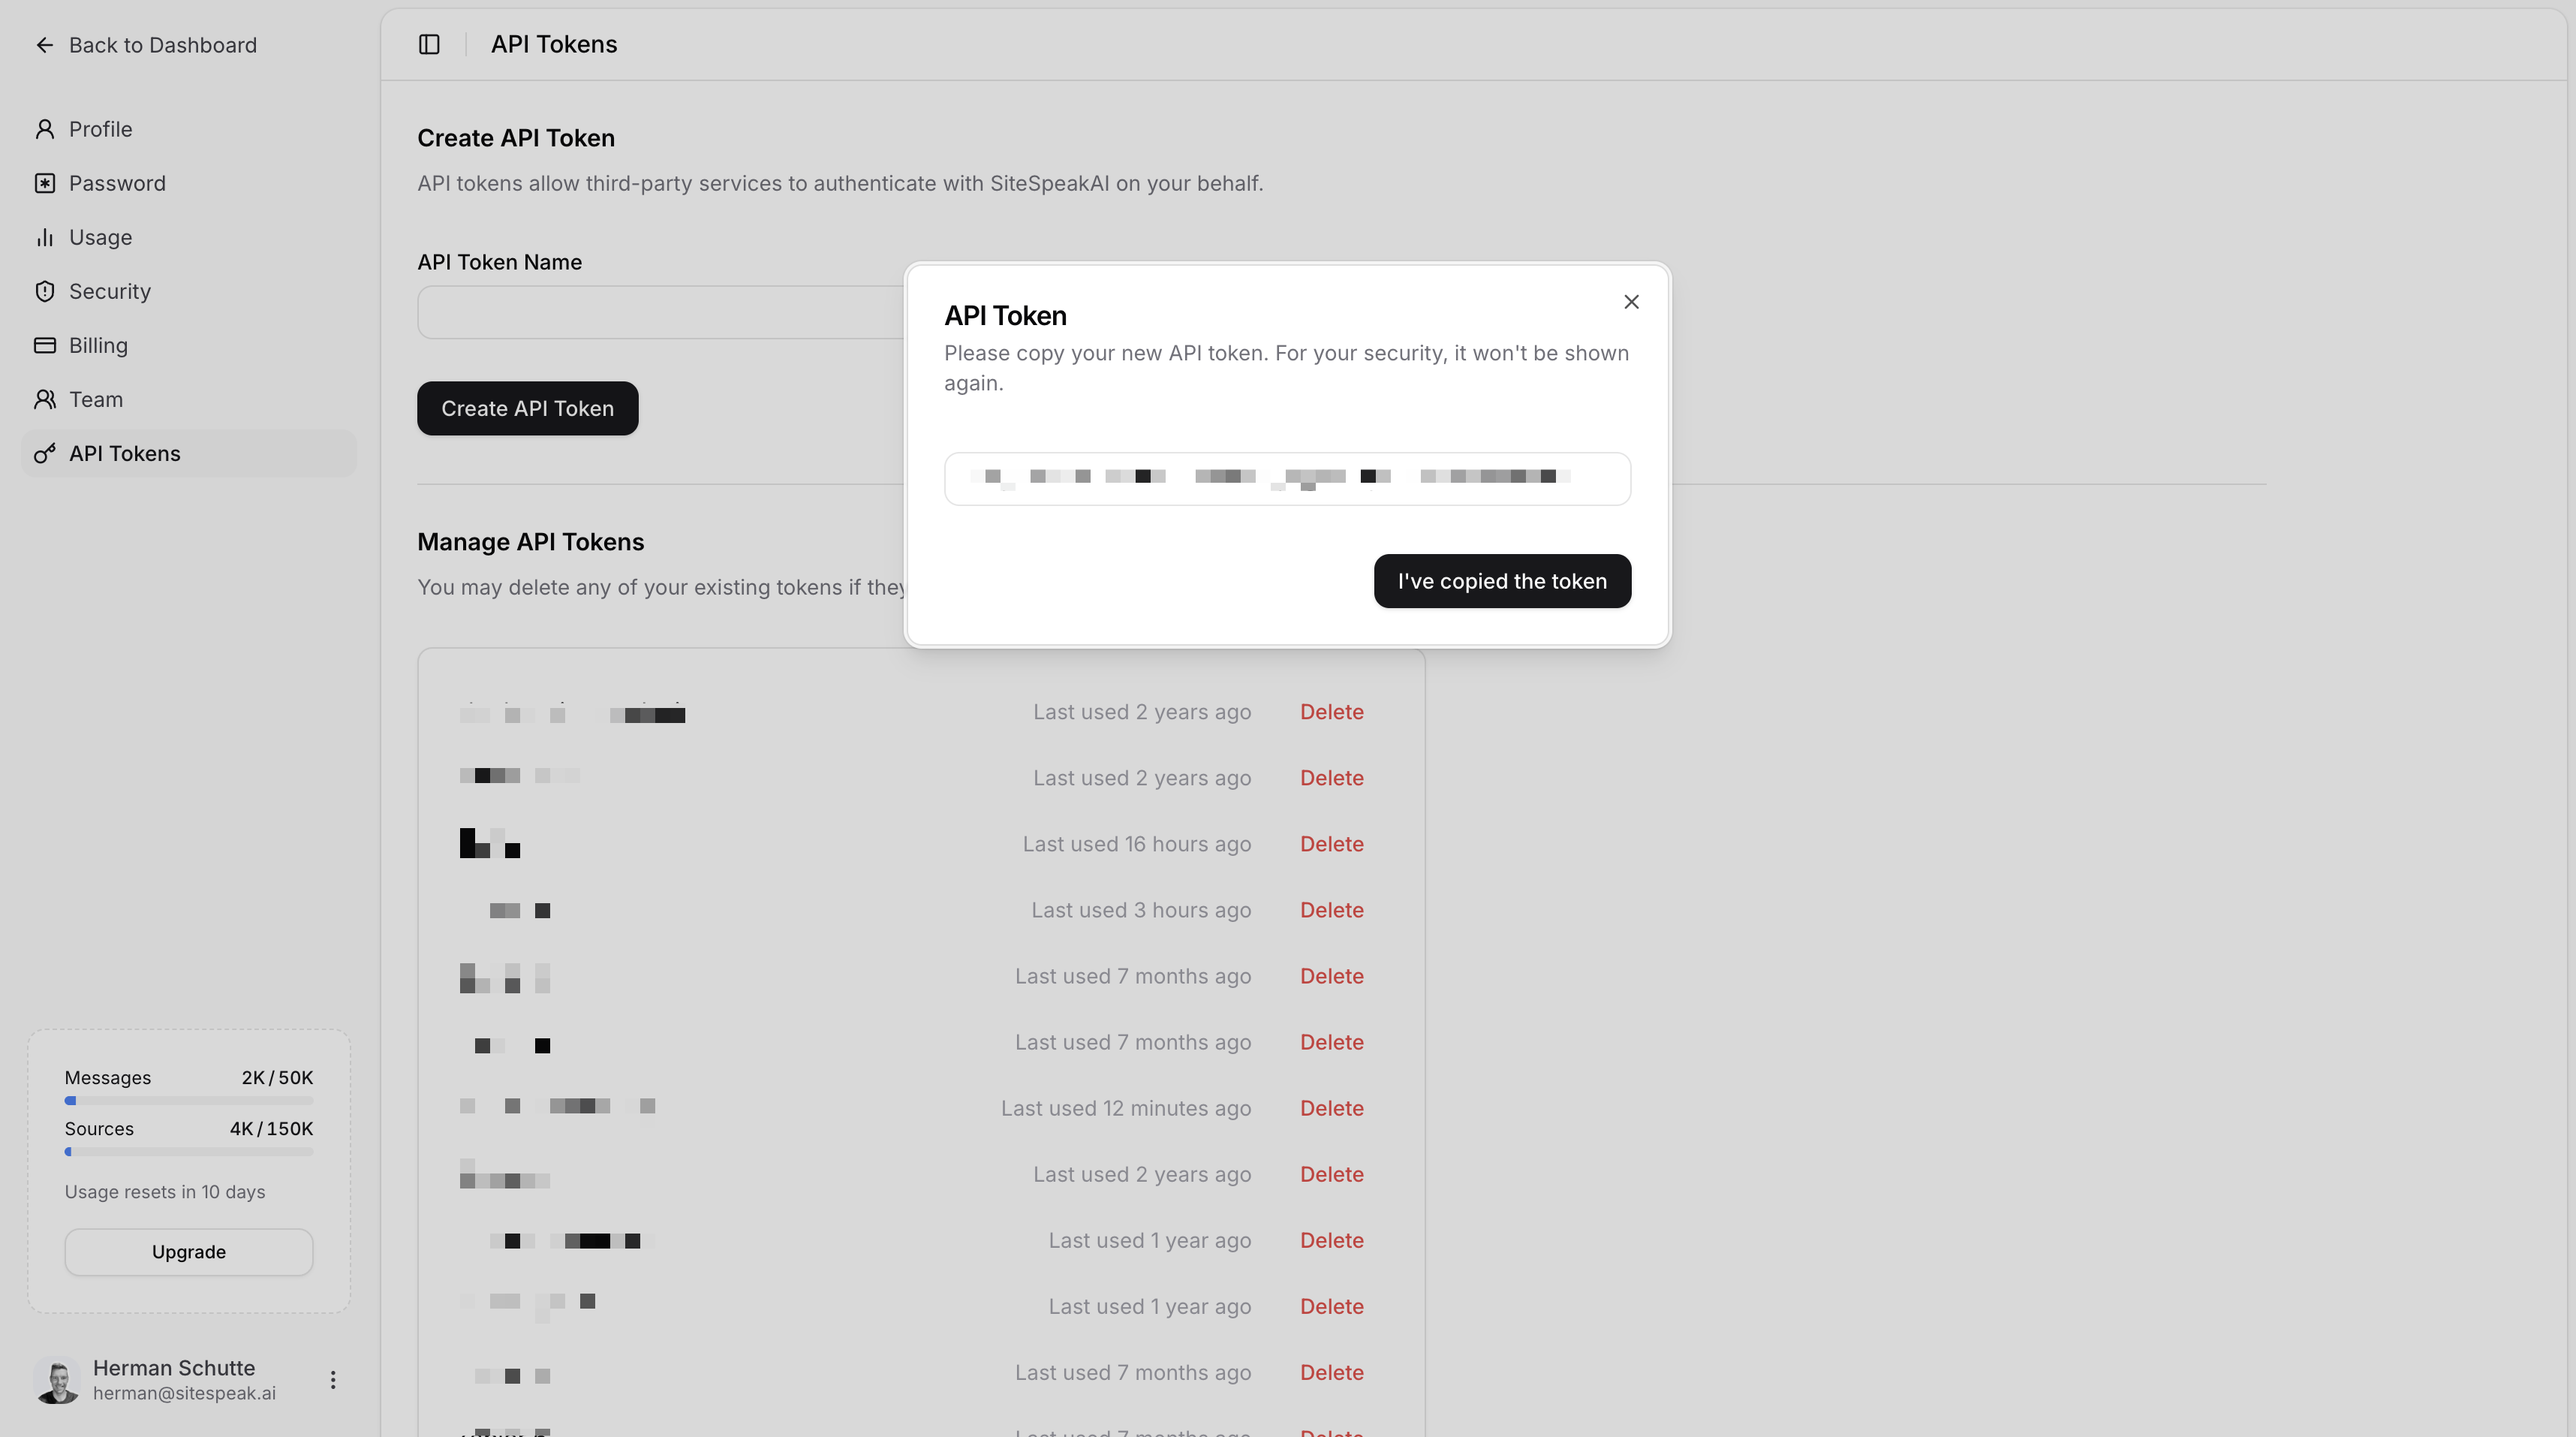
Store your API token securely. You won’t be able to see it again after leaving this page.
Step 2: Create a New Zap
1
Open Zapier
Log in to your Zapier account and click Create Zap.
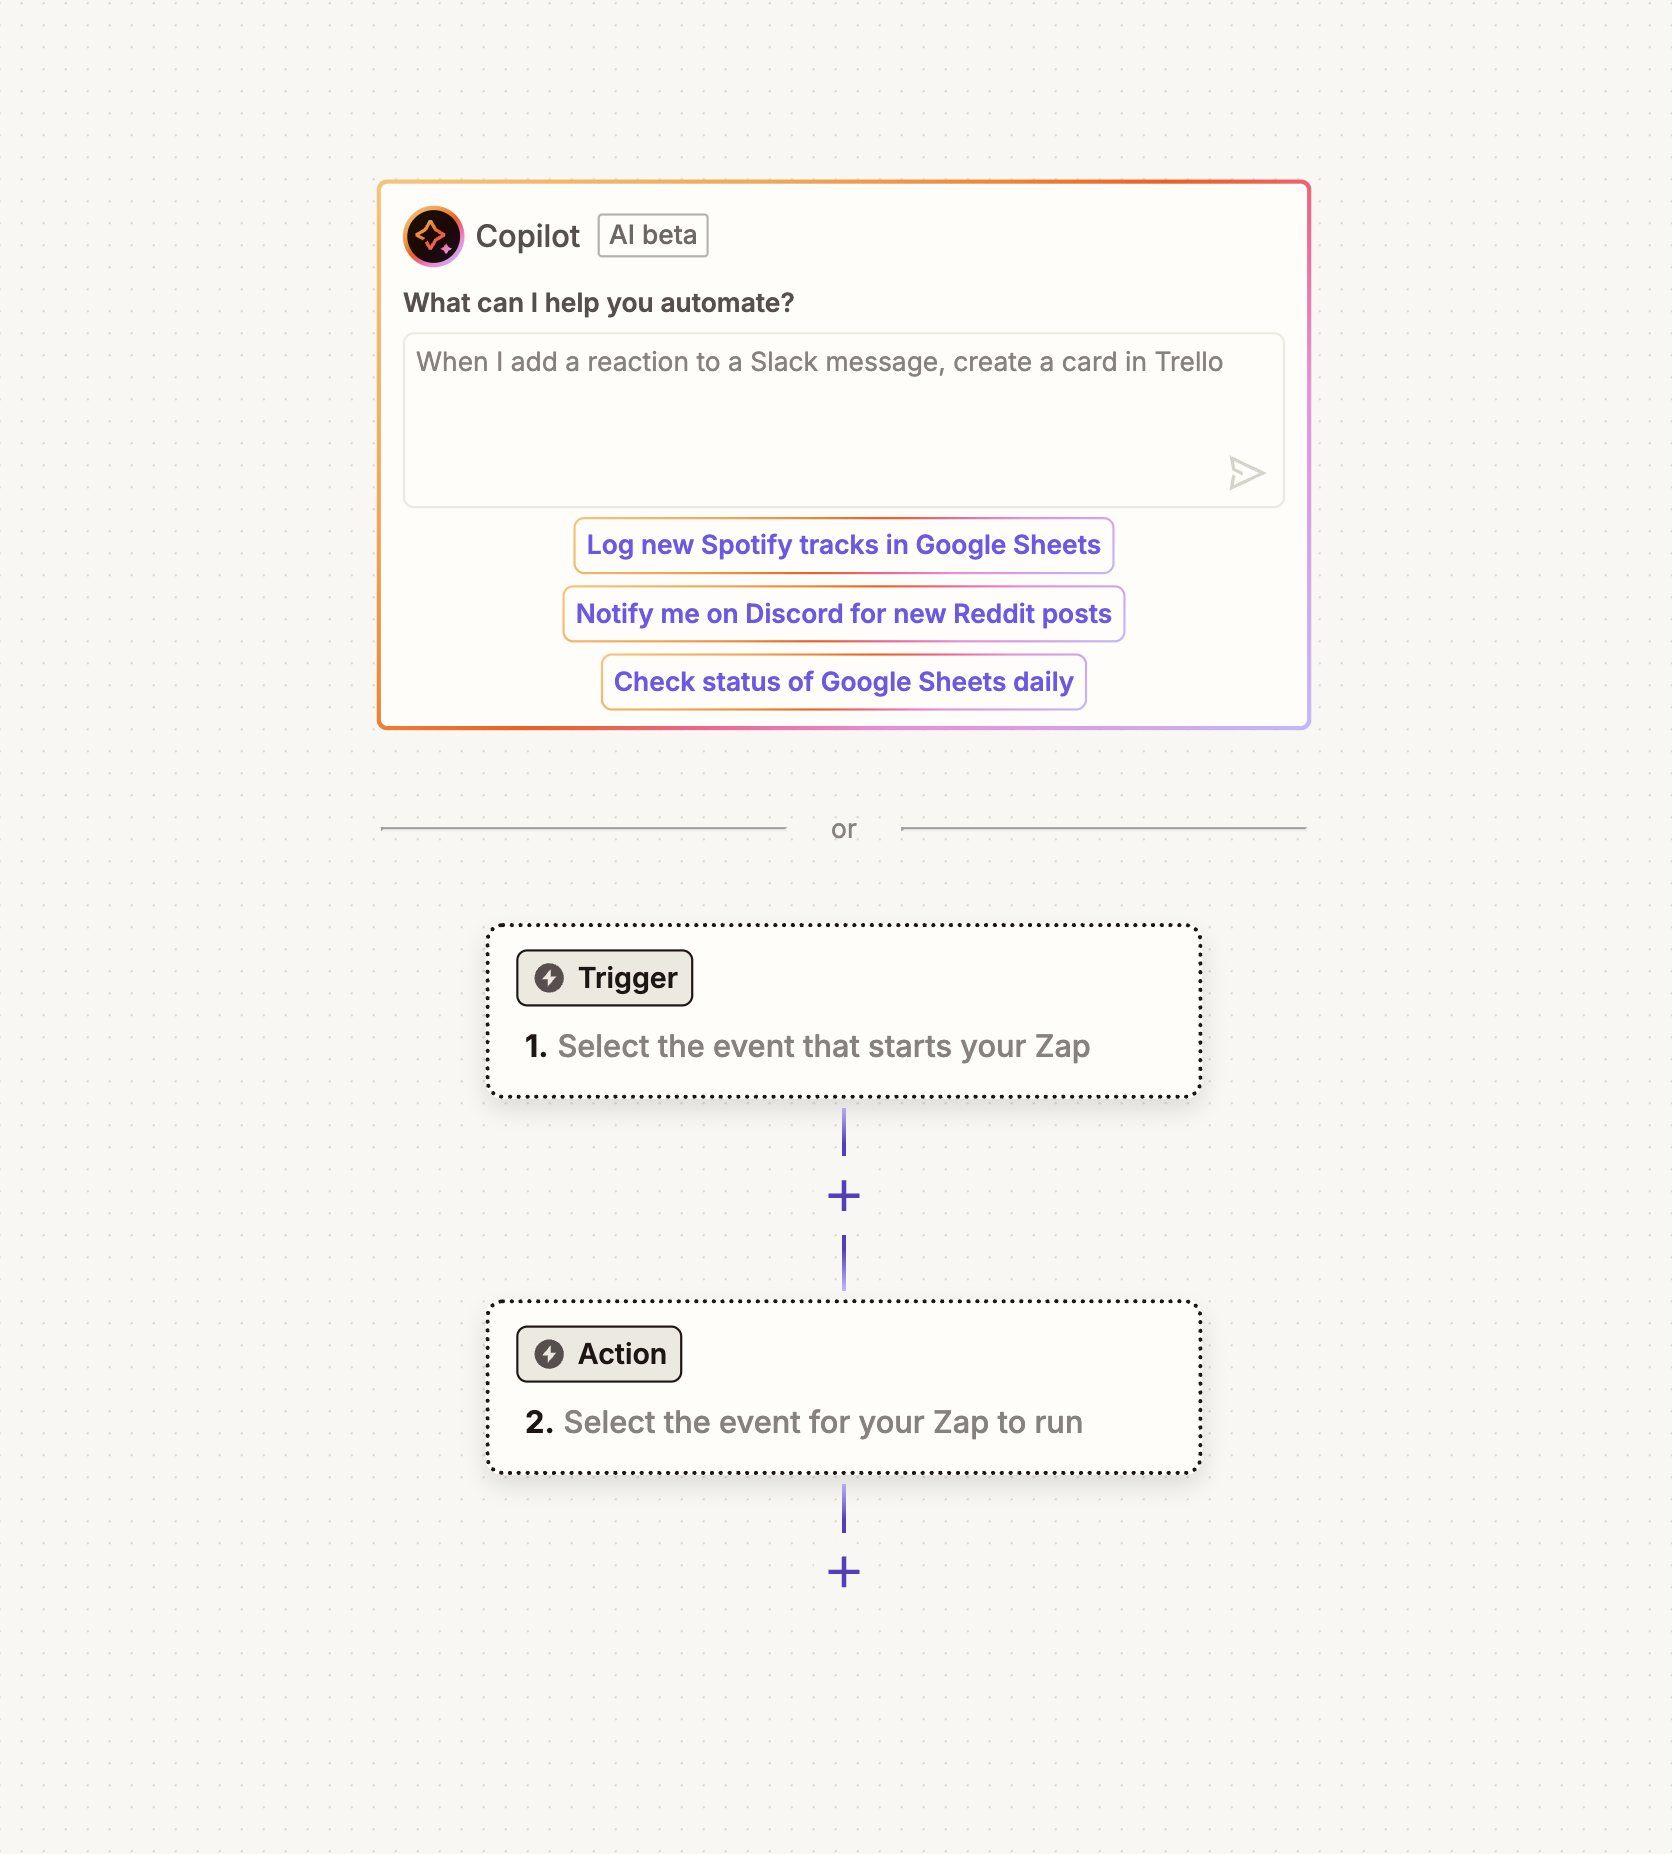
Step 3: Configure the Trigger
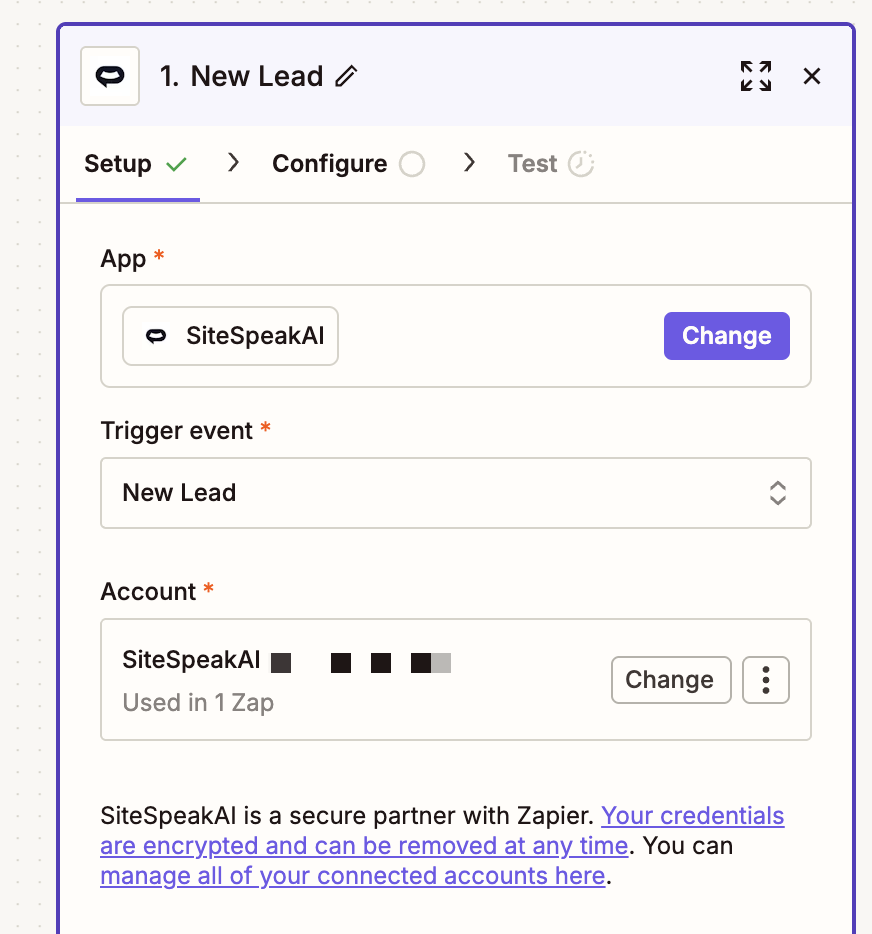
1
Select SiteSpeakAI
In the Trigger section, search for and select SiteSpeakAI.
2
Choose Trigger Event
Select New Lead as the trigger event. This fires whenever a visitor submits a lead capture form.
3
Connect Your Account
Click Sign in and enter the API token you created earlier.
1
Enter Chatbot ID
Enter your chatbot’s ID. You can find this in Configuration > Settings in your SiteSpeakAI dashboard. The Agent ID is displayed at the top.
2
Test the Trigger
Click Test trigger to verify the connection is working.
Step 4: Add an Action
Now connect SiteSpeakAI to your destination app. Here are some popular examples:Example: Send Leads to Google Sheets
1
Add Action
Click the + button to add an action step.
2
Select Google Sheets
Search for and select Google Sheets.
3
Choose Action Event
Select Create Spreadsheet Row.
4
Connect and Configure
Connect your Google account, select your spreadsheet, and map the lead fields to columns.
Example: Notify Team in Slack
1
Add Action
Click the + button to add an action step.
2
Select Slack
Search for and select Slack.
3
Choose Action Event
Select Send Channel Message.
4
Configure Message
Choose your channel and create a message template with lead details.
Example: Add to Mailchimp
1
Add Action
Click the + button to add an action step.
2
Select Mailchimp
Search for and select Mailchimp.
3
Choose Action Event
Select Add/Update Subscriber.
4
Map Fields
Map the email and name fields from the lead to Mailchimp subscriber fields.
Step 5: Test and Publish
1
Test the Zap
Click Test step to verify data flows correctly to your destination app.
2
Verify
Check that the test data appeared in your destination (spreadsheet, Slack channel, etc.).
3
Publish
Click Publish to activate your Zap.
Available Trigger Data
When a lead is captured, Zapier receives the following data that you can use in your actions:Troubleshooting
Leads Not Triggering the Zap
- Check that your Zap is published and turned on
- Verify the API token is still valid
- Ensure the chatbot ID is correct
- Check the Zap history for any errors
Missing Data
- Make sure your lead capture form collects the fields you need
- Check field mappings in your Zap action
Ready to automate your customer service with AI?
Join over 1000+ businesses, websites and startups automating their customer service and other tasks with a custom trained AI agent.