/newbot command and following the steps until you’re given a new token.
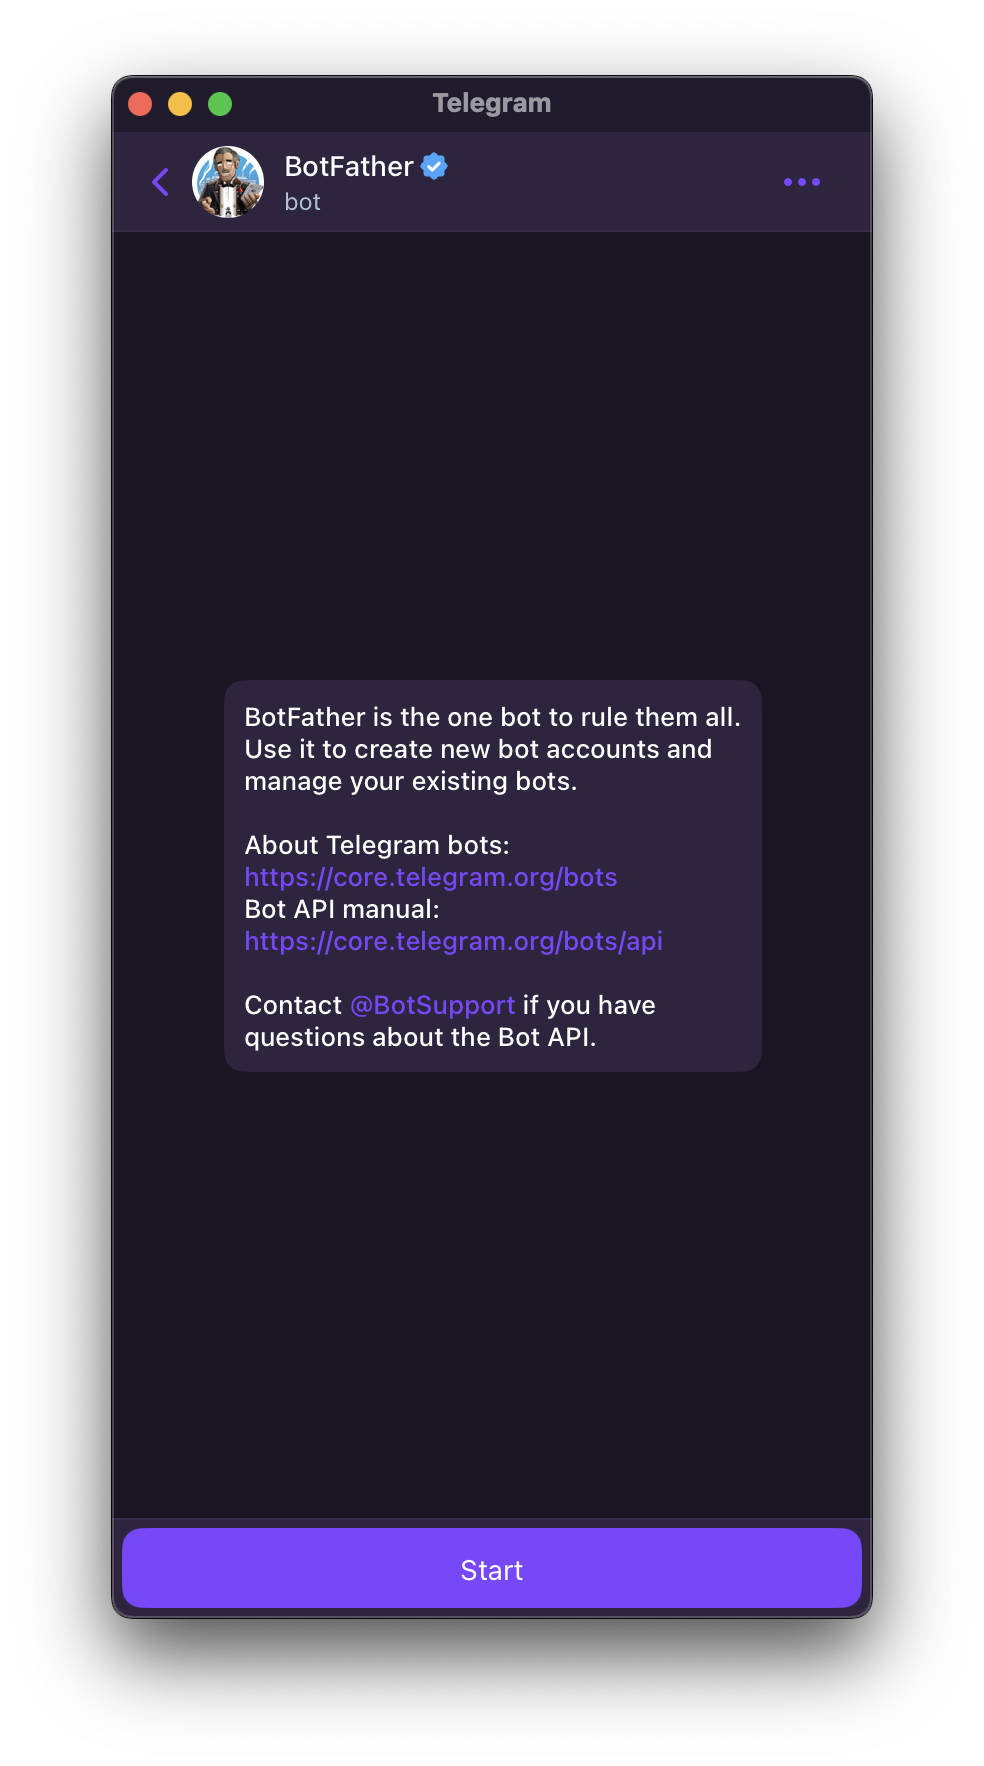 After clicking Start you’ll get a message that details all the commands available to create and manage your bot. The only one we’re interested in is the
 /newbot command for now.
 Enter a name for your bot, as well as a username. Make sure you use something that represents your business or chatbot since this is what your visitors will see.
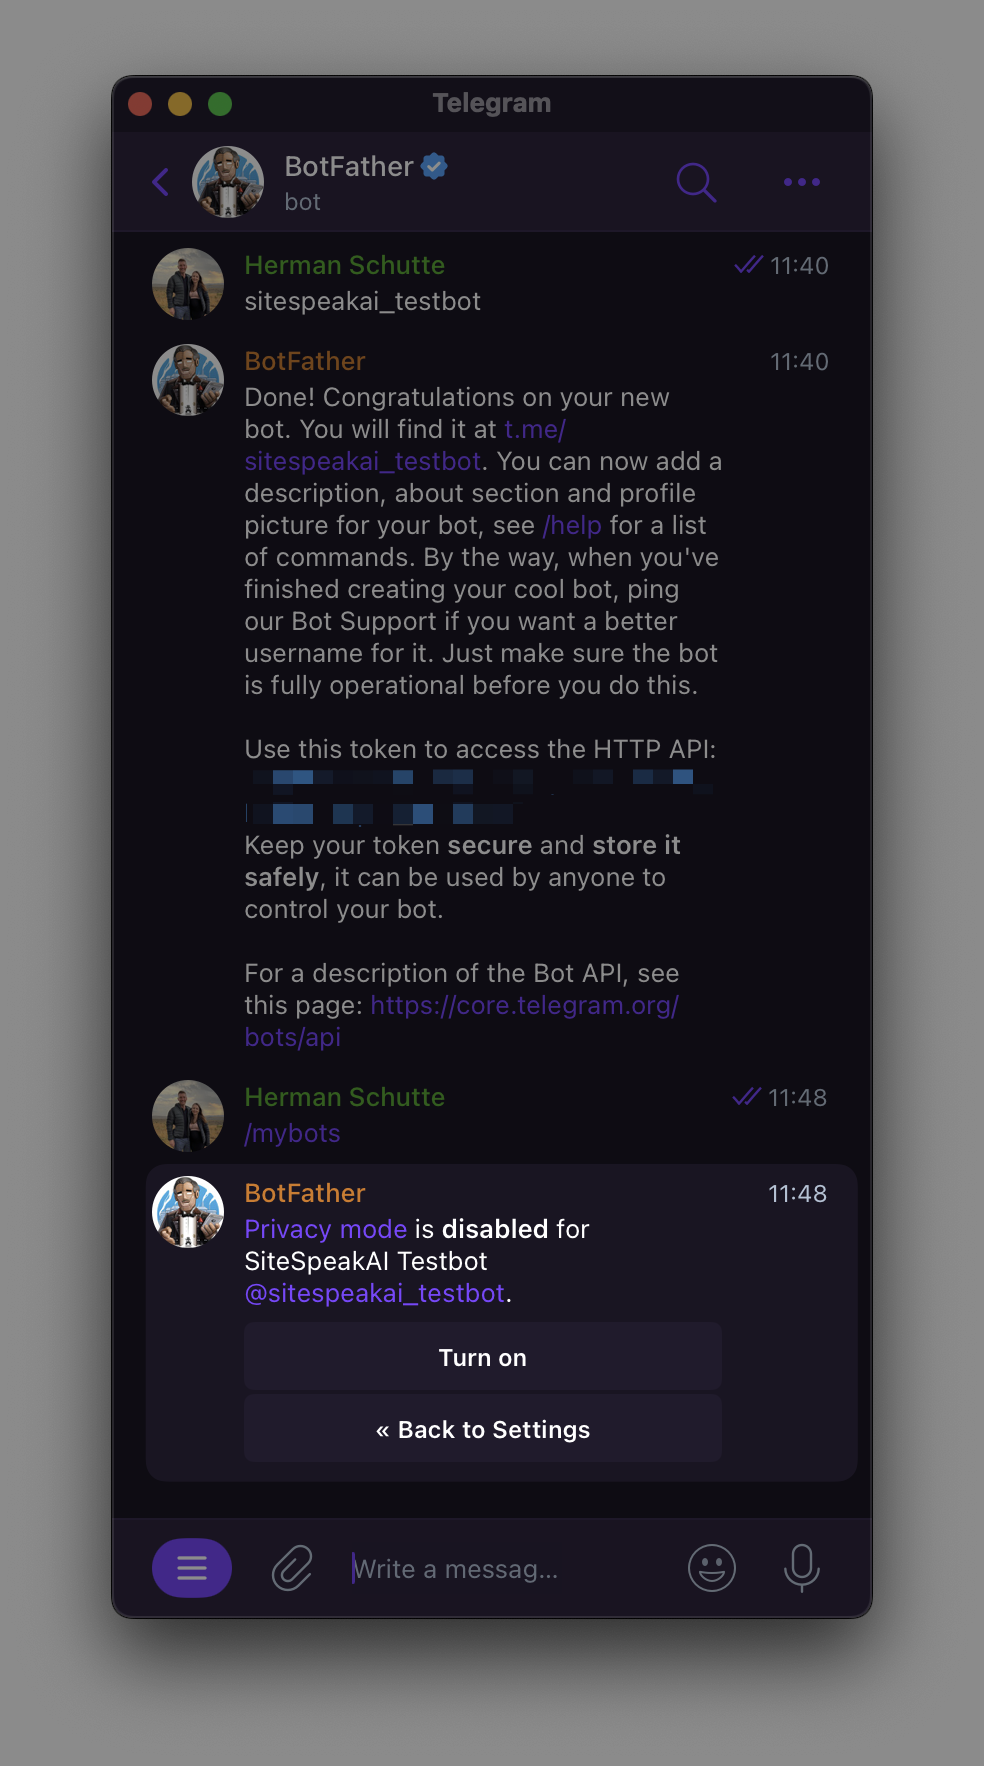
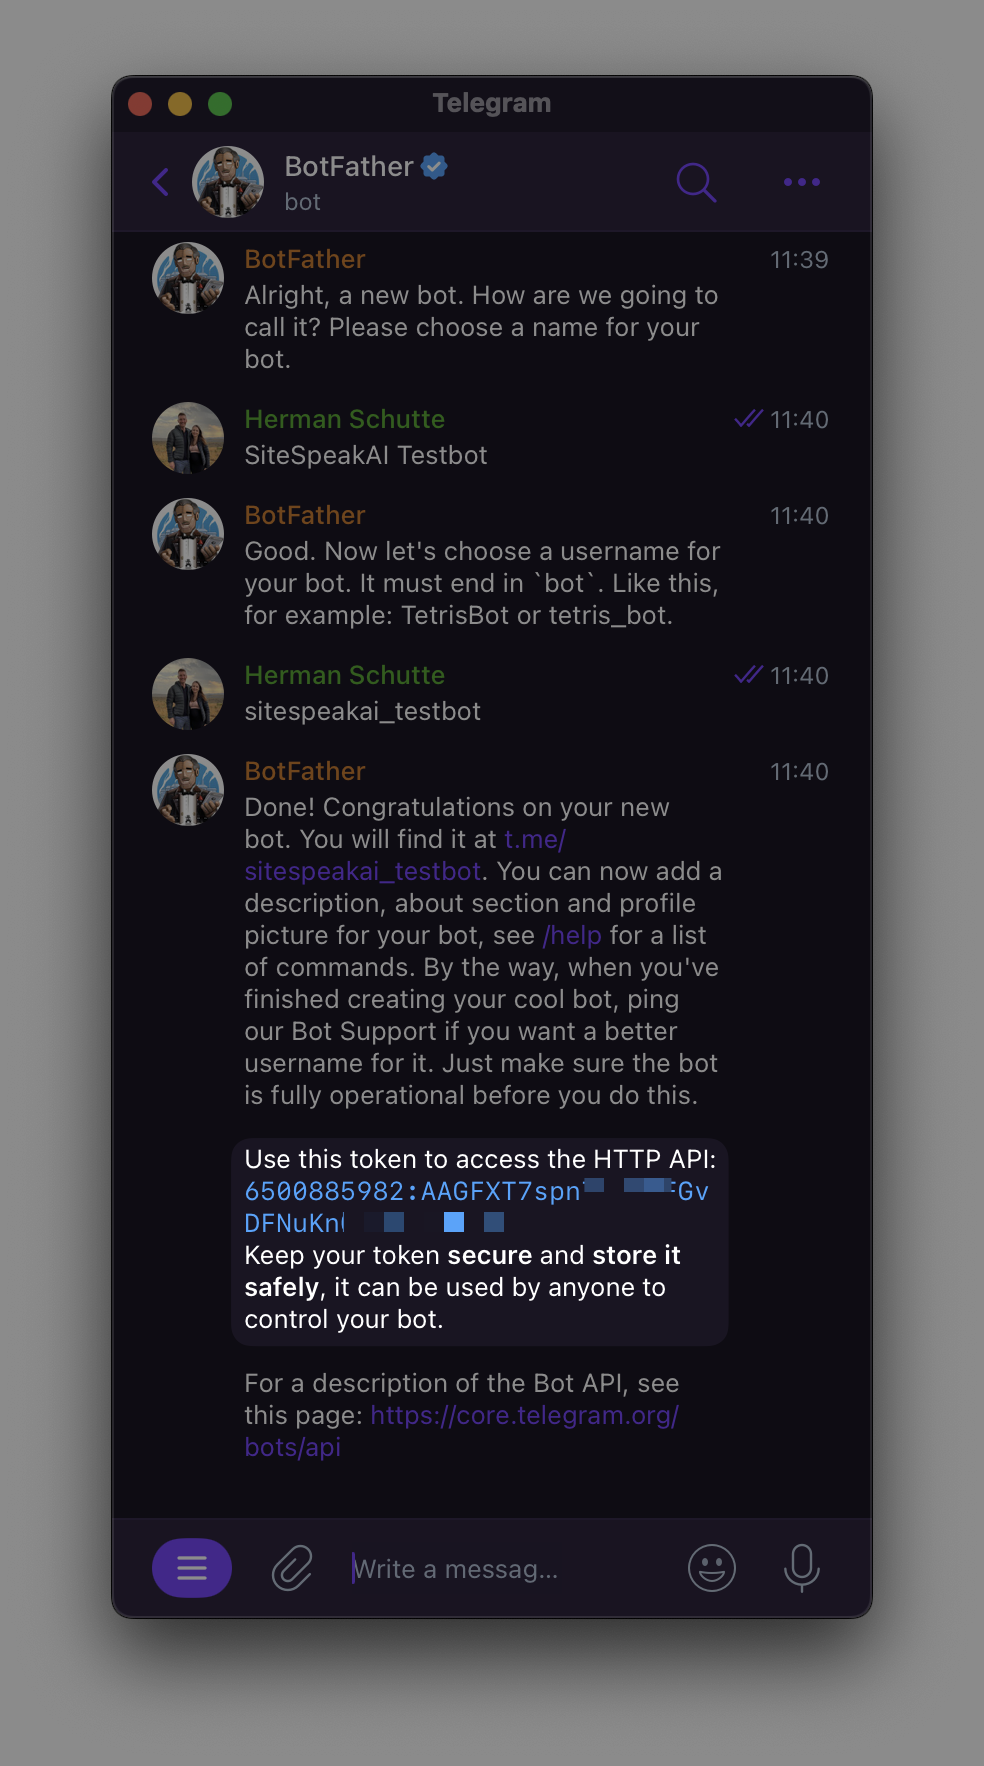 Once you’re bot is created, you’ll need to copy the bot token. The bot token will be in the format of:
 123456:ABCD....
You’ll also need the Telegram link to your chatbot which will be in the format of: t.me/your_bot_username. You’ll use this to start chatting to your bot in Telegram.
Now head over to SiteSpeakAI to connect your customer support chatbot to your Telegram bot.
After selecting your chatbot in SiteSpeakAI, go to Install Chatbot -> Telegram and enter the bot token you got from @BotFather.
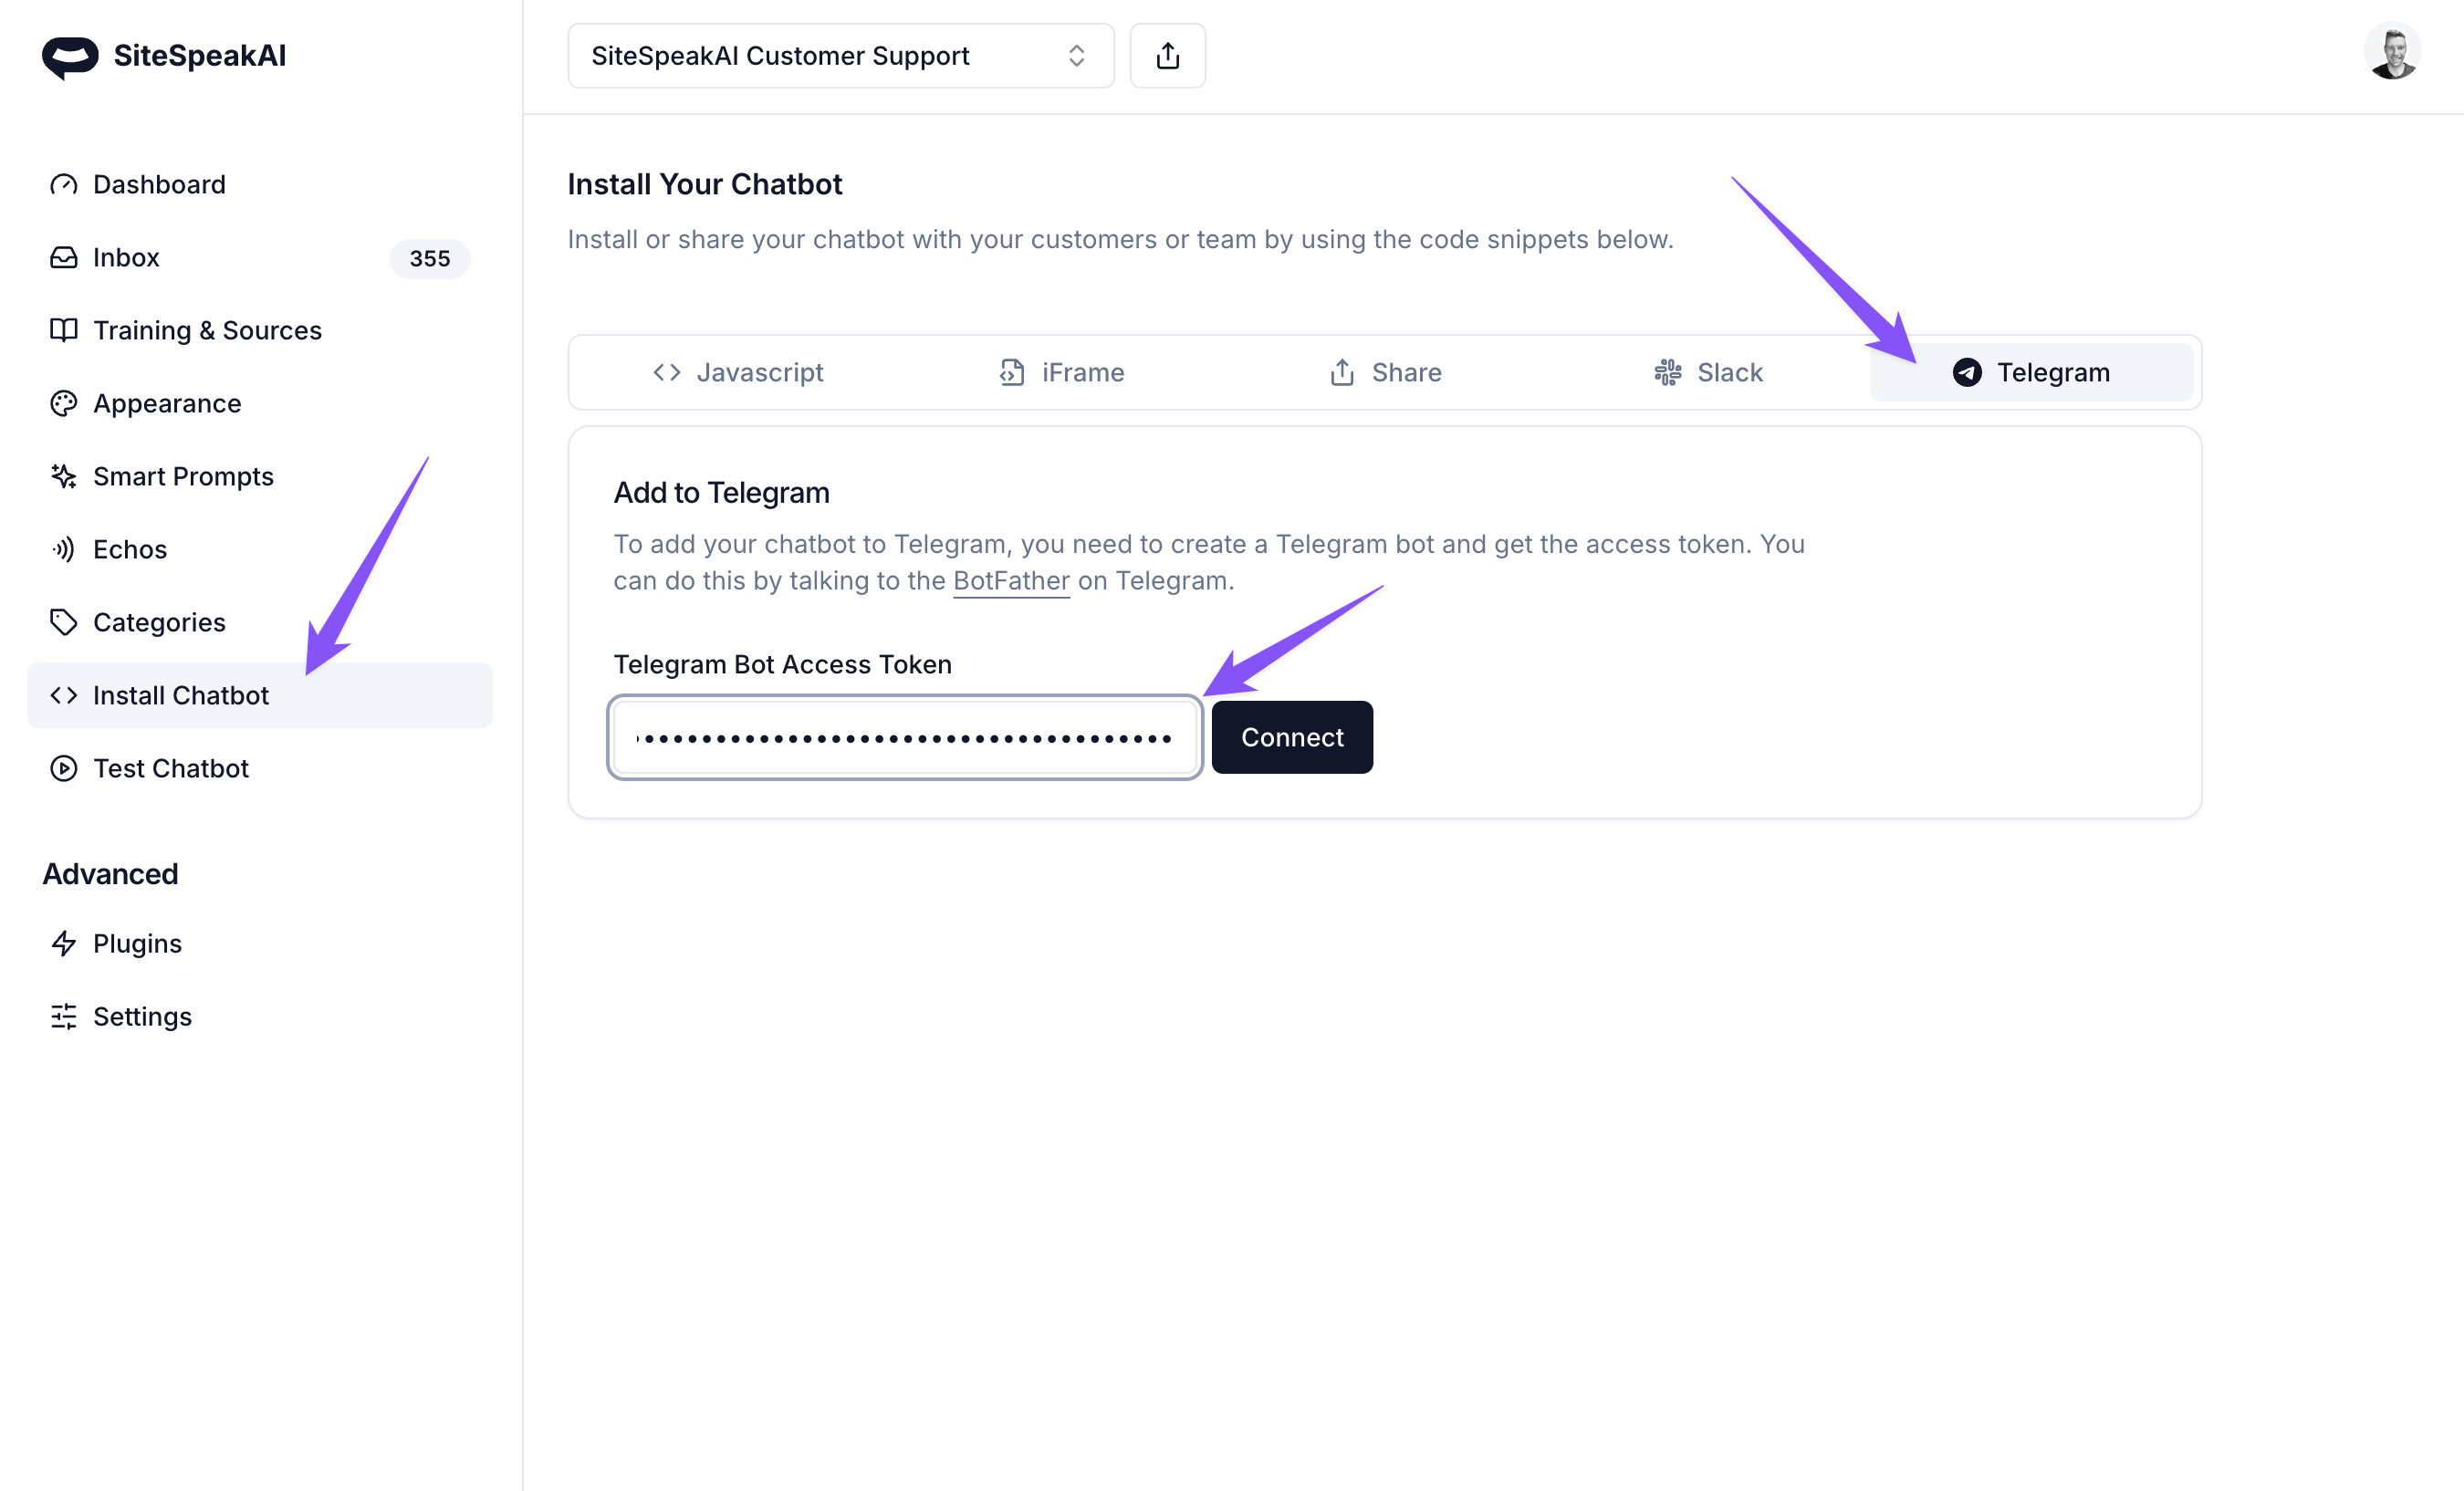 Click Connect to connect your chatbot and configure the basic settings for your Telegram bot.
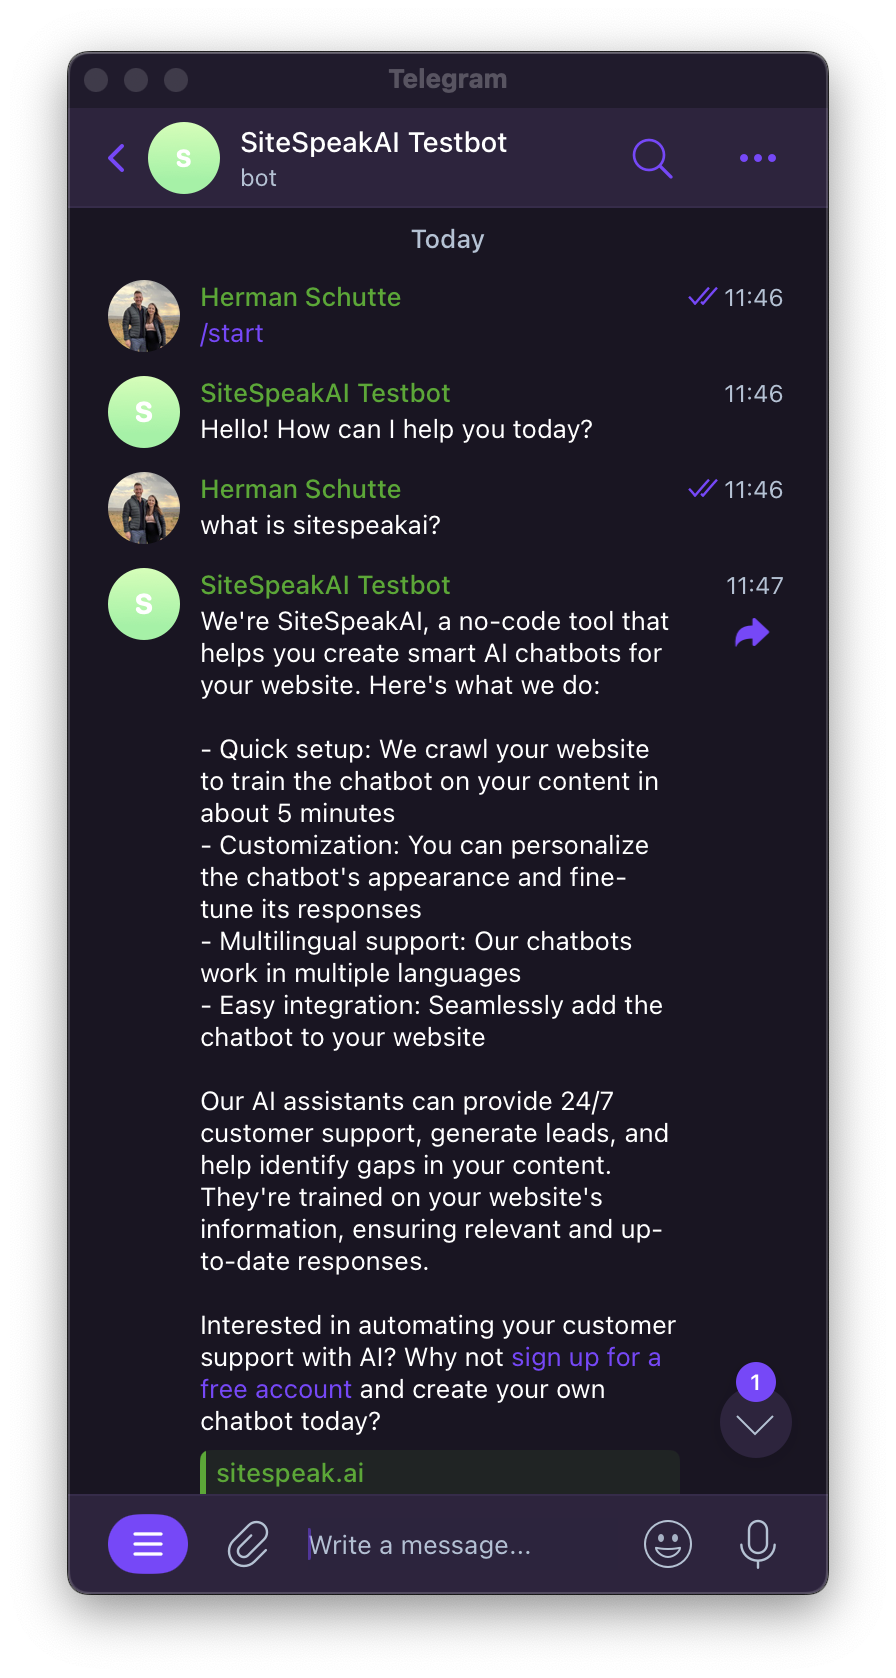
You can now head back to Telegram and use the link for your chatbot to start chatting with your bot.
Click Connect to connect your chatbot and configure the basic settings for your Telegram bot.
You can now head back to Telegram and use the link for your chatbot to start chatting with your bot.
 To add your chatbot to a group, you’ll need to update the bot’s privacy setting in Telegram. This is easy using @BotFather.
Issue the
To add your chatbot to a group, you’ll need to update the bot’s privacy setting in Telegram. This is easy using @BotFather.
Issue the /mybots command, then select the bot you want to add to your group chat. Then select Bot Settings -> Group Privacy and Turn off privacy.
 You can now add your bot to any group that you are an admin of, and start chatting to your chatbot by mentioning it in conversations.
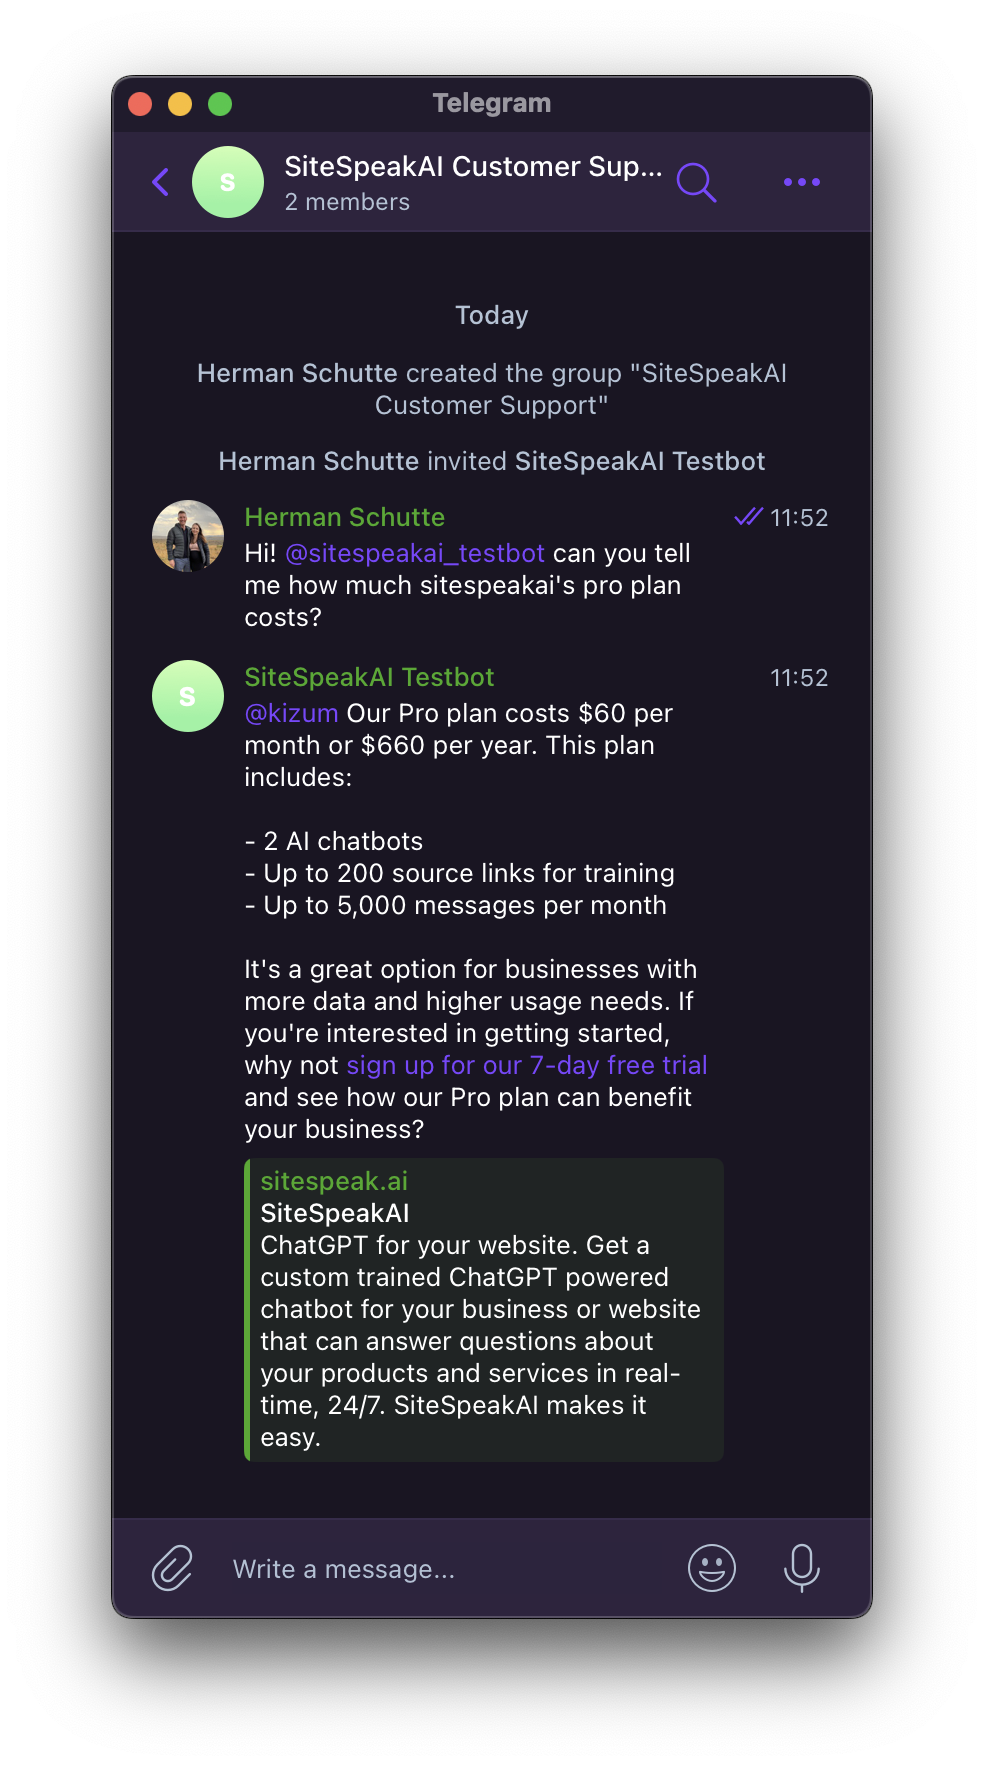 And that’s it! Super easy to add your own custom trained chatbot to Telegram to assist your customers or employees.
Ready to automate your customer service with AI?
Join over 1000+ businesses, websites and startups automating their customer service and other tasks with a custom trained AI agent.