Add your chatbot to your WebWave website
In SiteSpeakAI
Select your chatbot from the dropdown menu at the top, click on the Install Agent section in the sidebar, then click on the Copy Code button to copy your code snippet.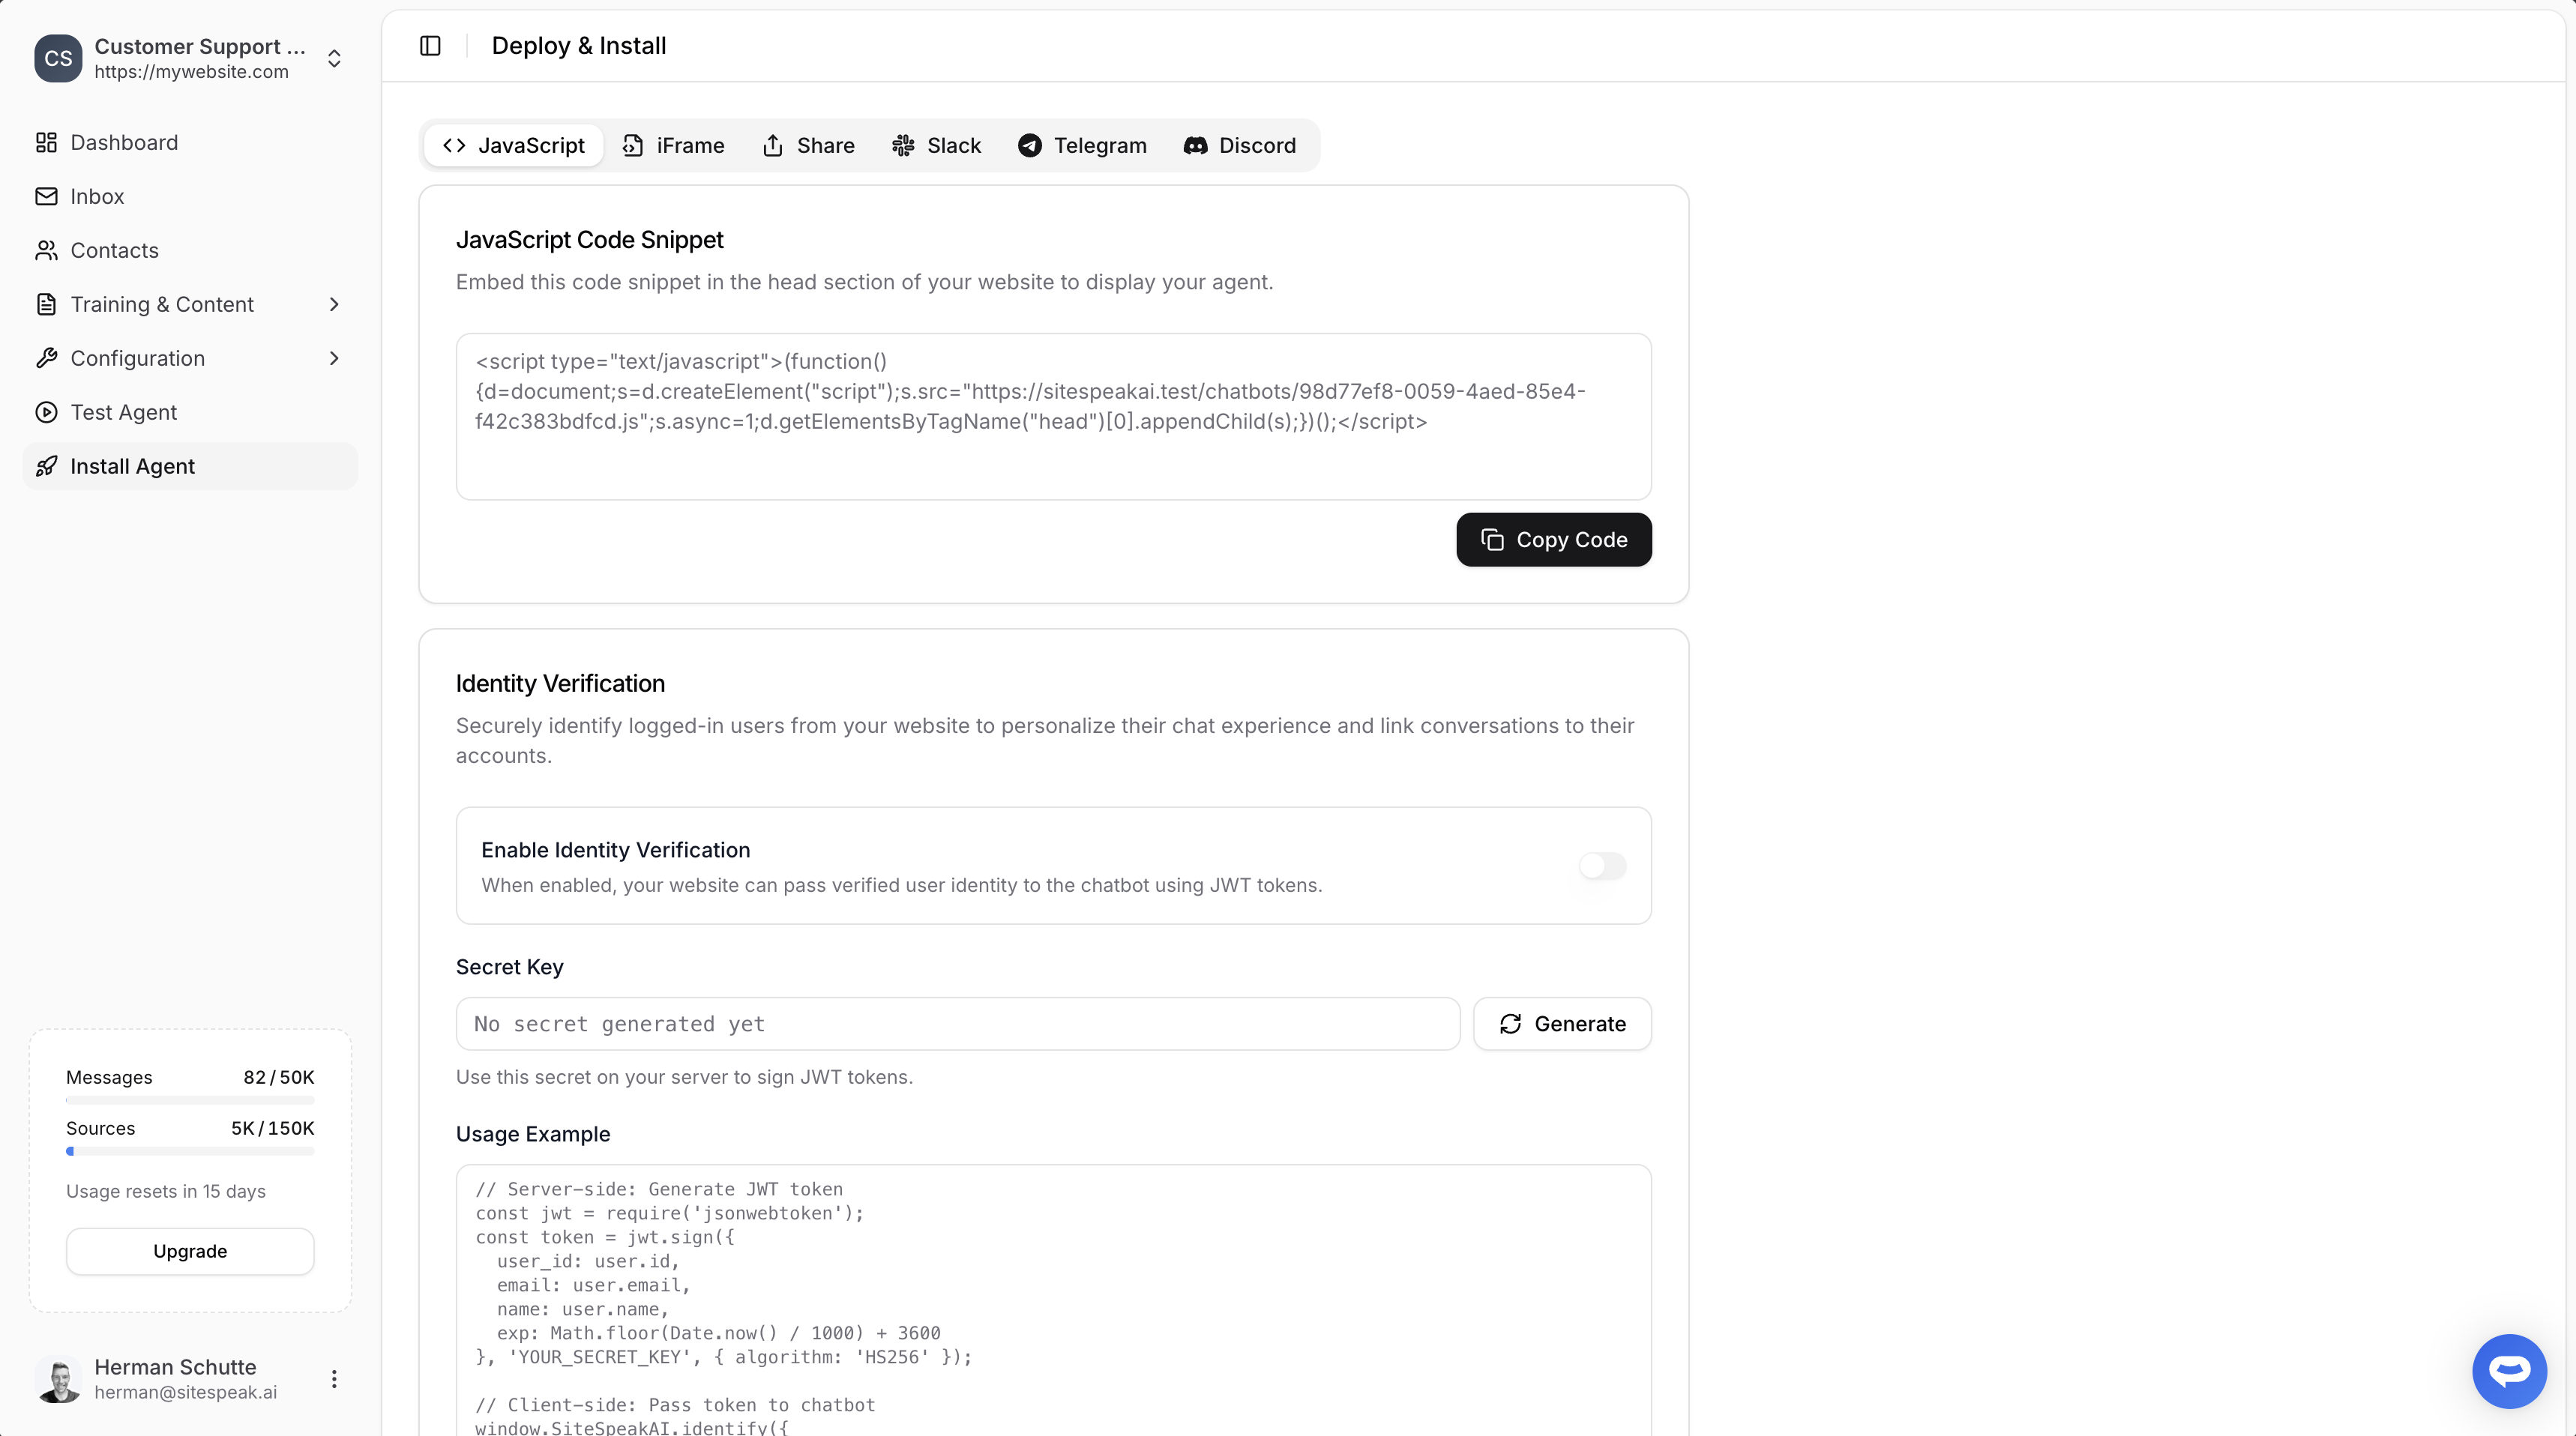
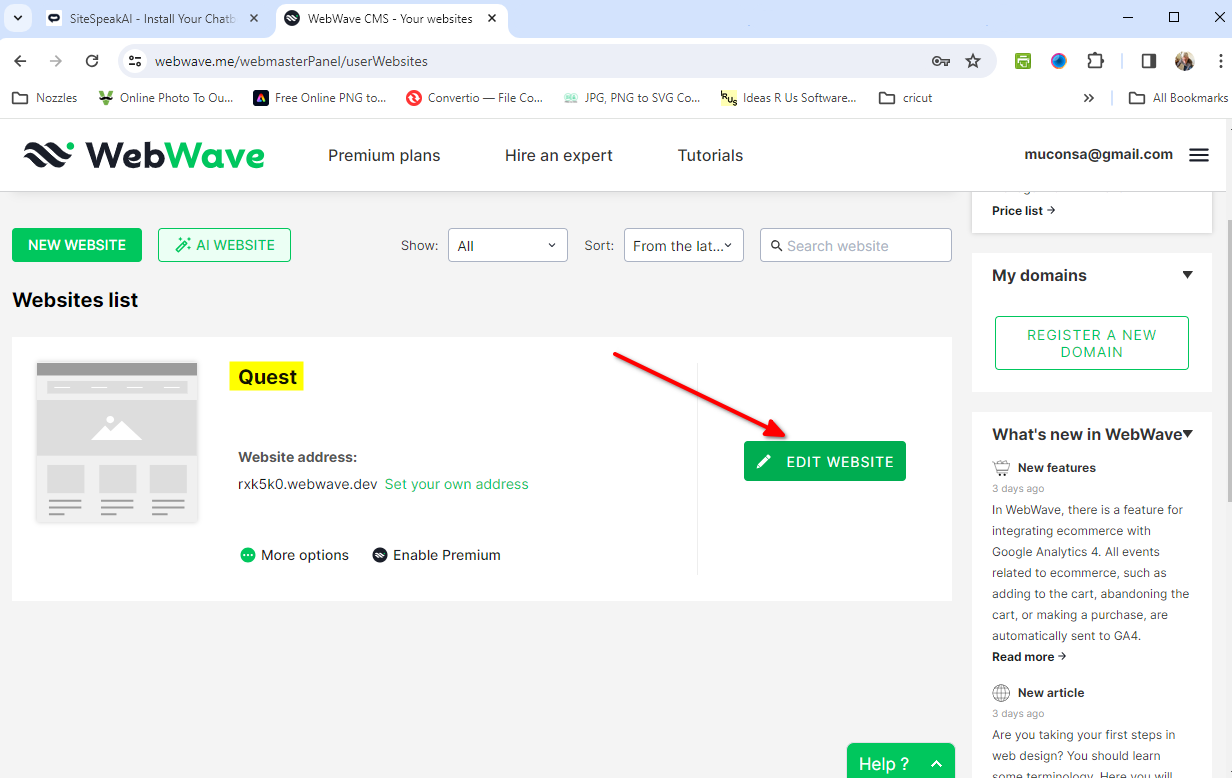
In WebWave
- Login to WebWave and on your dashboard select Edit Website for the website you want to add your snippet to
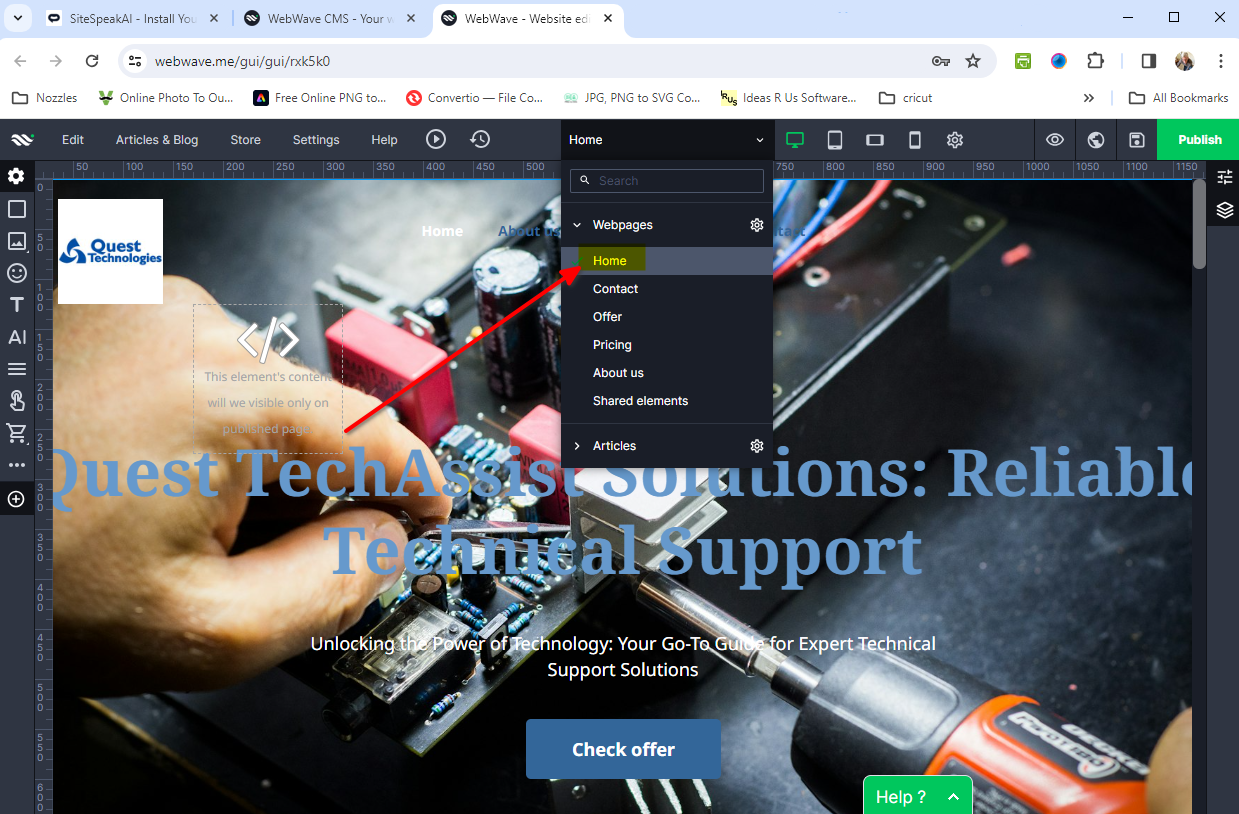
- You can place your chatbot button on a specific page or on each page in your website
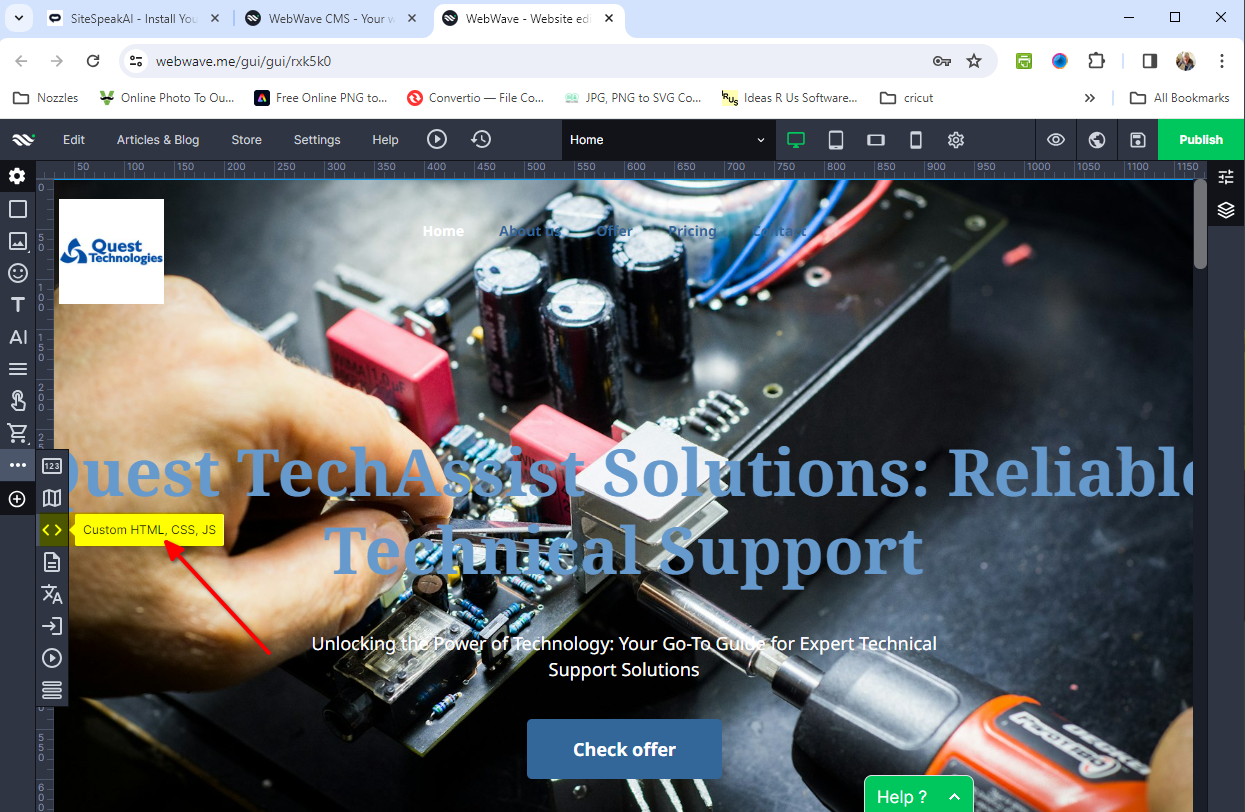
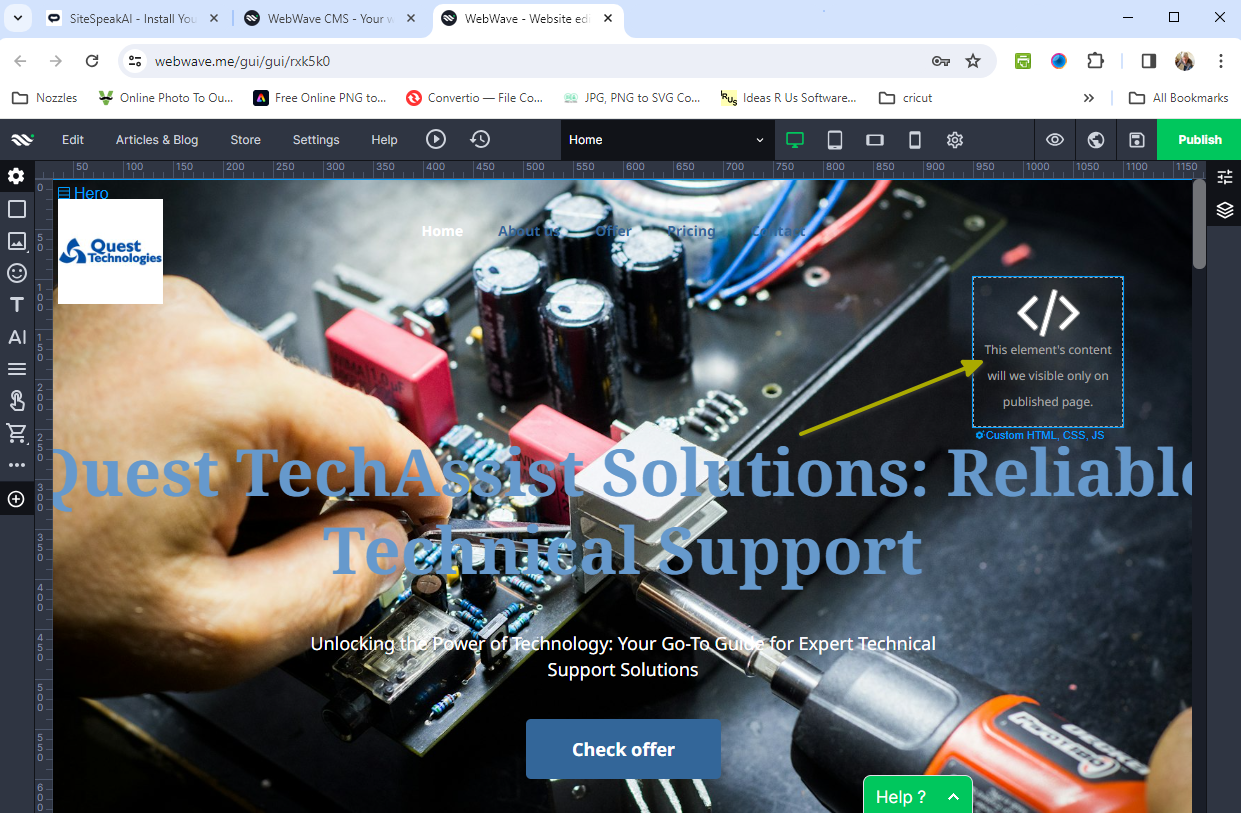
- On the website editor page, select the page and drag the Custom HTML element onto the header of your page
 b. Global (on each page)
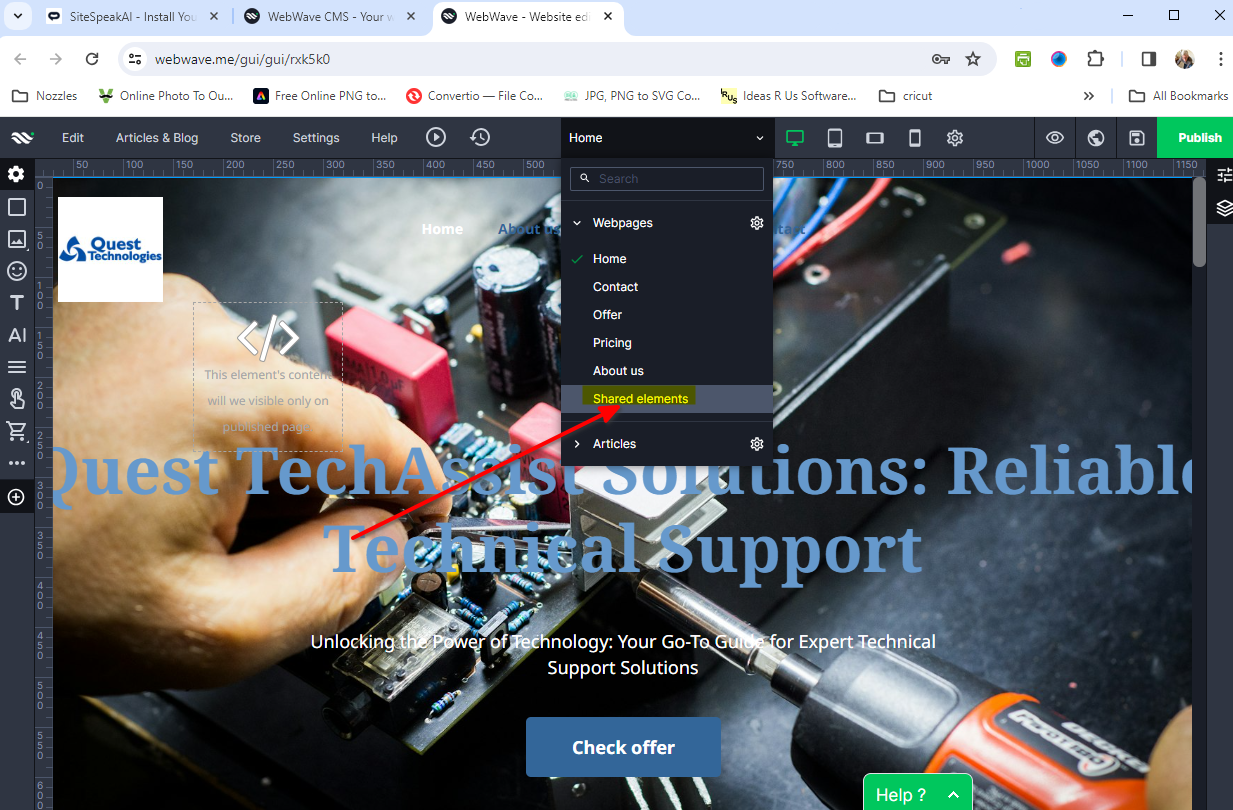
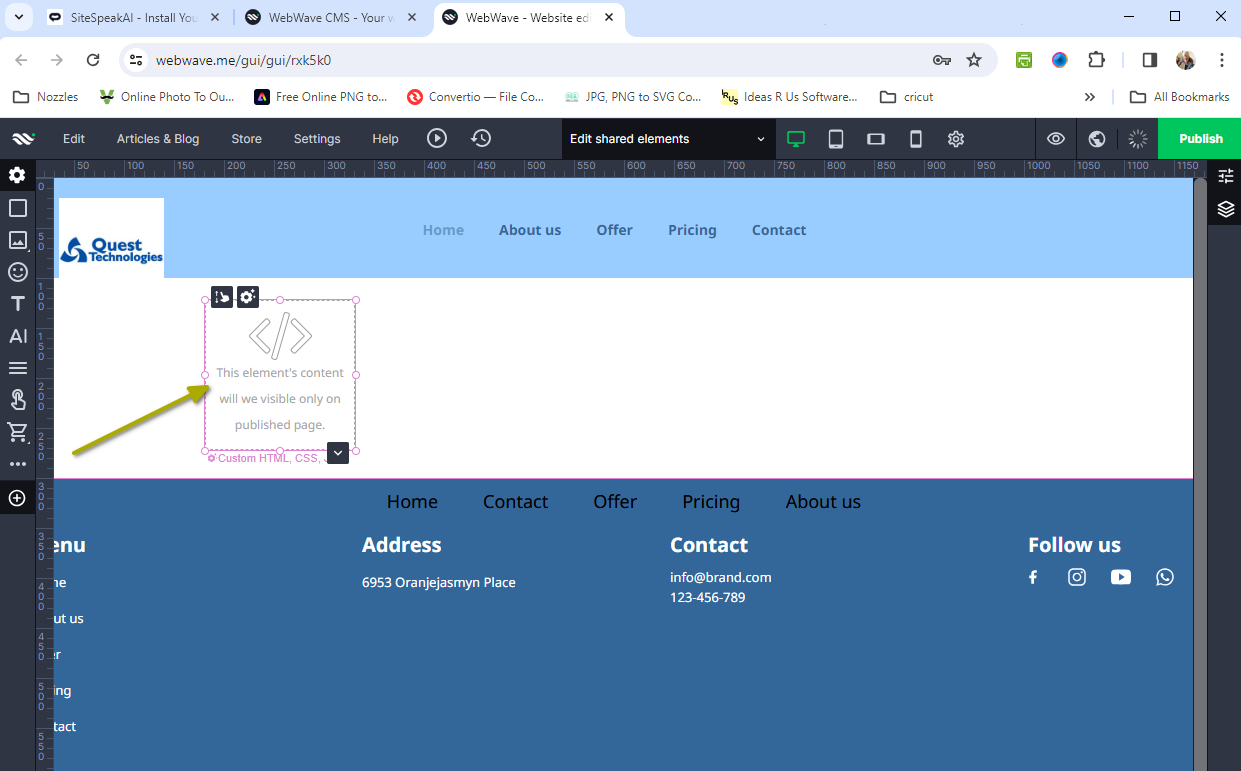
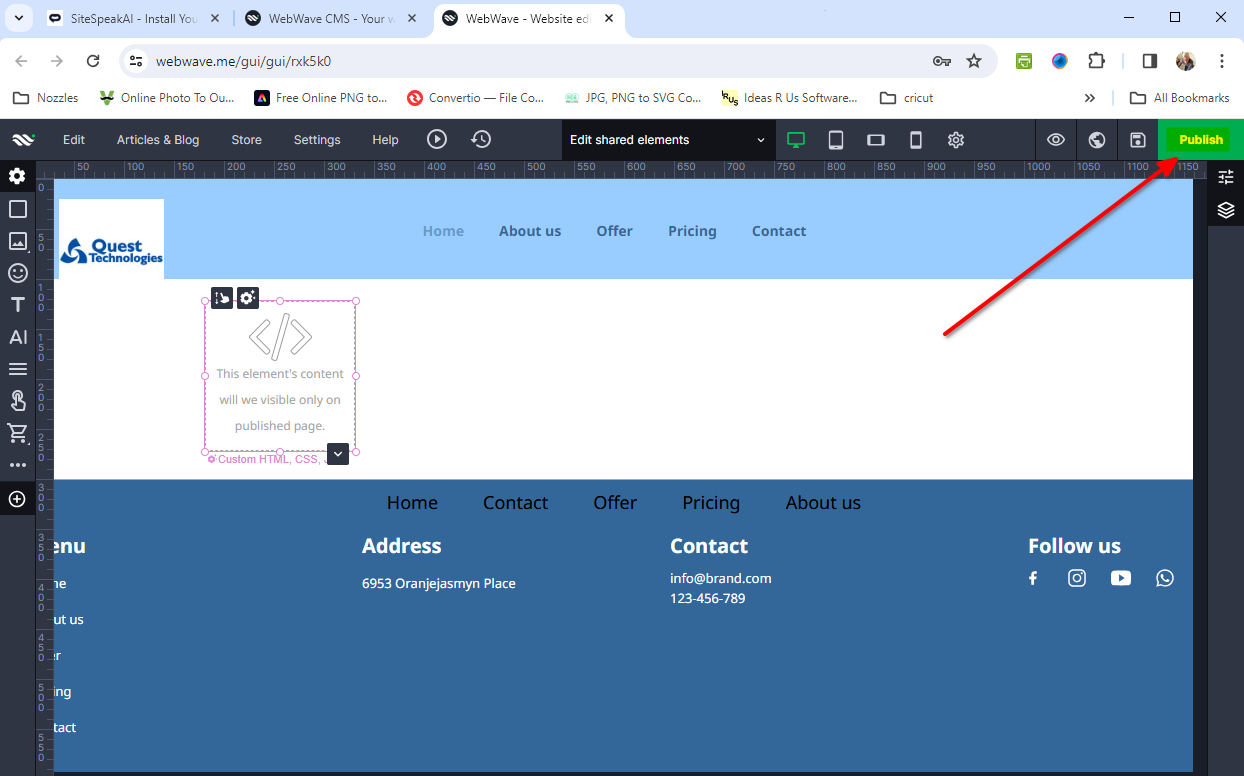
- Select Shared elements on the Webpages dropdown list and drag the Custom HTML element onto the area provided
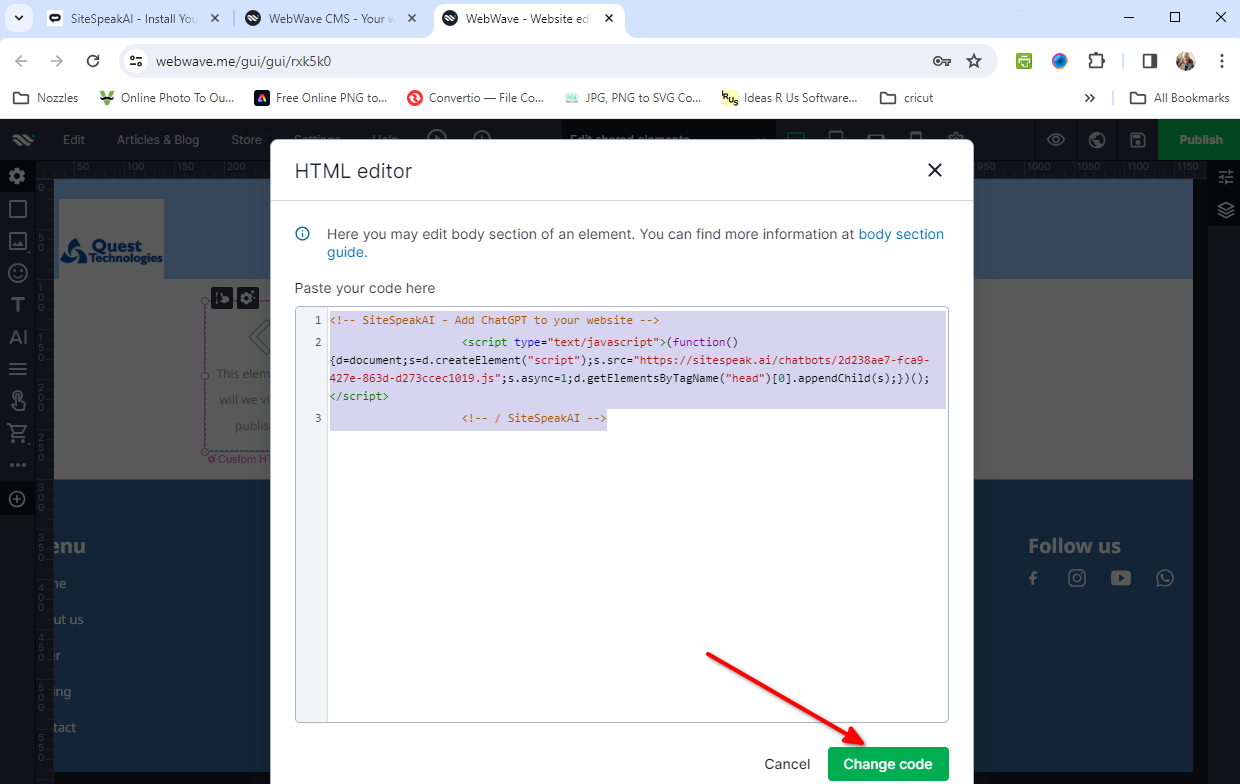
- Click on the Custom HTML element to open the HTML editor, replace the existing content with your snippet and click on Change code
- Click on Publish to publish your website (Note: Previewing your won’t display the chatbot button)
- Your chatbot button will now be displayed on your WebWave website
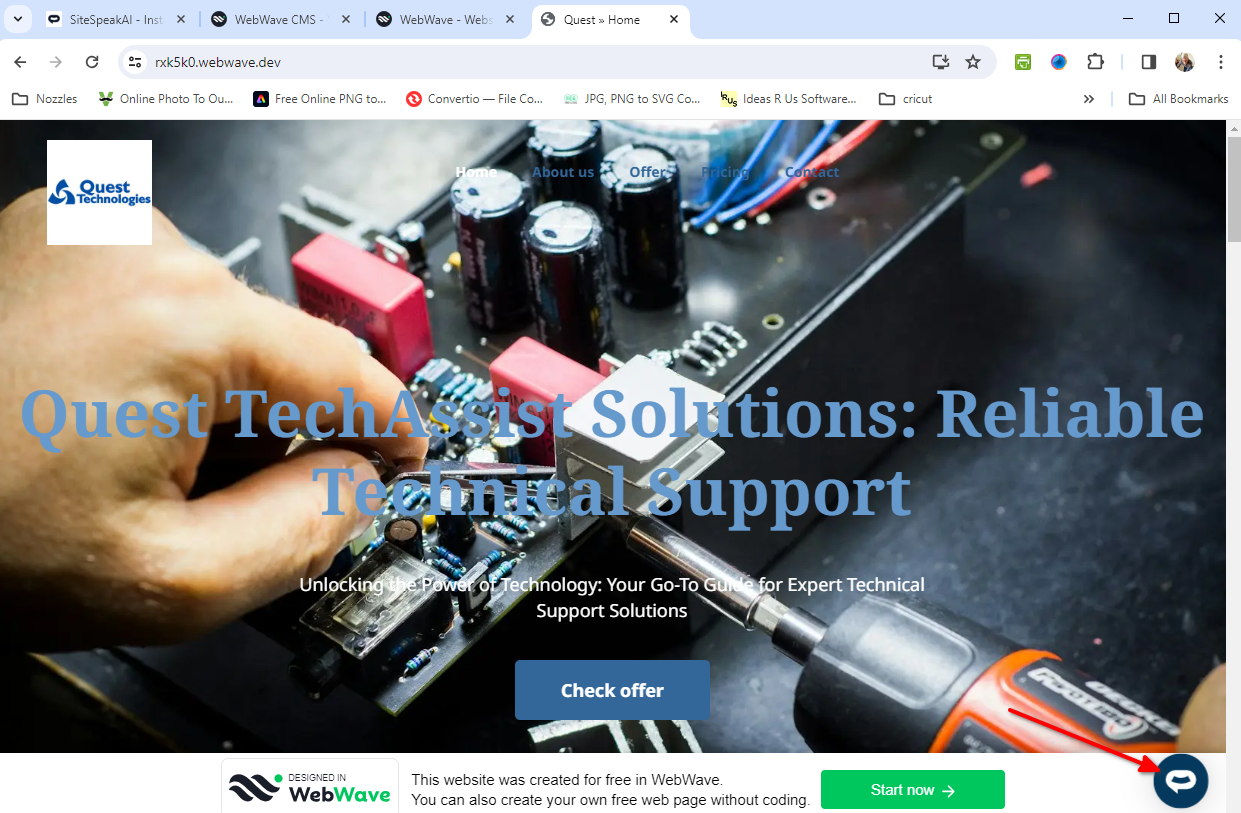
- If you click on the button it will display the chatbot dialogue
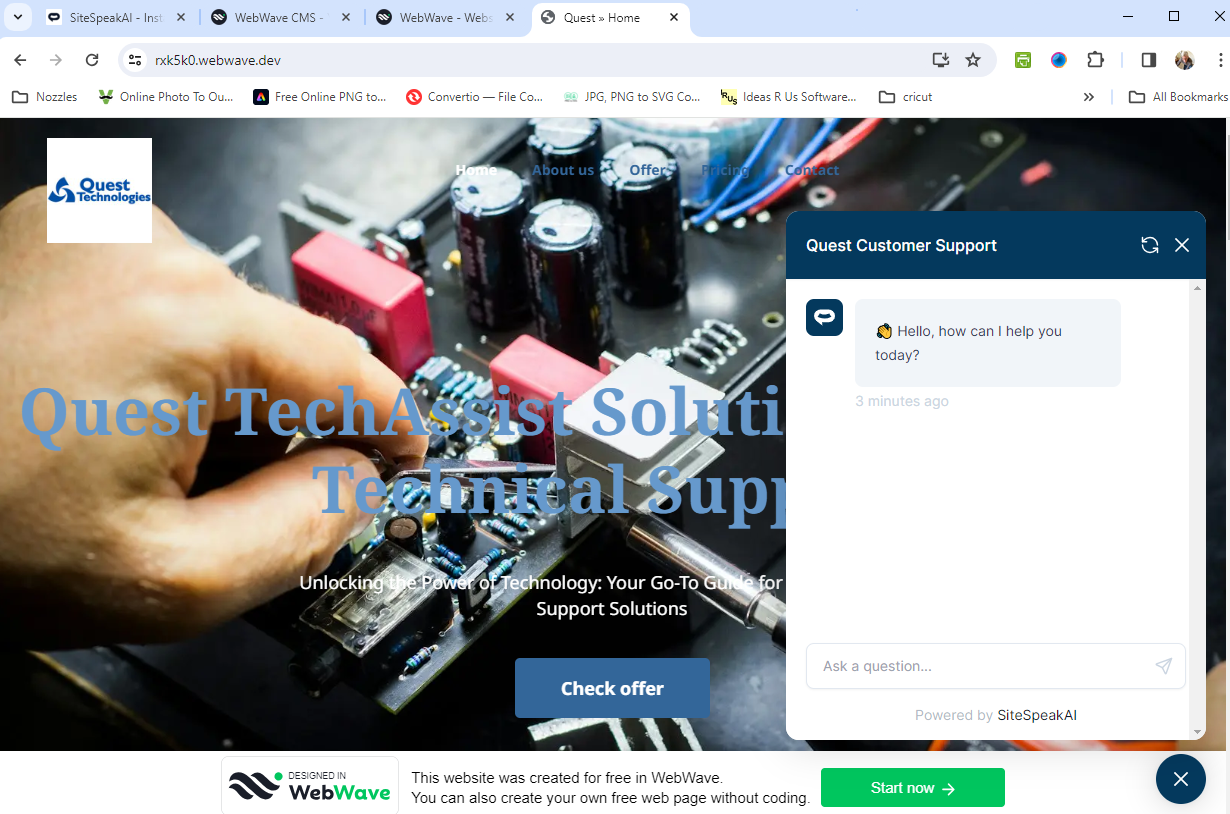 Your chatbot is now added to your WebWave website and your customers can start interacting with it.
Ready to automate your customer service with AI?
Join over 1000+ businesses, websites and startups automating their customer service and other tasks with a custom trained AI agent.