Add your AI support agent to your EZsite AI website
In SiteSpeakAI
Select your chatbot from the dropdown menu at the top, click on the Install Agent section in the sidebar, then click on the Copy Code button to copy your code snippet.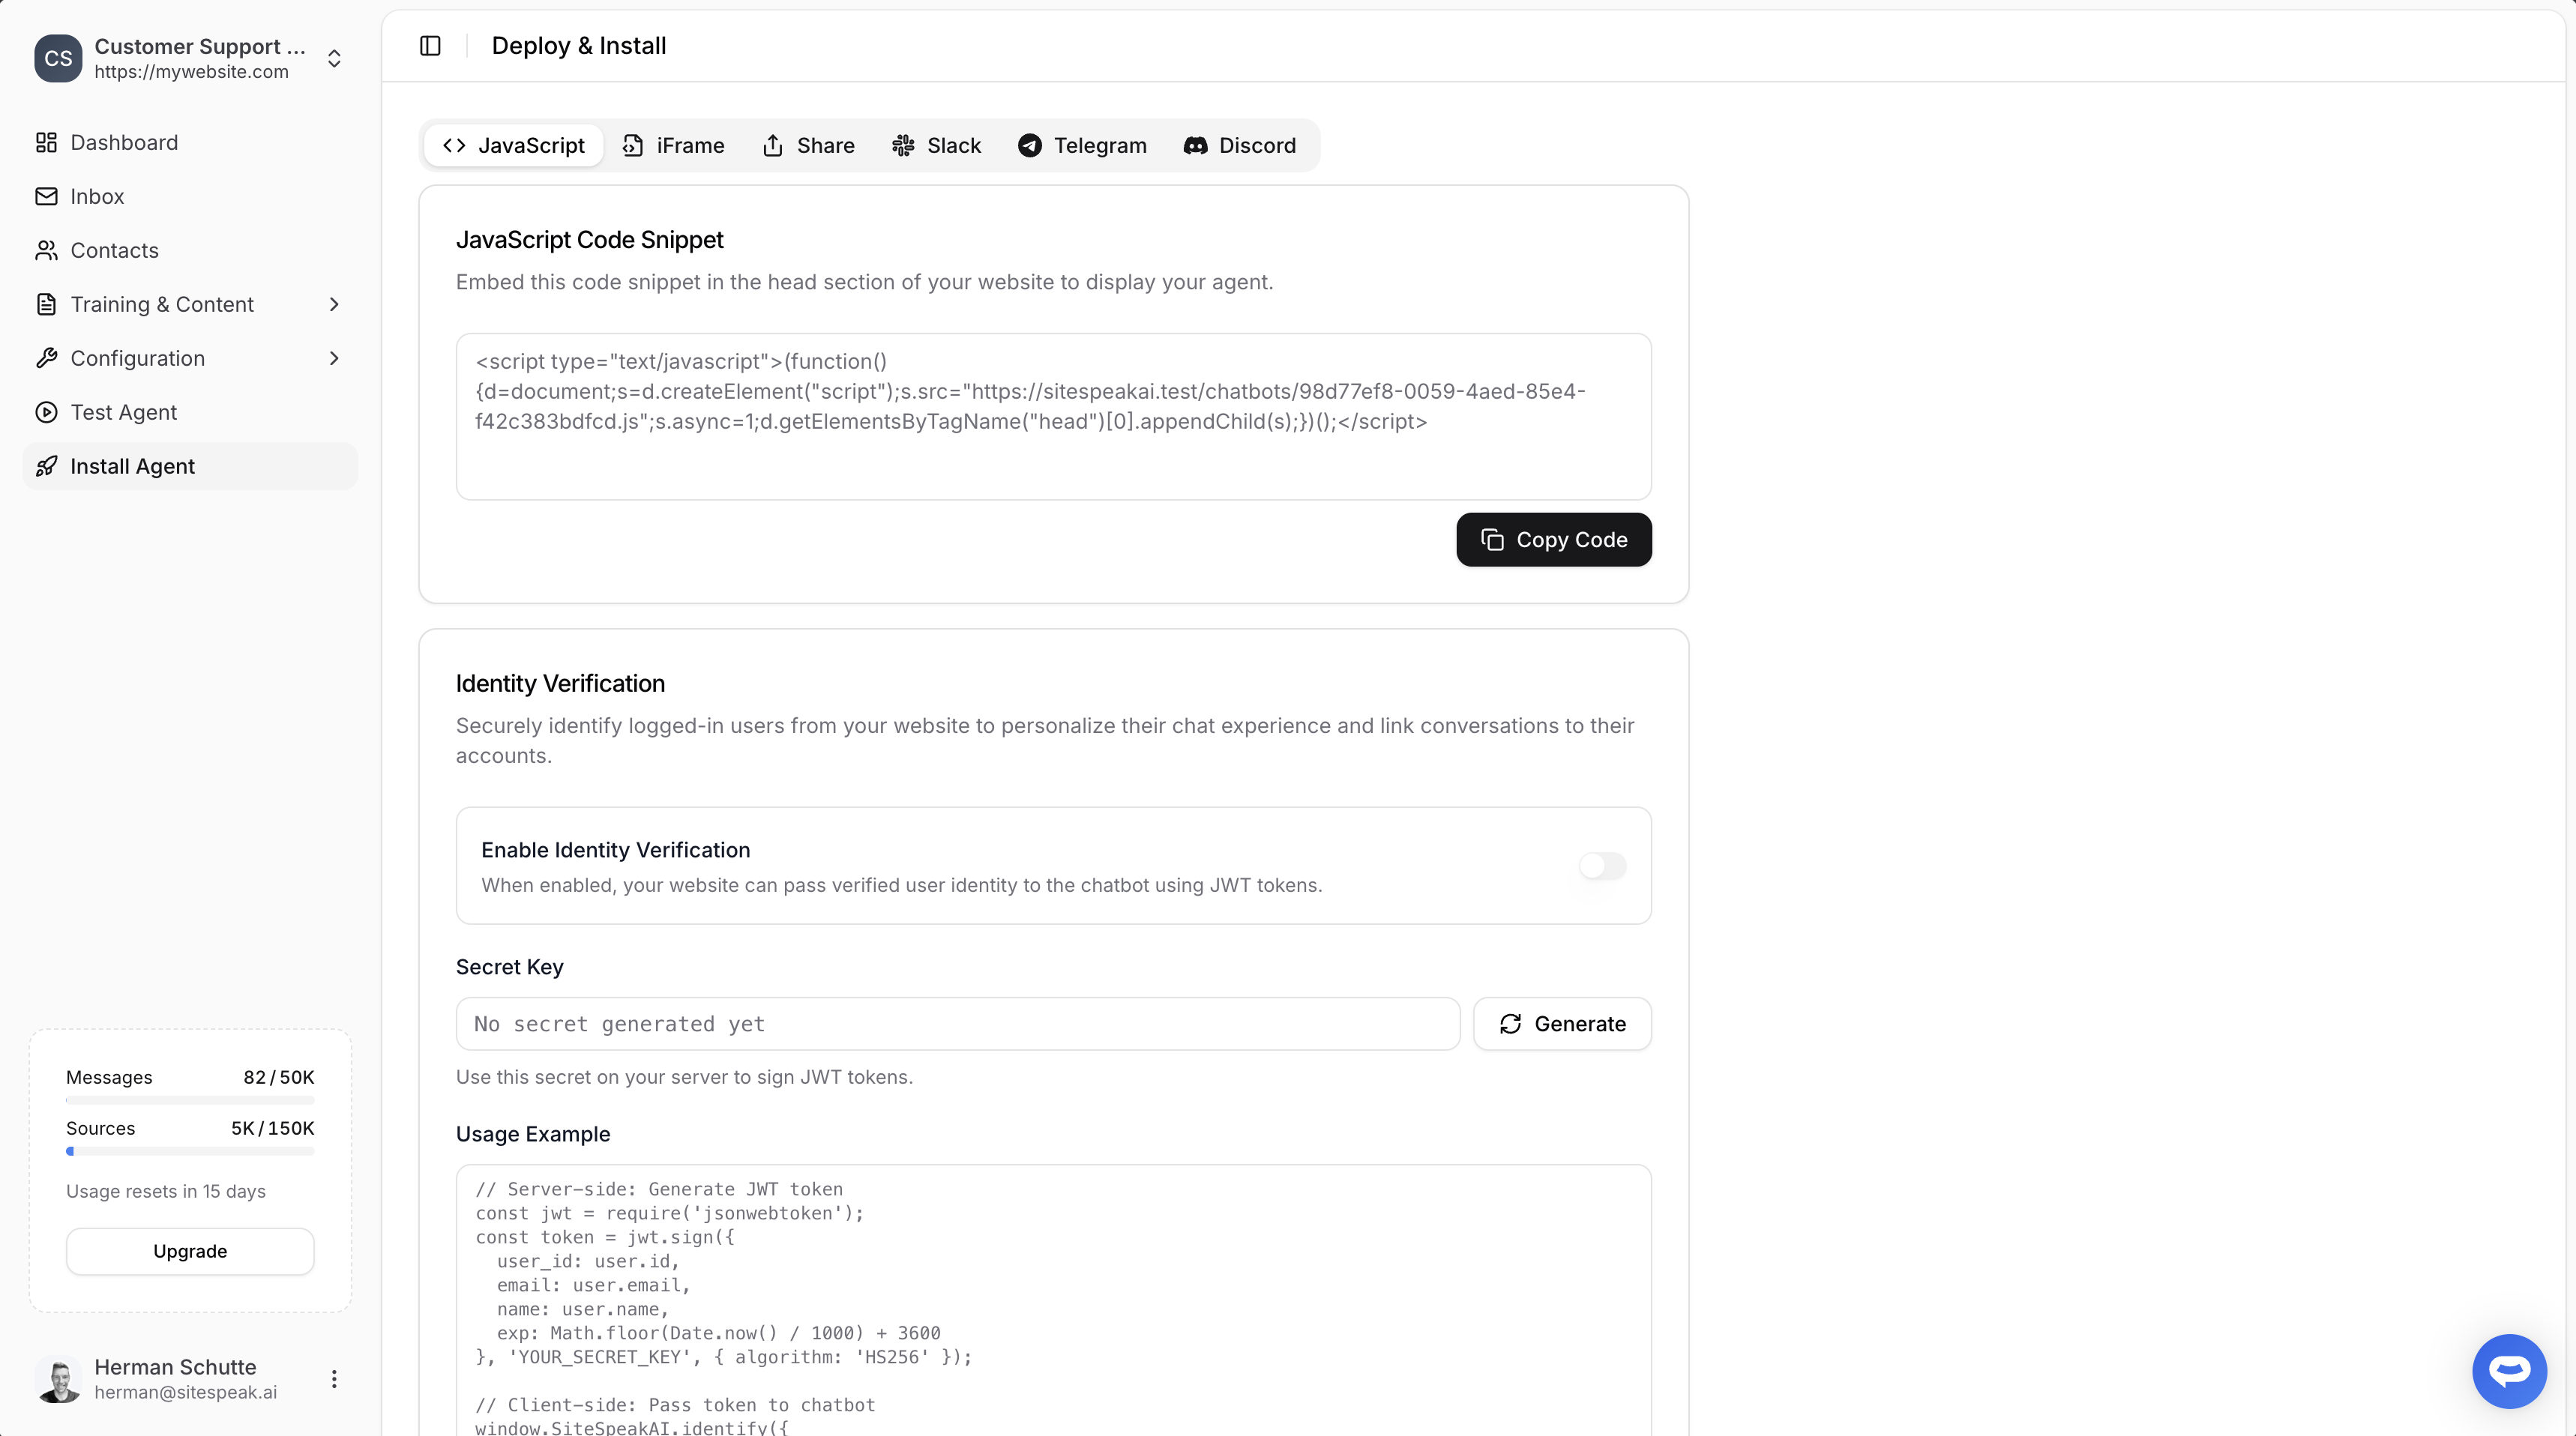
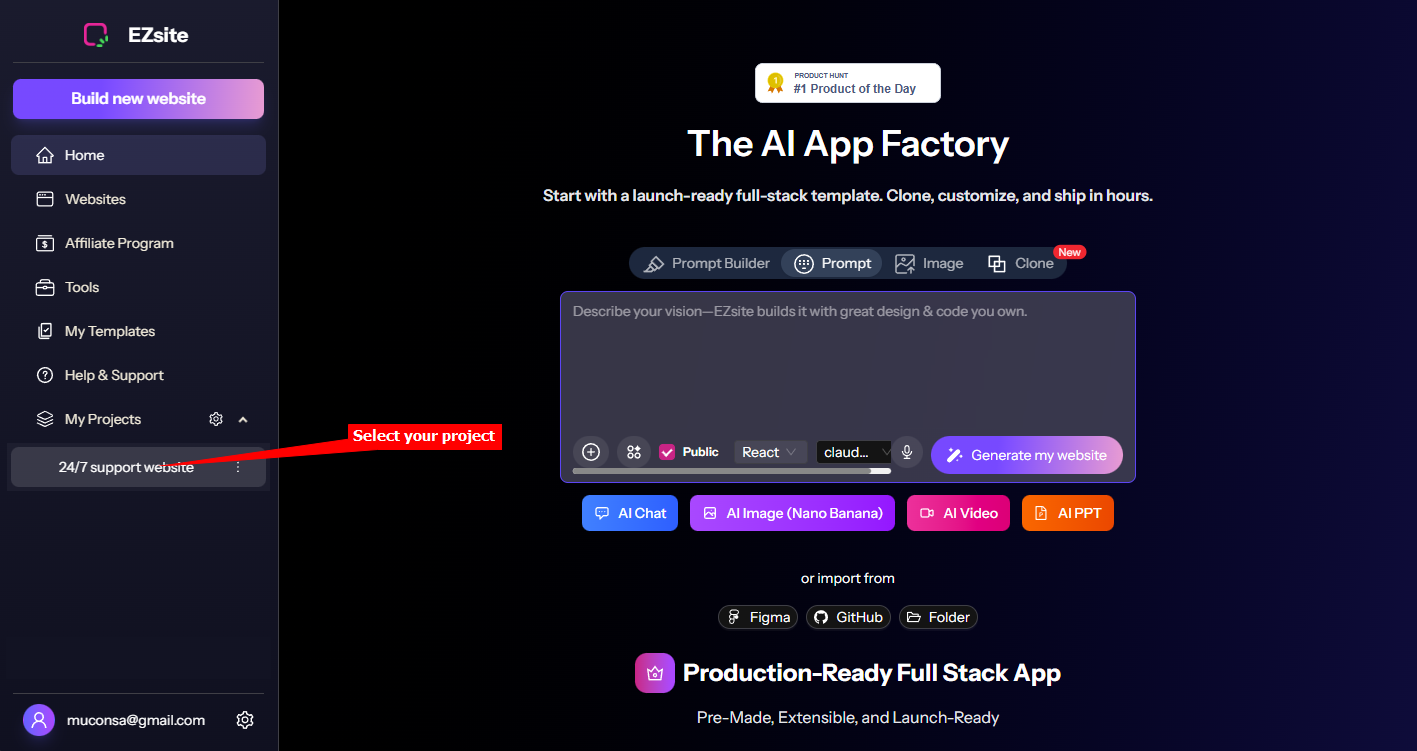
In EZsite AI
Please note:-
EZsite AI doesn’t provide sections/blocks to add custom html to your website. It however allows you to view and edit the source code of the website source files (html, js and css). This is not for the fainthearted so you will have to be careful when editing these files. In our case we are only going to edit the index.html file and insert the AI support agent snippet in the
<head>element of the file. We suggest you make a backup of your website files before you make any changes to the file. This we will do by copying the contents of the file and saving it off-line on your computer (we will get to that in a bit). - If you do have a Pro account you can also use the EZsite AI AI to add your snippet to your website by selecting an element and use an AI prompt to add the snippet for you.
A. Adding your snippet by means of the Code editor
-
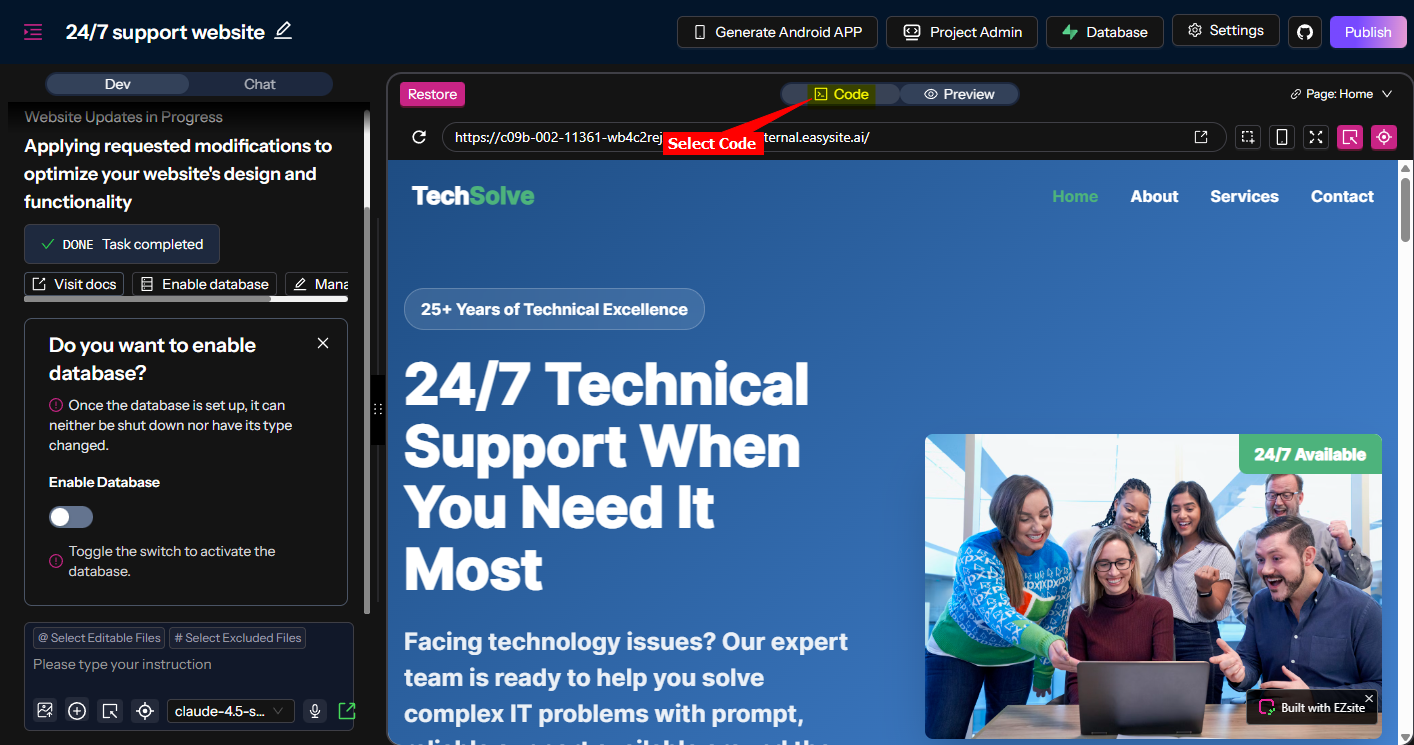
On the Preview display of your website (the default page will be the Home page), select Code to allow viewing and editing your source files
-
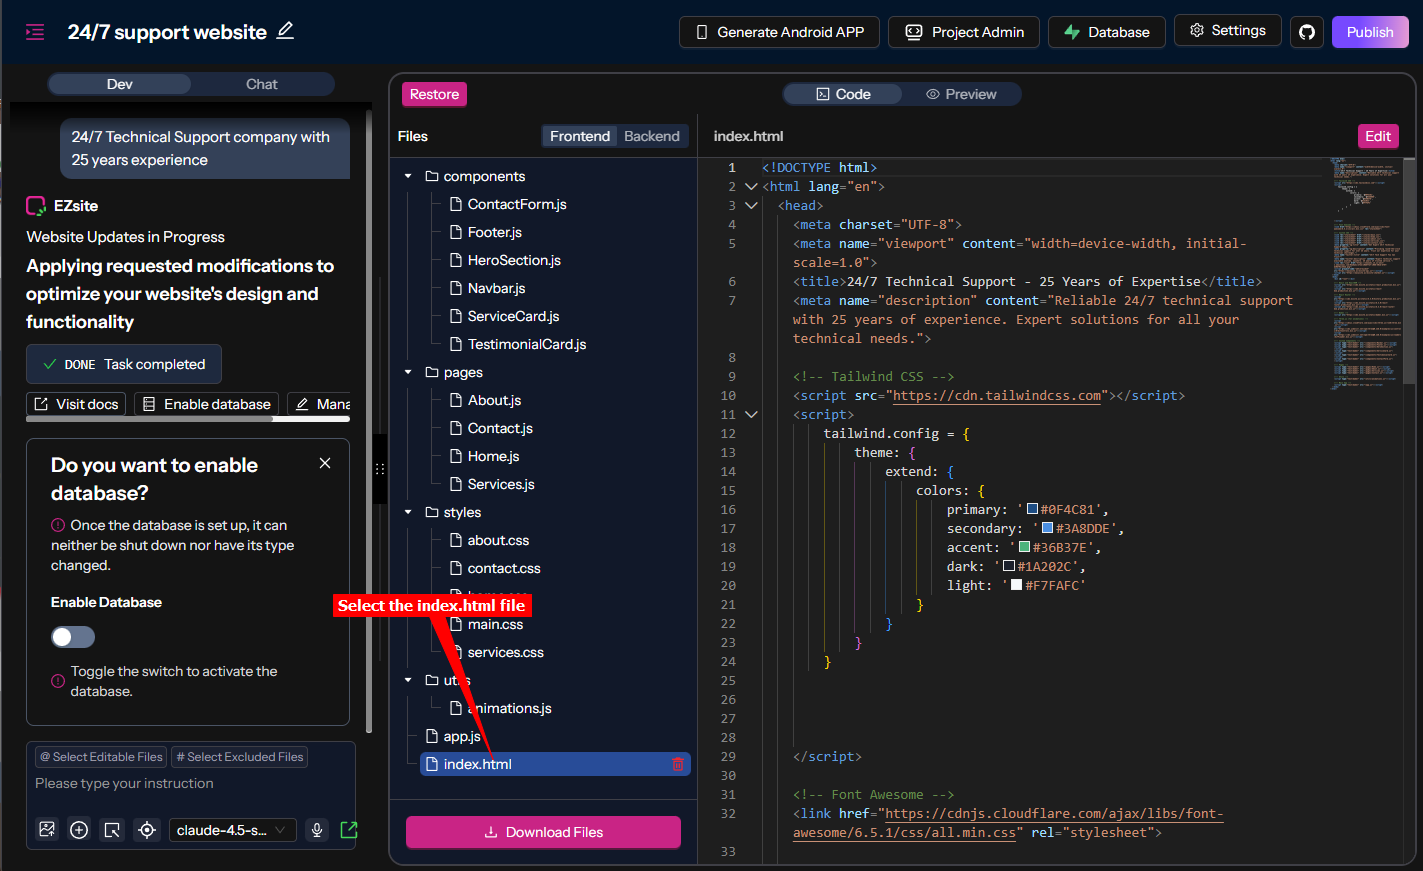
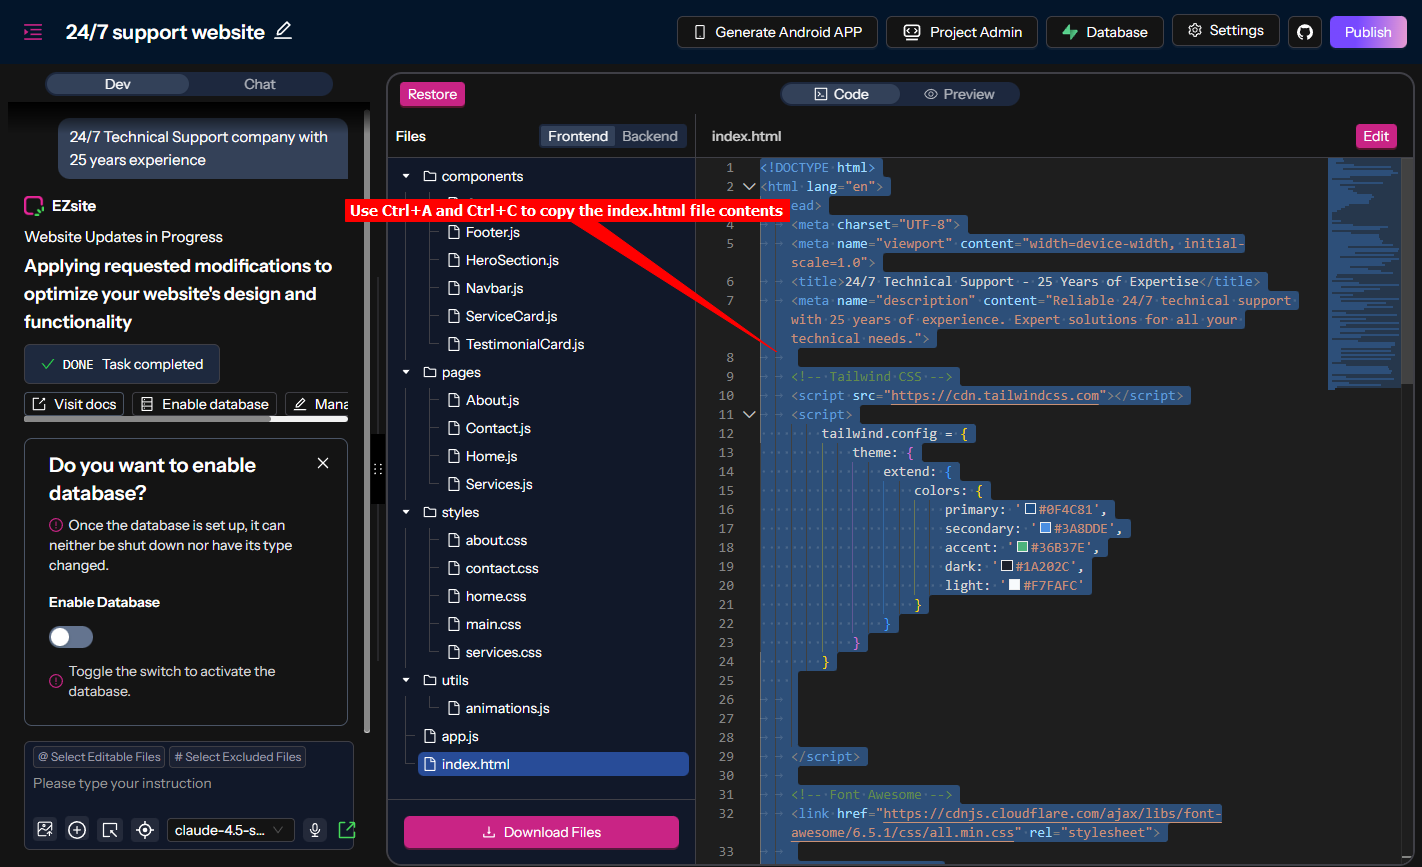
Select the index.html file. The contents will be displayed in view-only mode in the right pane.
-
While still in view-only mode, click in the contents of the index.html file and use Ctrl+A and Ctrl+C to copy the contens of the file. Save this in a text file somewhere where you can easily retrieve it if necessary
-
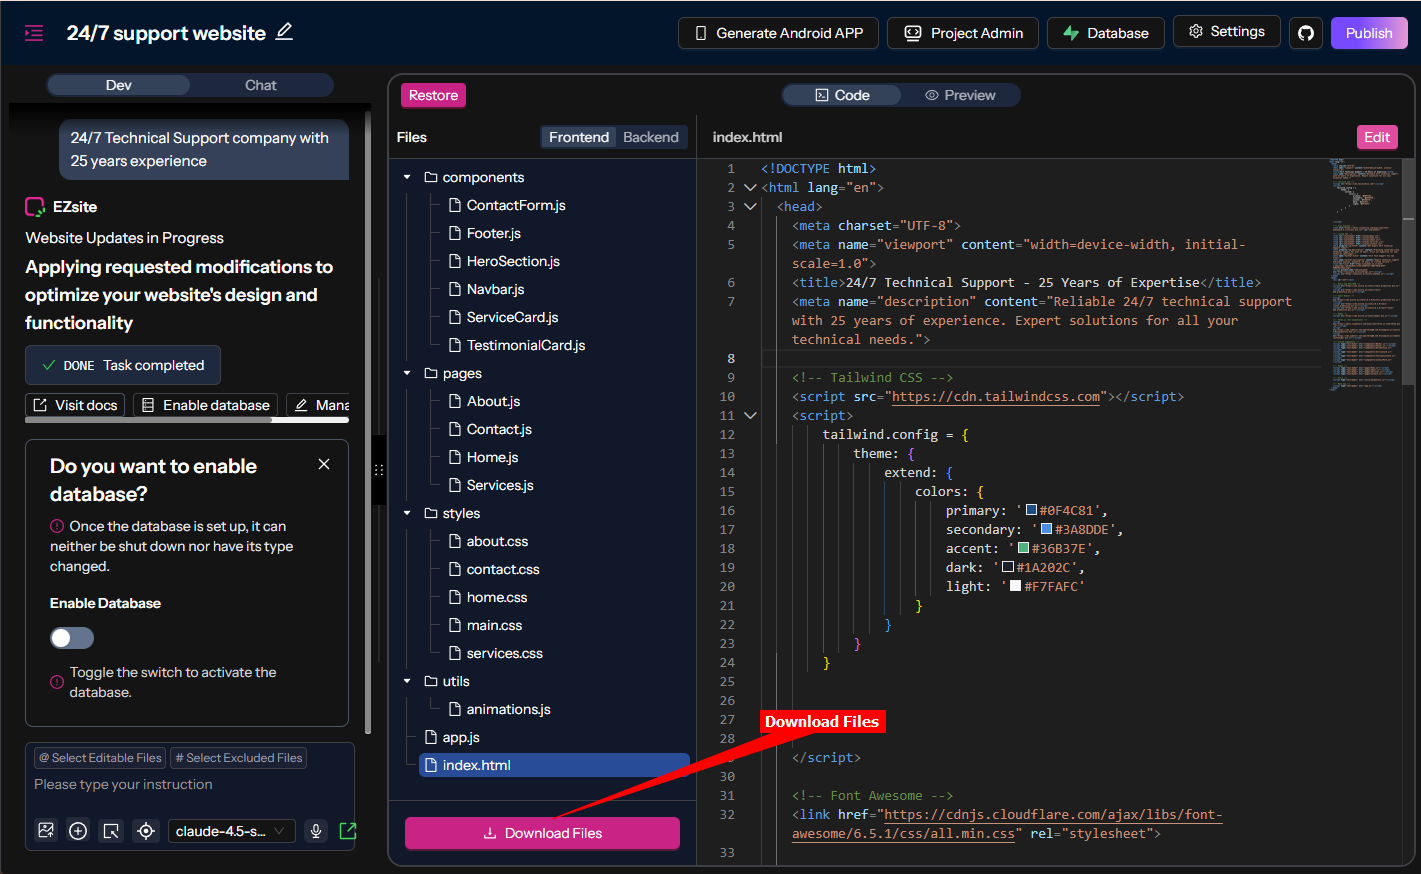
Note: If you have a Pro account, you can also use the Download Files option to make a complete backup of all your code files
-
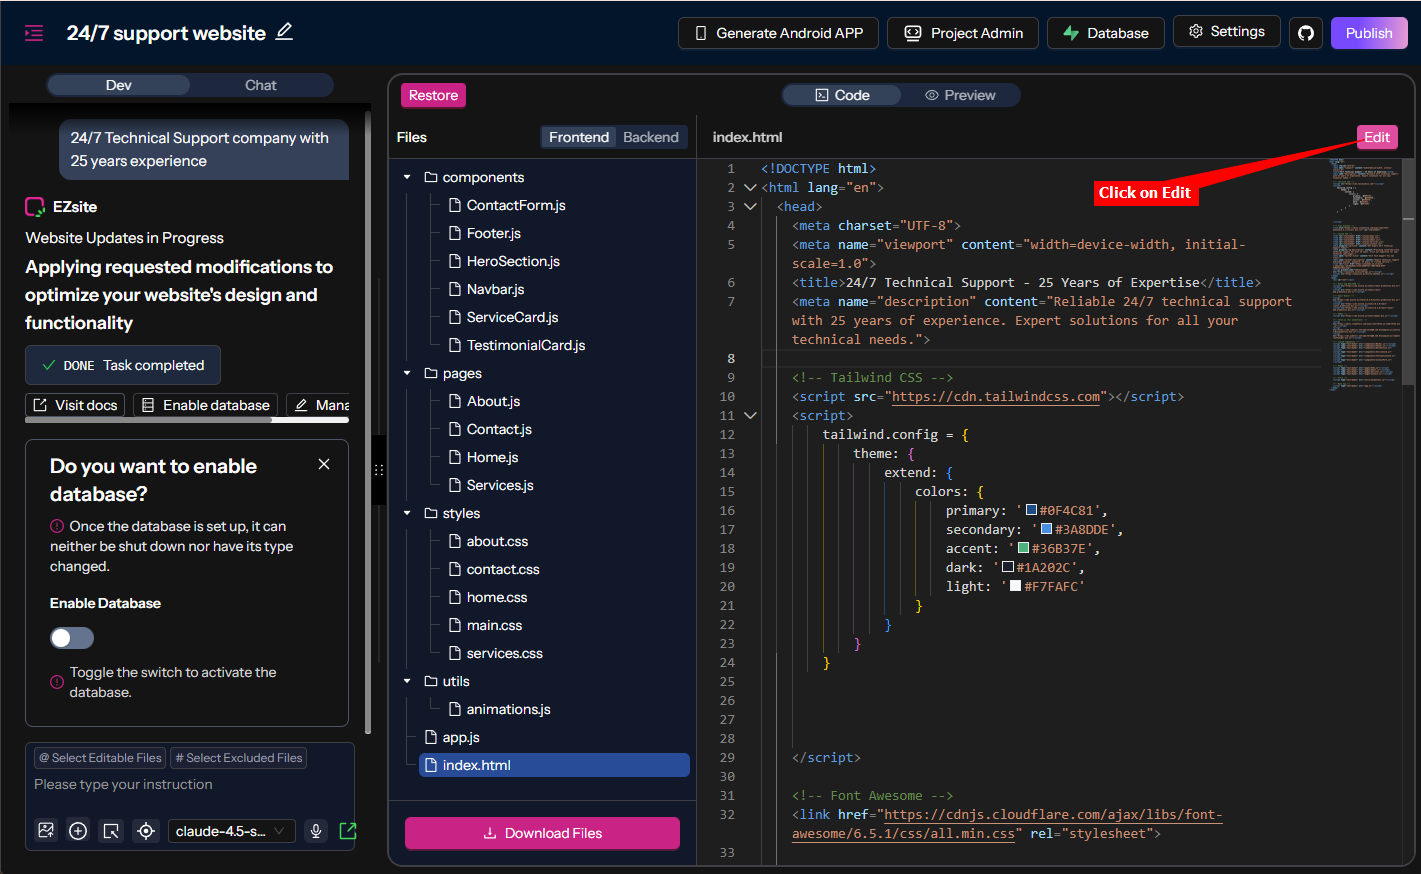
Click on Edit to allow you to edit the file contents
-
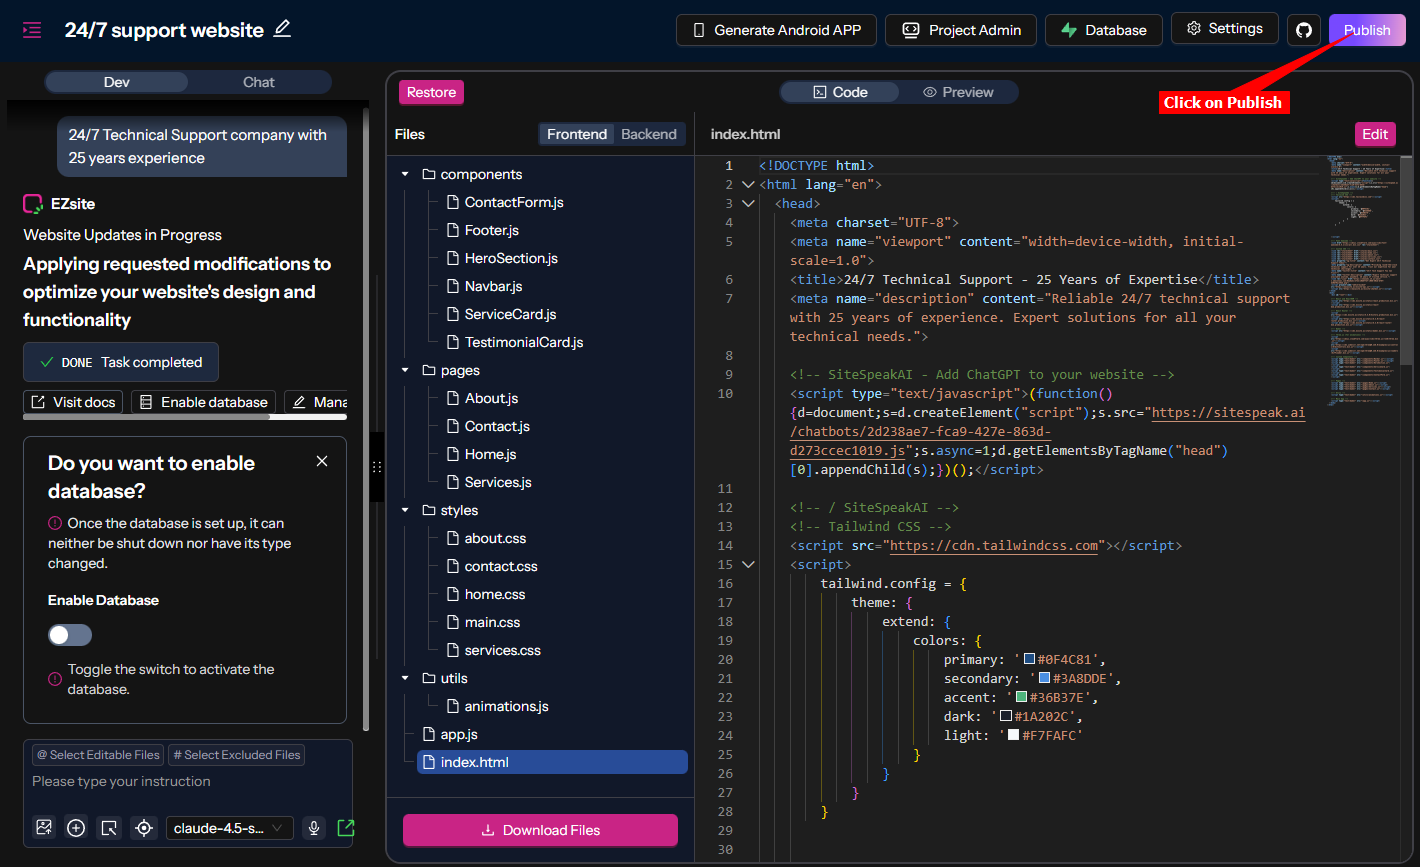
Insert your support agent snippet in the
<head>element in the index.html file (here we have added it just before the<!-- Tailwind CSS -->remark). Click on Save to save your modified source code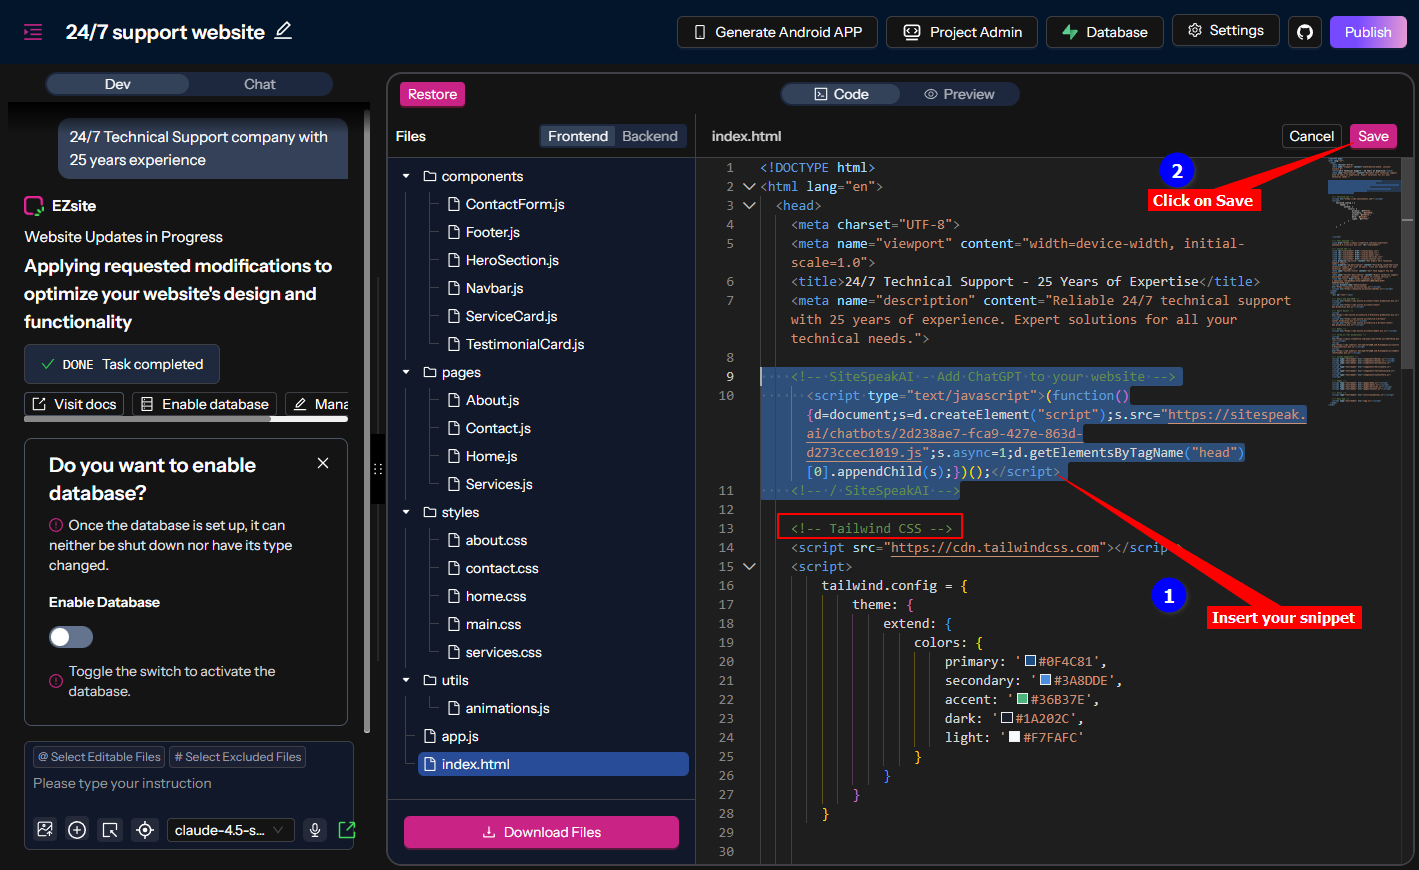
-
To make your modifications available on your live website, click on Publish

B. Using the EZsite AI AI editor to add your snippet
-
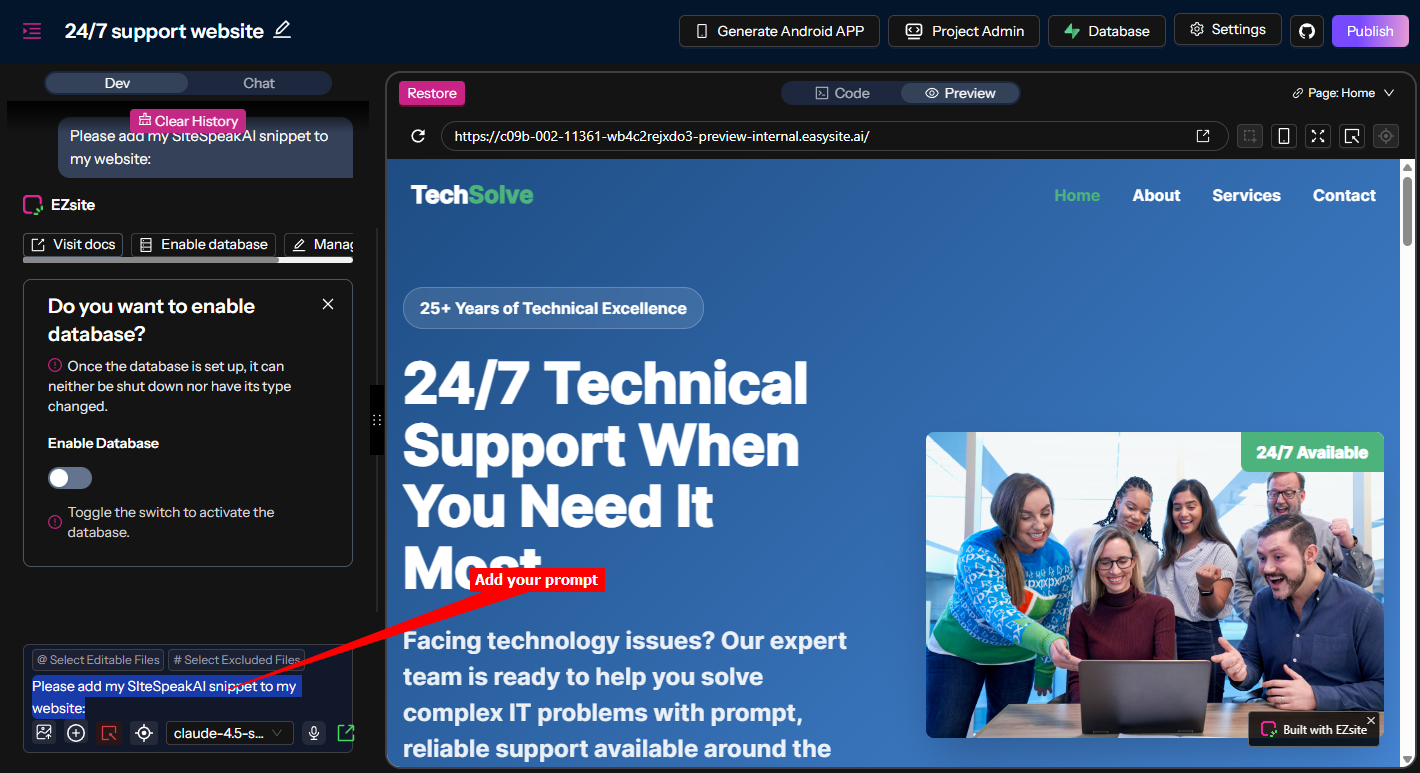
Select the AI Selection Edit option

- Select an element and add your AI prompt in the AI Selection editor. Note that this will be done in 2 parts, the AI editor doesn’t allow creating a new line in the prompt (similar to Copilot)
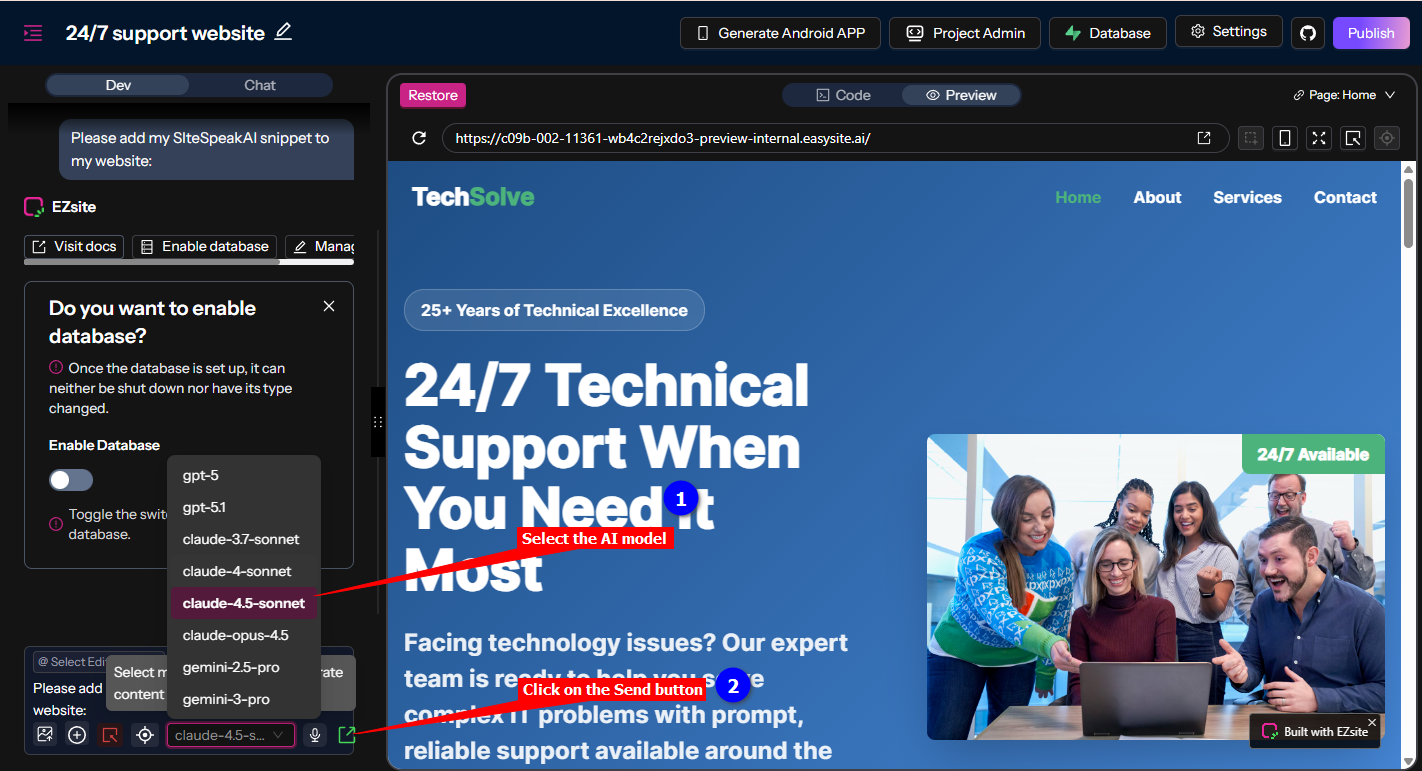
- Add the first part (where you request the AI to add your SiteSpeakAI snippet to your website) in the AI editor text box, select the AI model you prefer to use and then click on the Send button
-
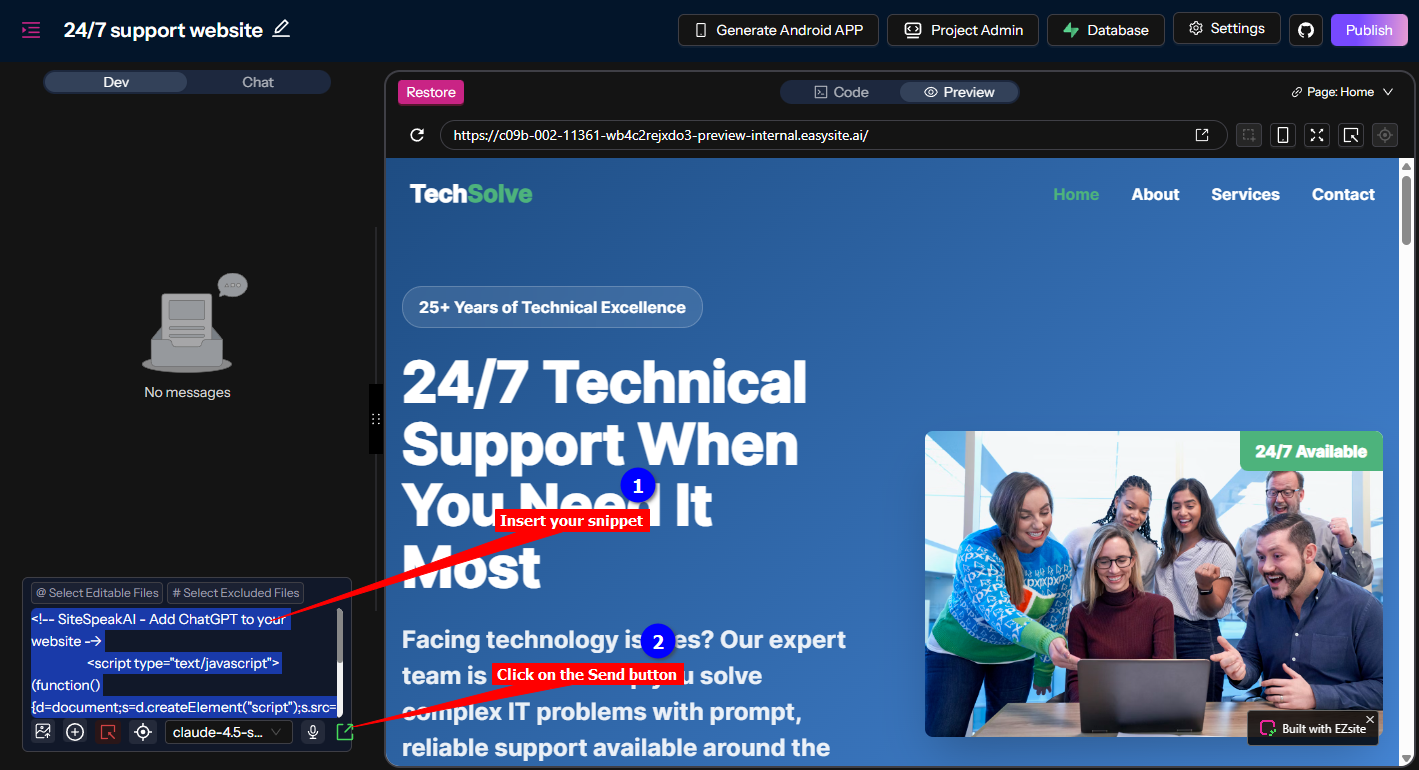
The AI editor will then respond with a request to add your snippet. Insert the snippet in the AI editor text box and click again on the Send button
-
To make your modification available on your live website, click on Publish
C. For all options
-
Your AI support agent button will now be displayed on your EZsite AI website page

-
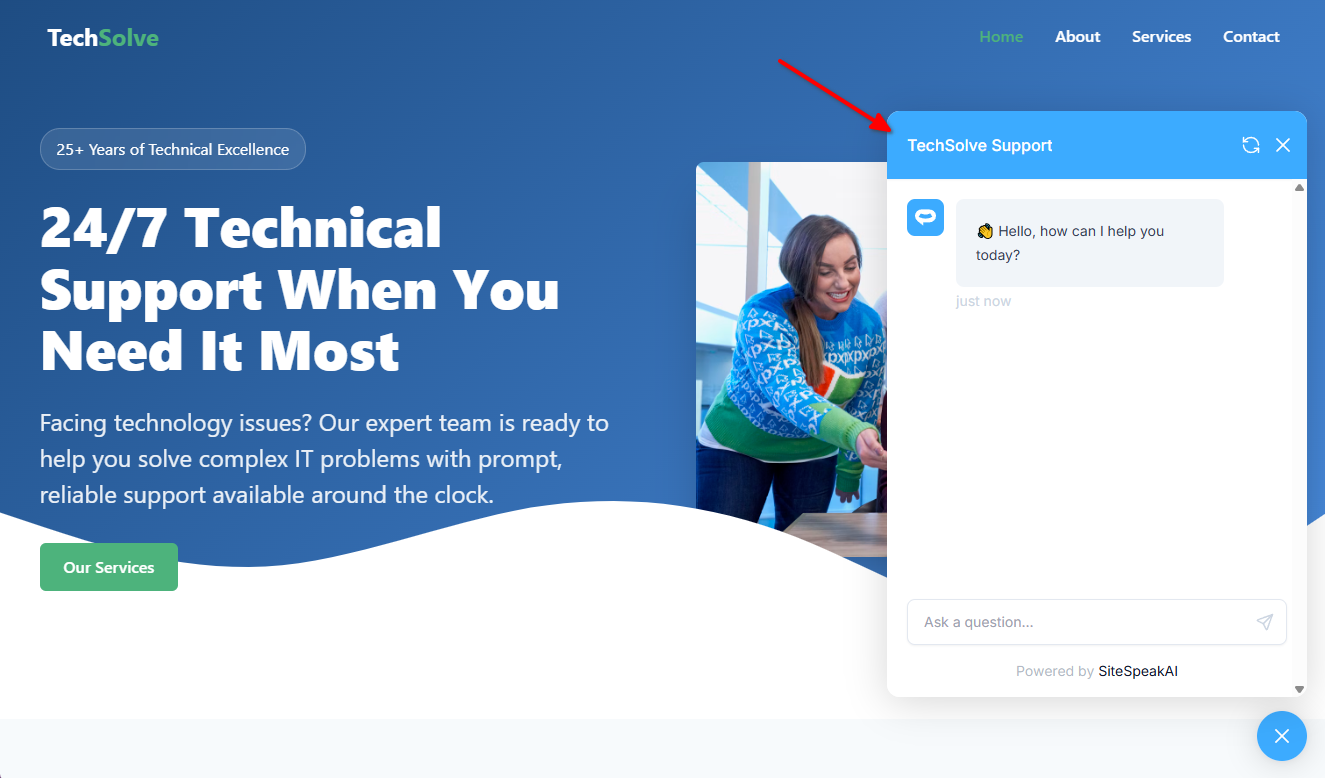
If you click on the button it will display the AI support agent dialogue
Ready to automate your customer service with AI?
Join over 1000+ businesses, websites and startups automating their customer service and other tasks with a custom trained AI agent.